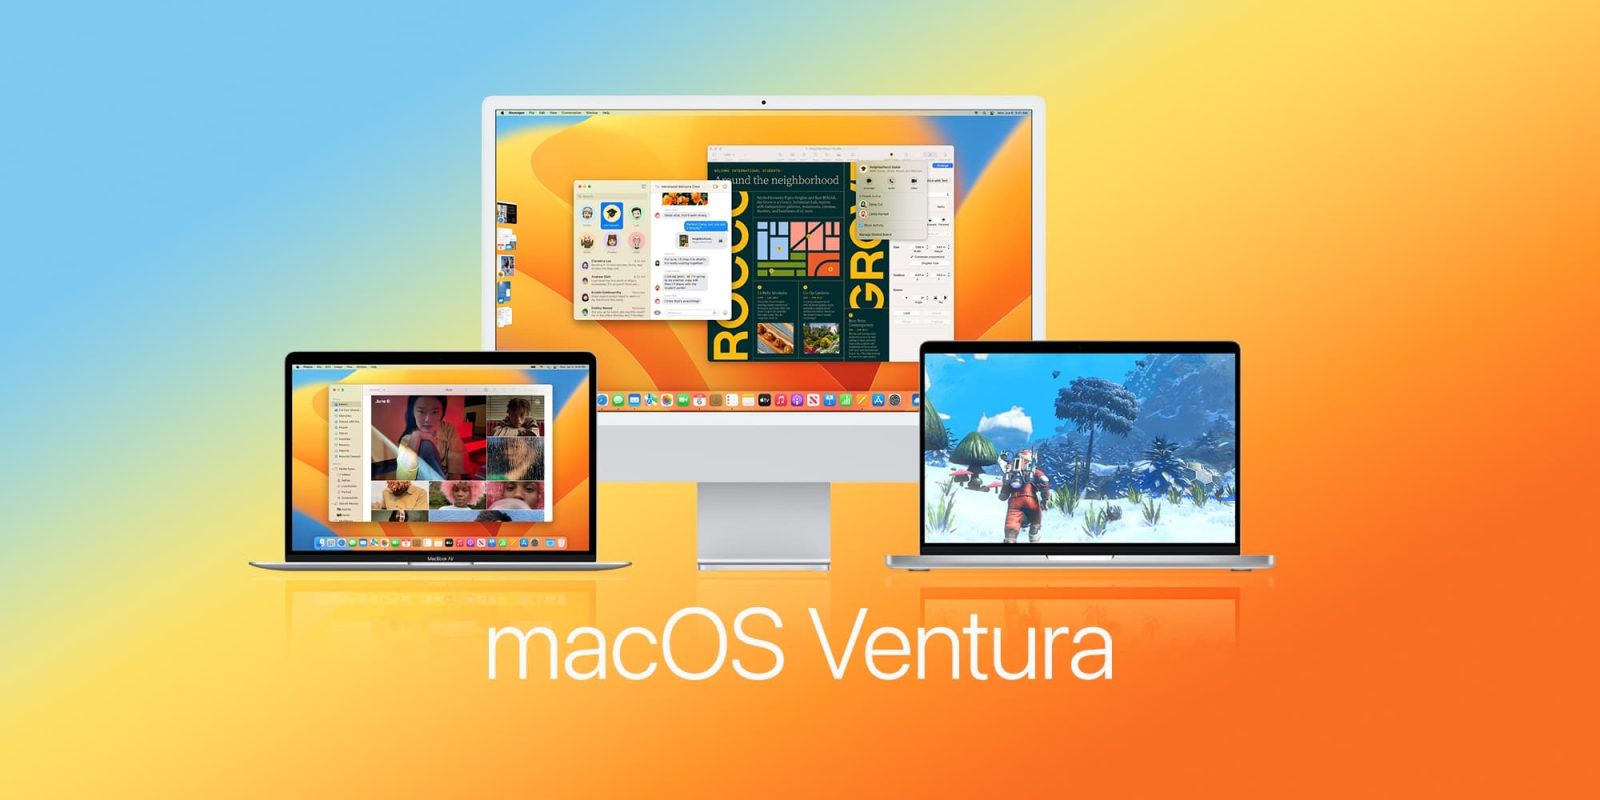
Want to check out what’s new in the latest Mac release like Stage Manager, Continuity Camera, upgrades for Safari, Mail, and Messages, the Weather and Clock apps landing on the platform, and new System Settings? Here’s how to get macOS Ventura early with the free public beta or developer beta.
Update 7/11: The macOS Ventura public beta is now available.
Apple made the first macOS 13 beta available after unveiling the software at its WWDC keynote.
- macOS 13 Ventura: These are the Macs that will support the new operating system
- macOS 13 Ventura includes new wallpaper, and you can download it right here
Keep in mind the macOS Ventura beta isn’t always the best fit for use on your primary Mac. Performance issues and bugs can be common, particularly with early builds. We’ve seen issues with notifications and FaceTime not working properly so far in the beta.
The beta comes with an almost 12 GB file size.
Get macOS Ventura
Install the macOS Ventura public beta
- Make a fresh backup of your Mac in case you want to downgrade your device at any point
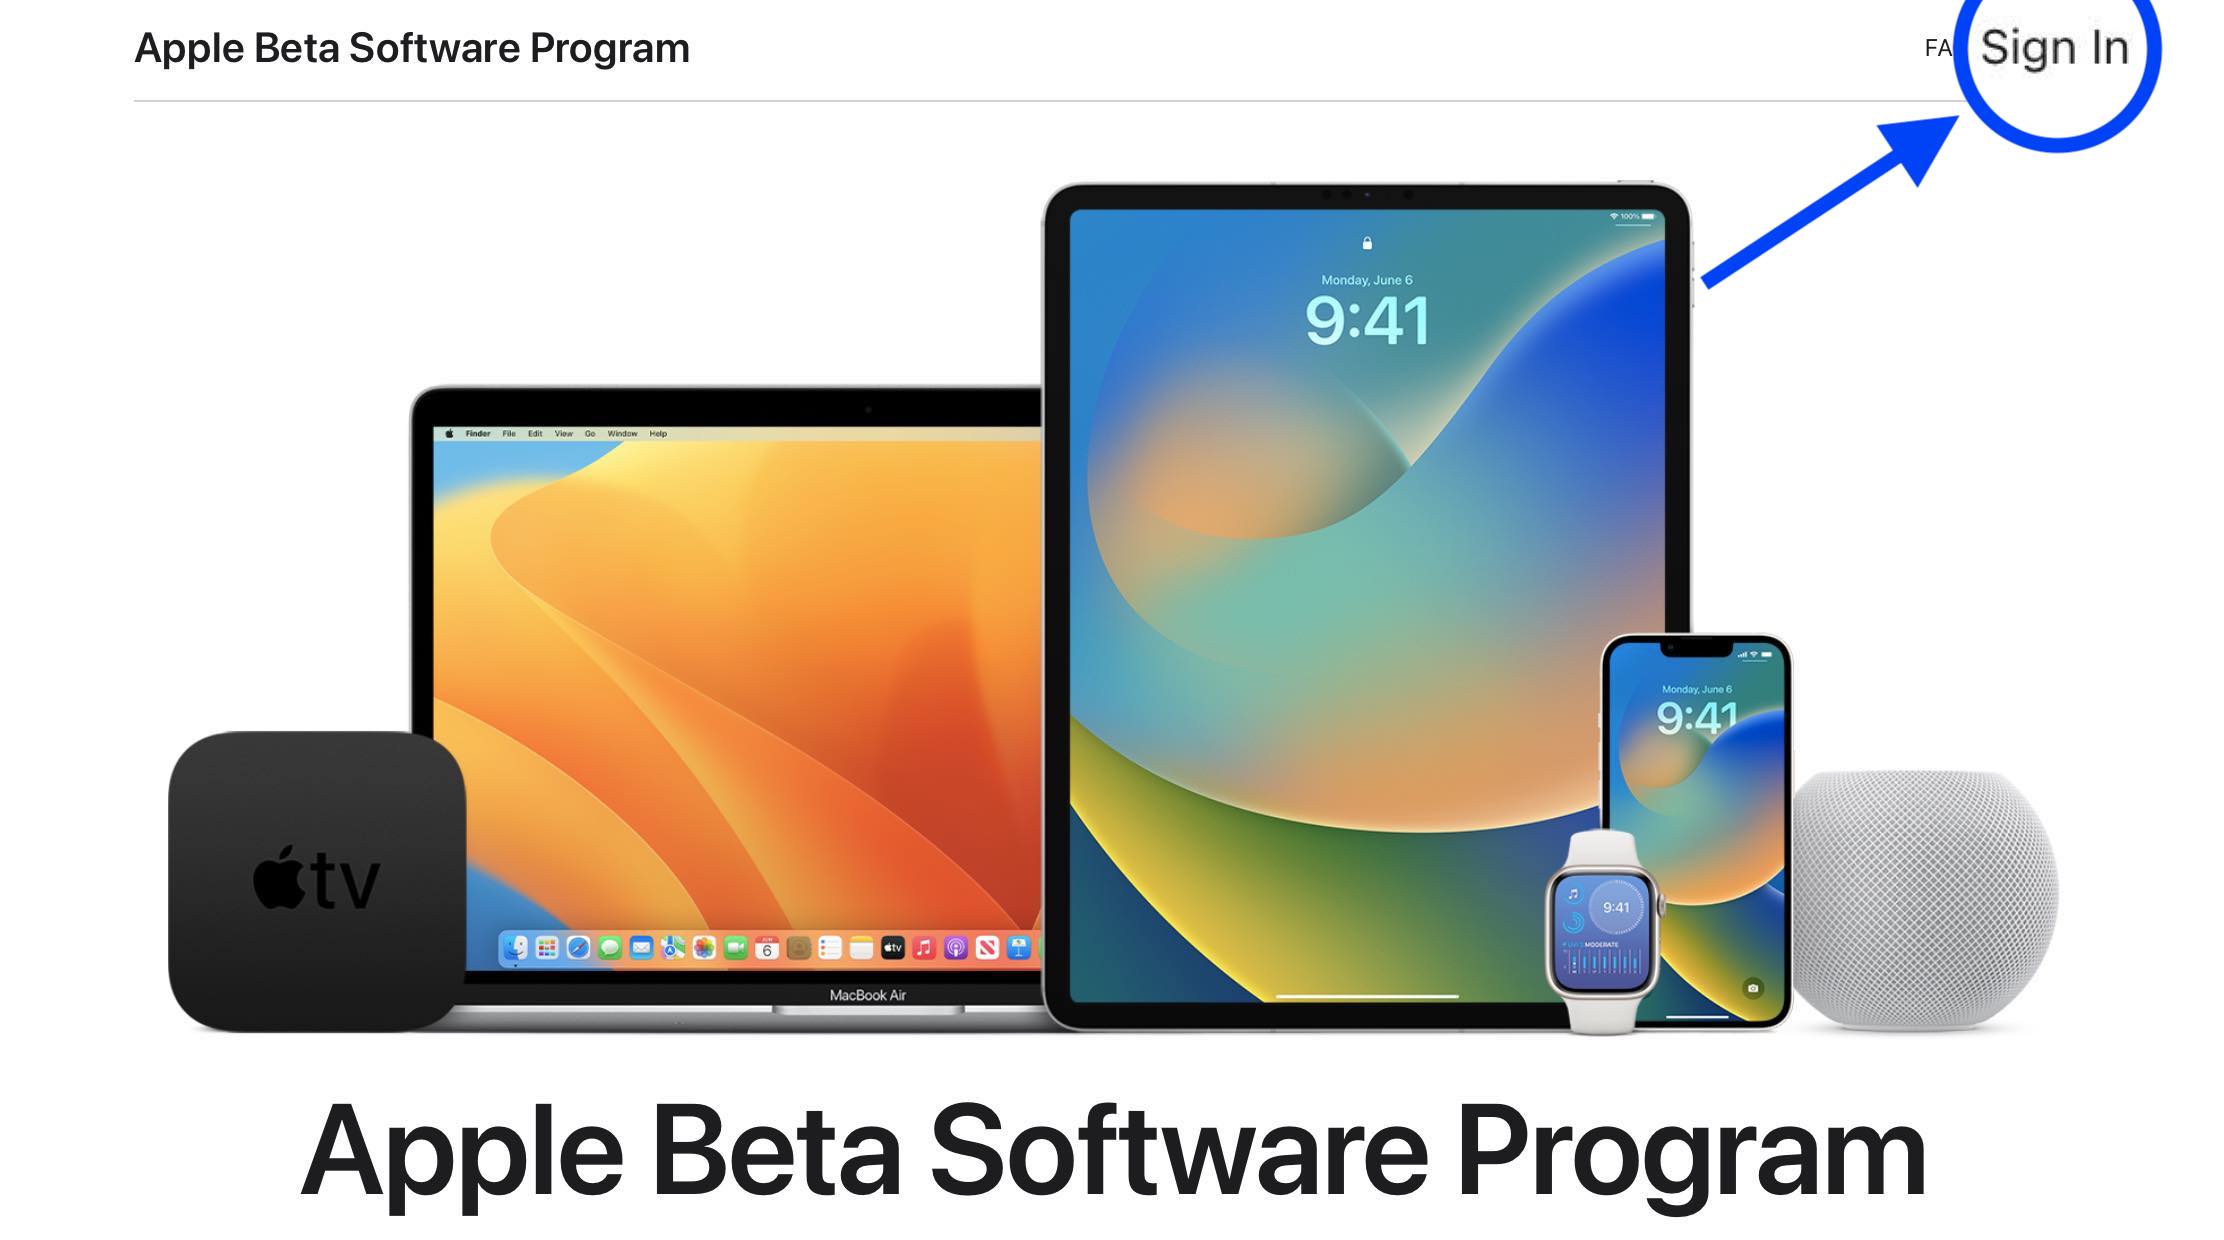
- On your Mac, head to Apple’s public beta website
- Click Sign In in the top right corner and log in if you’re not already
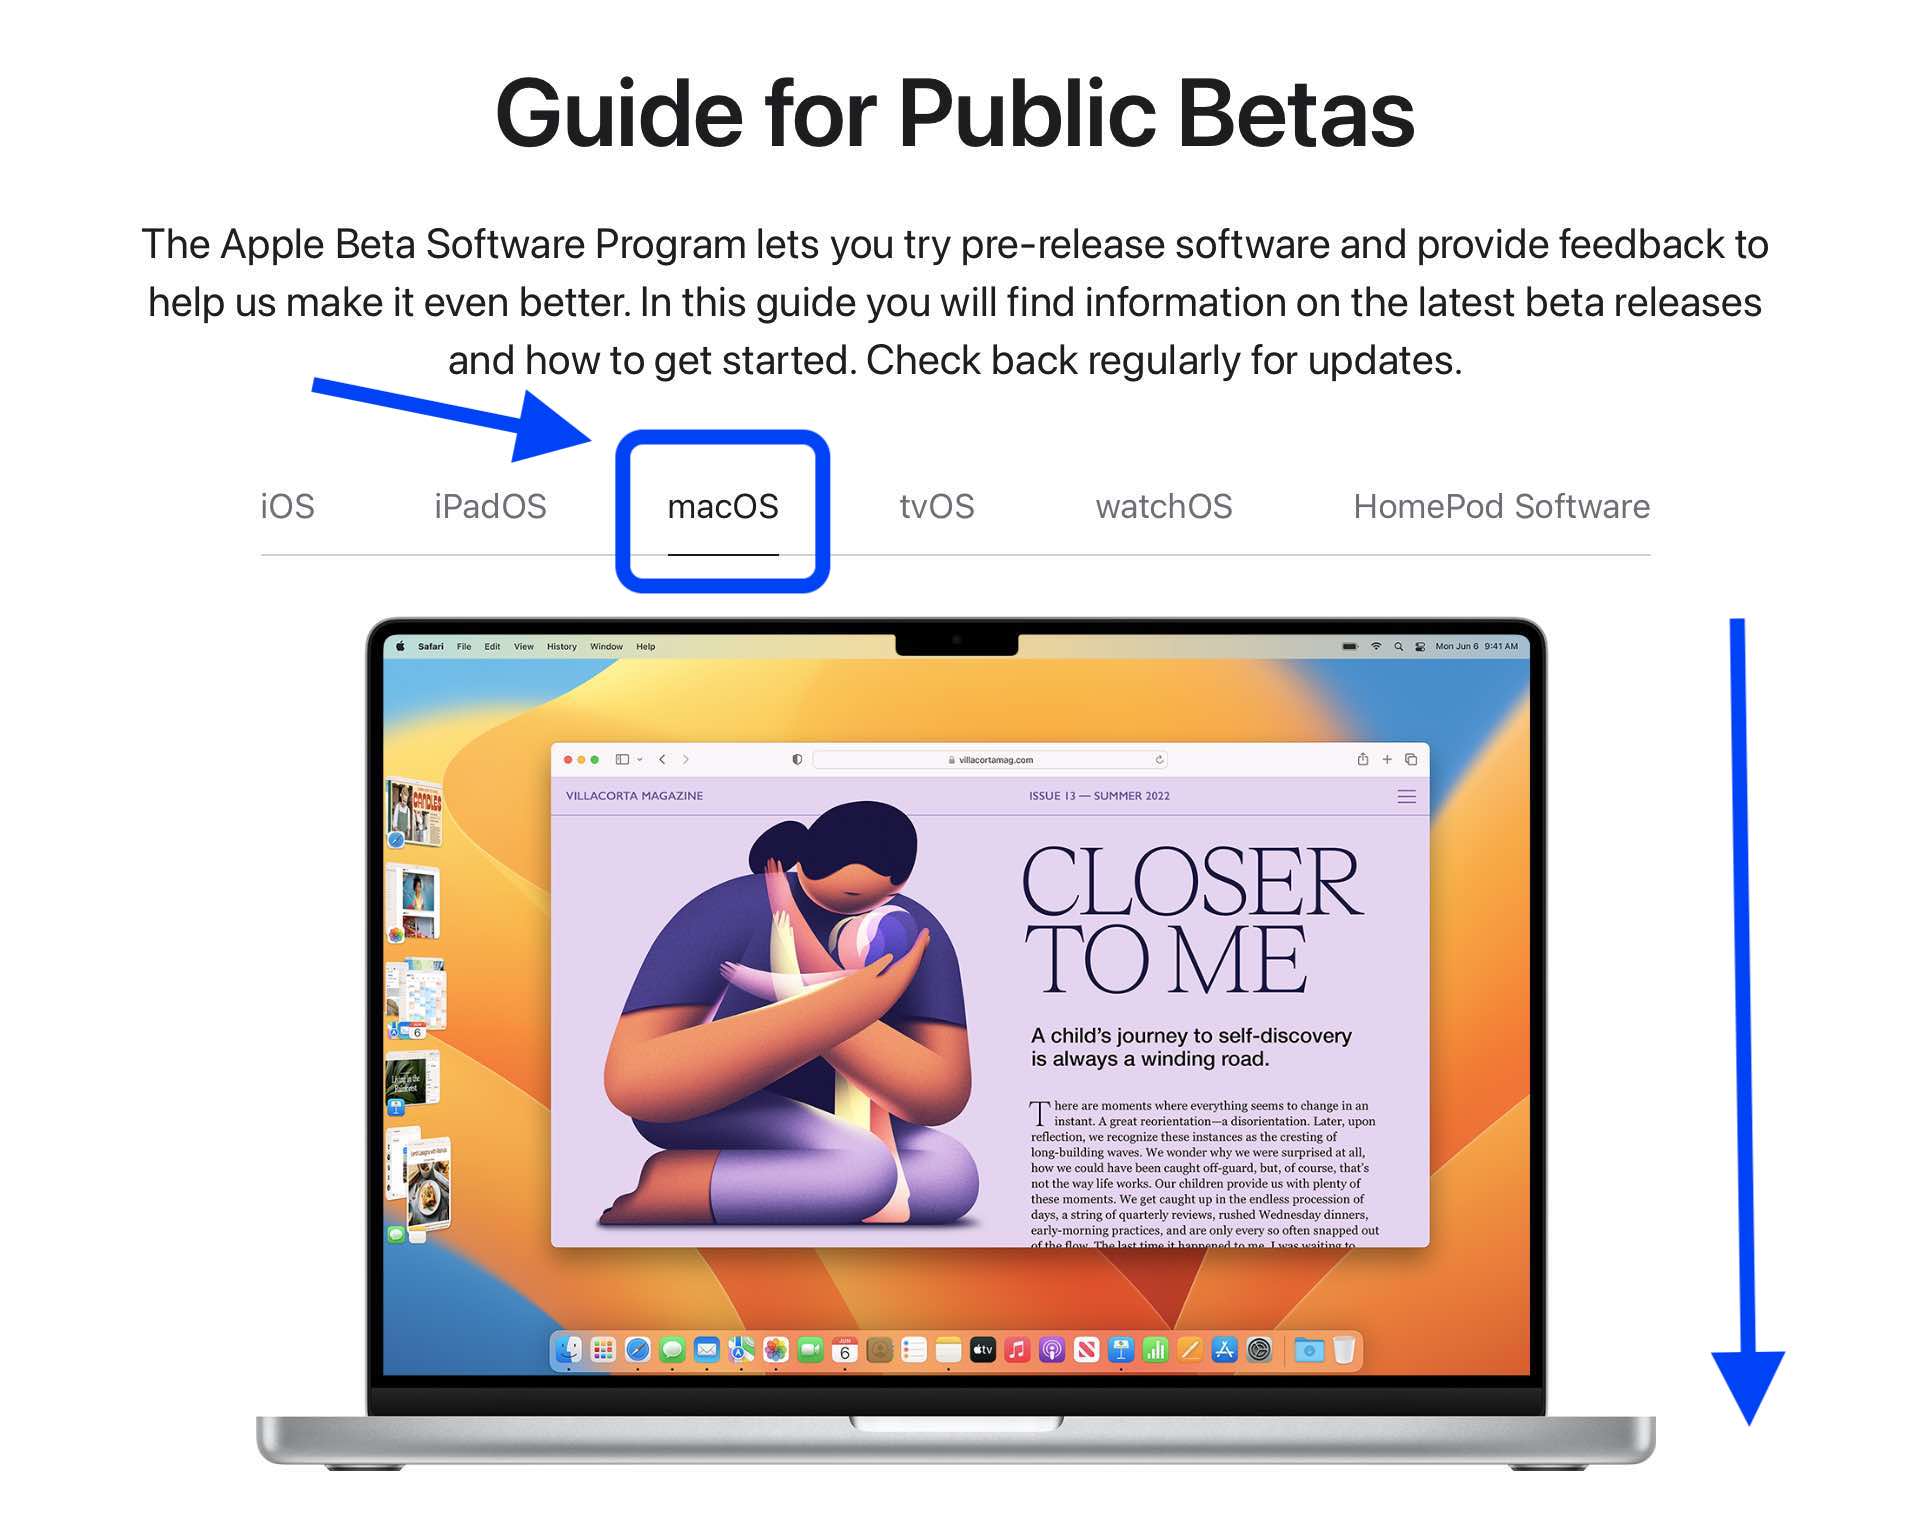
- On the Guide for Public Betas page, choose macOS
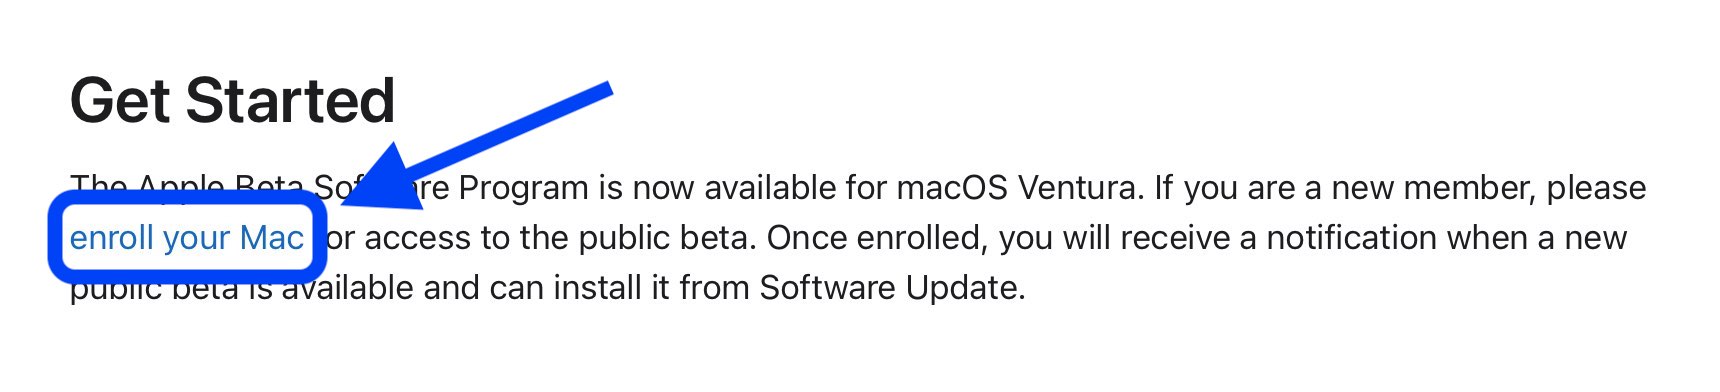
- Scroll down under the Get Started section and click enroll your Mac
- Scroll down again and click Download the macOS Public Beta Access Utility
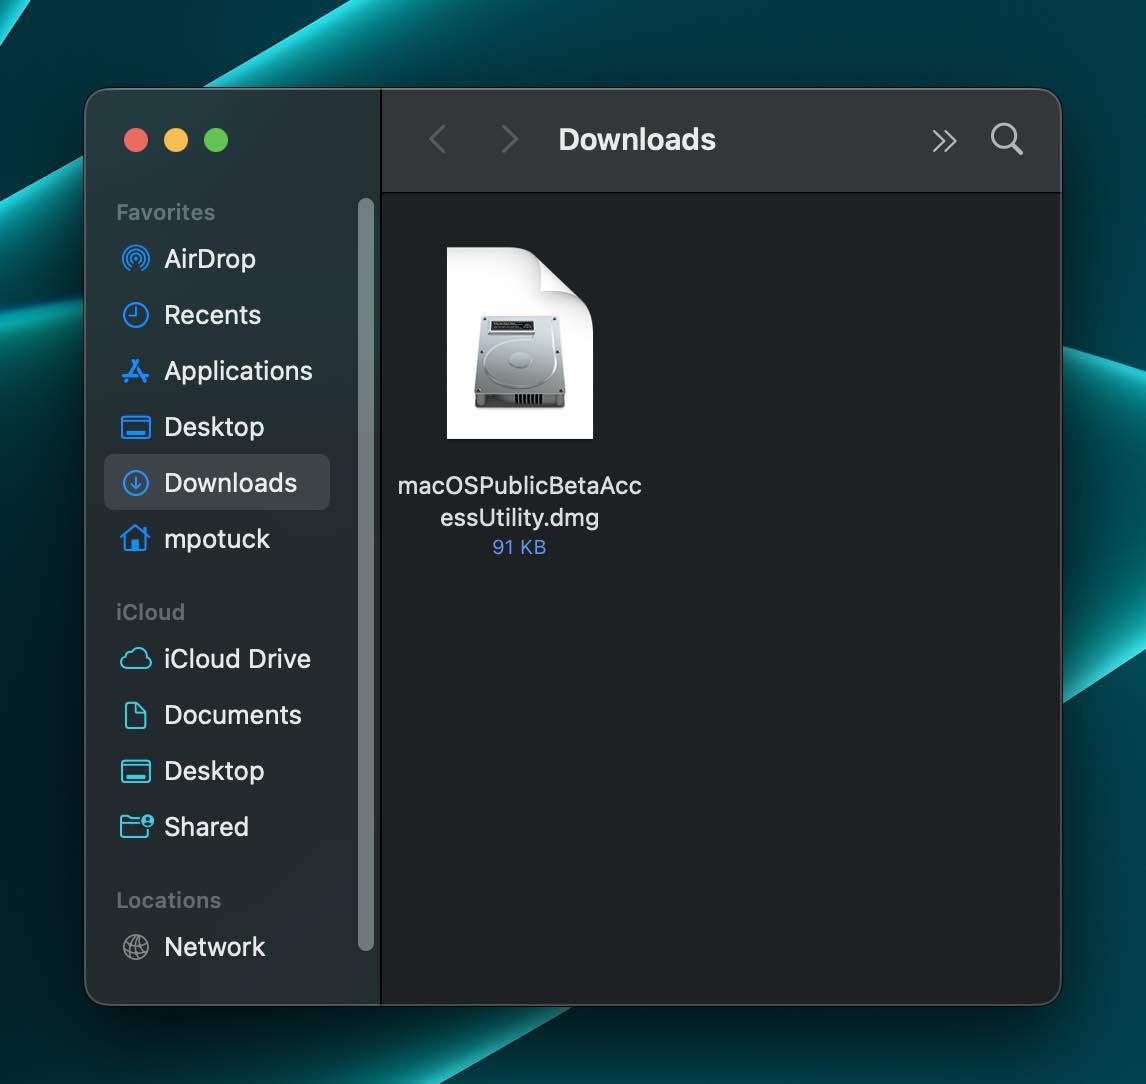
- Head to your Downloads folder and you should see the macOS Beta Access Utility
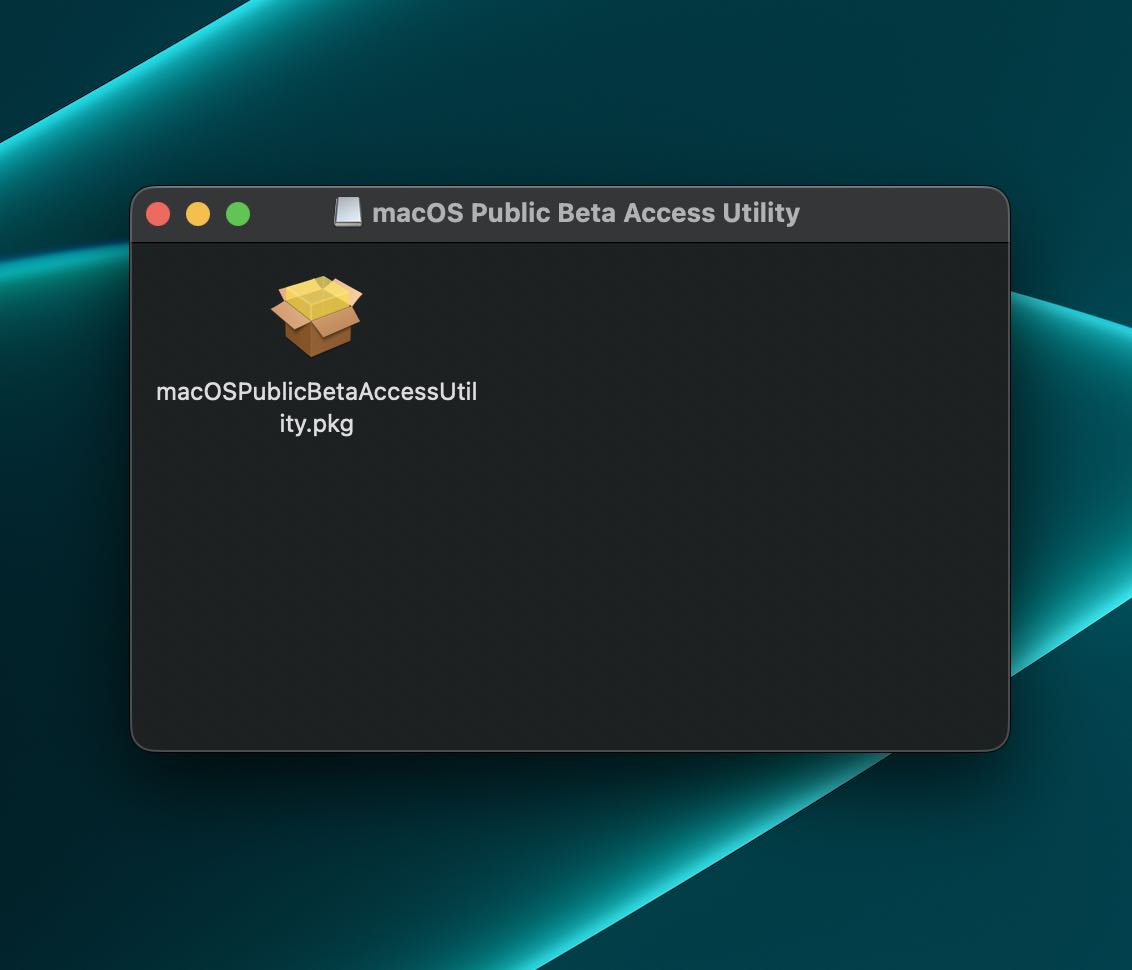
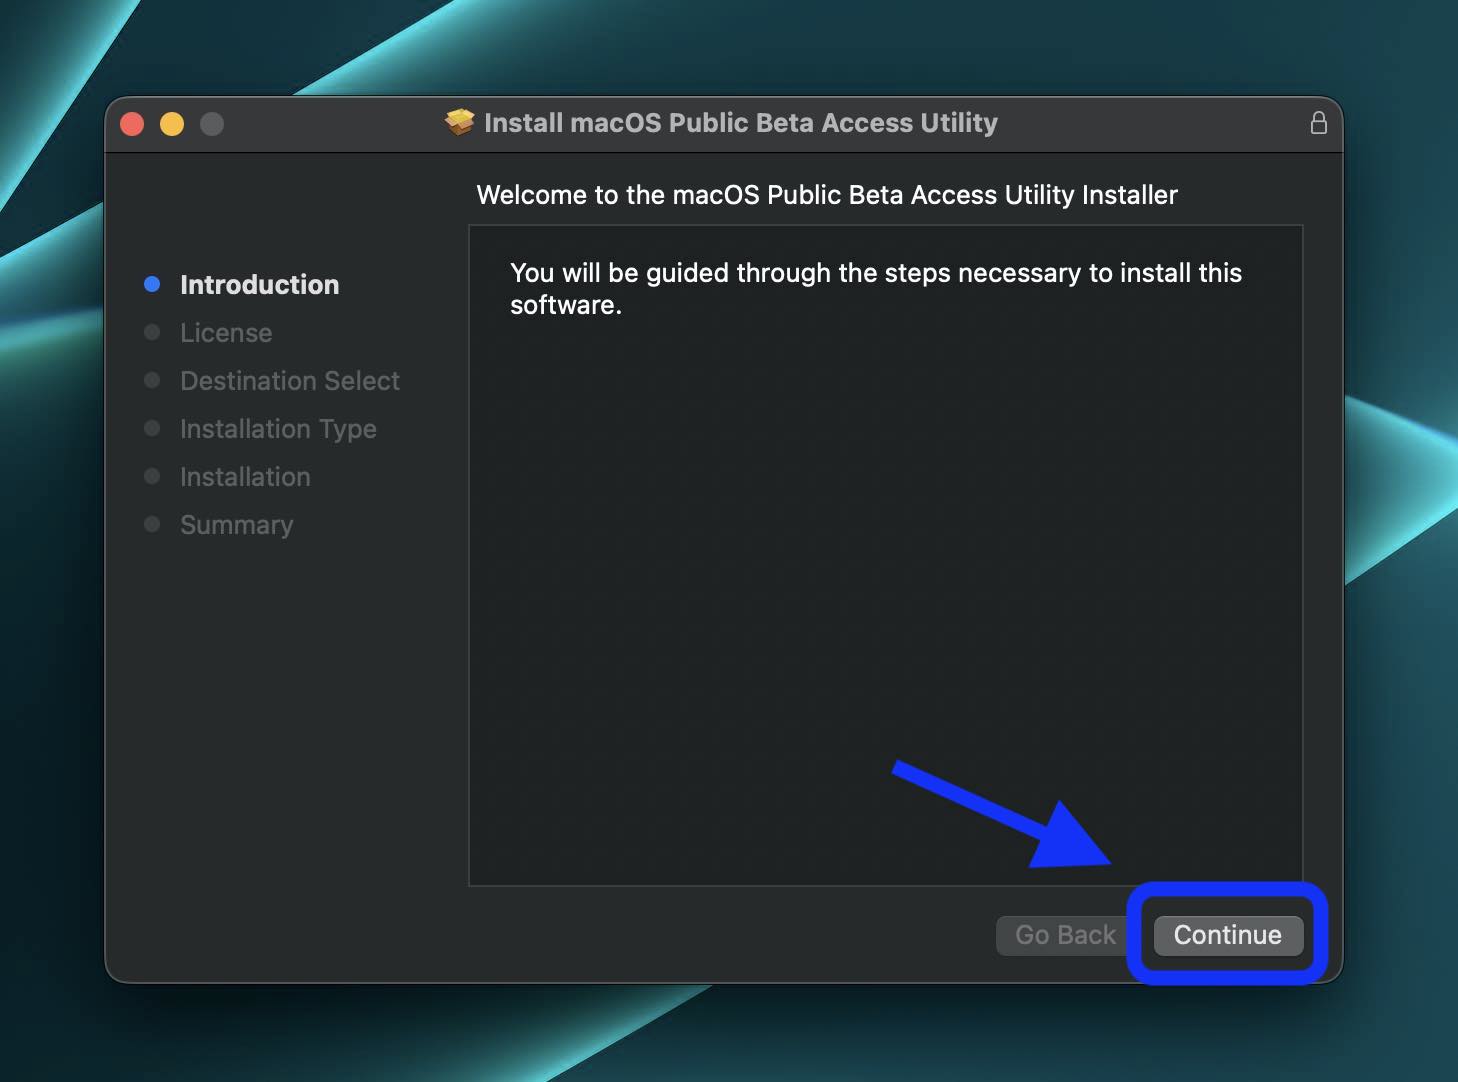
- Double-click it to mount the utility disk image, now double-click the Access Utility.pkg to install the macOS beta profile on your Mac
- The System Preferences > Software Update window should launch automatically with the macOS Ventura beta appearing, click Download
- When the download is complete, you’ll see a new window to install macOS Ventura, click Continue
- Follow the prompts to finish the beta installation

Install the developer beta
If you’re not already enrolled as an Apple Developer, you’ll need to do that ($99/year).
- Make a fresh backup of your Mac in case you want to downgrade at any point
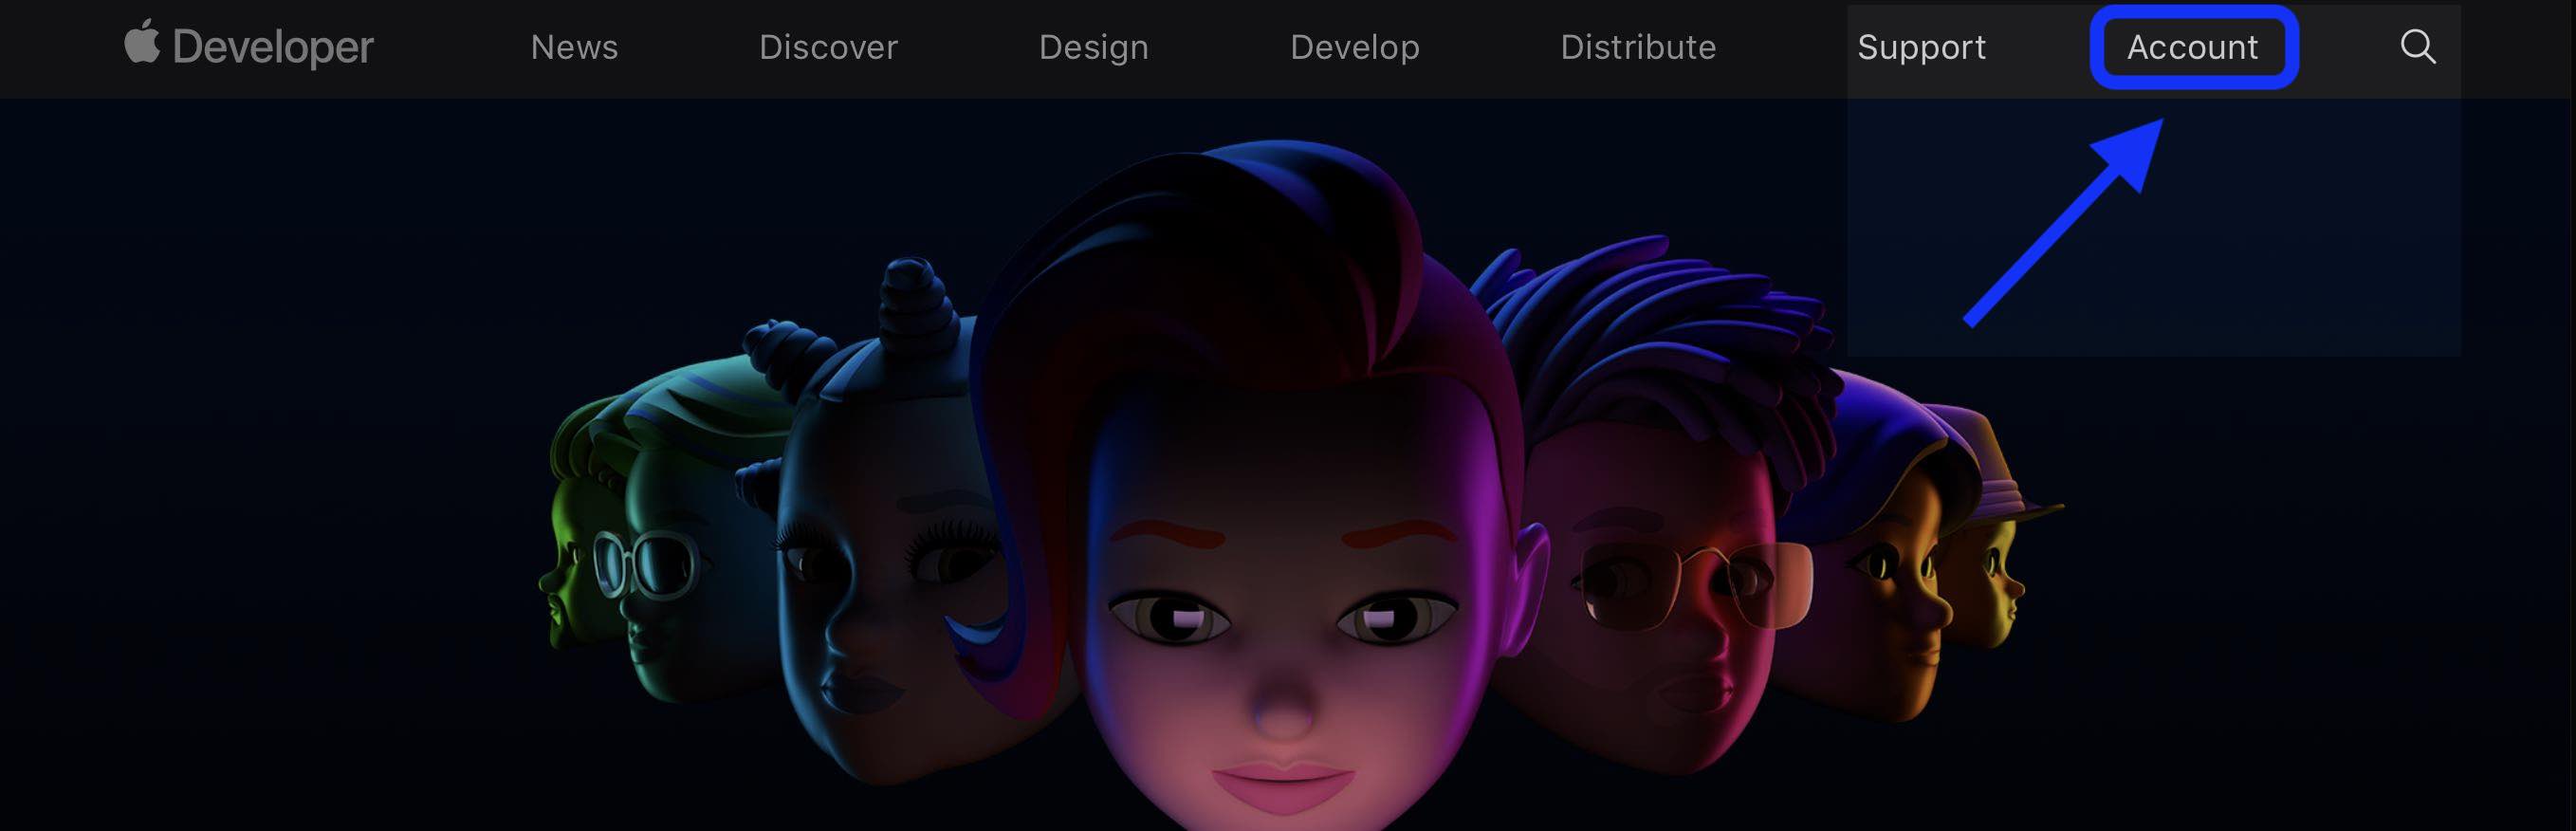
- On your Mac, head to Apple’s Developer website
- Click Account in the top right corner and sign in if you’re not already
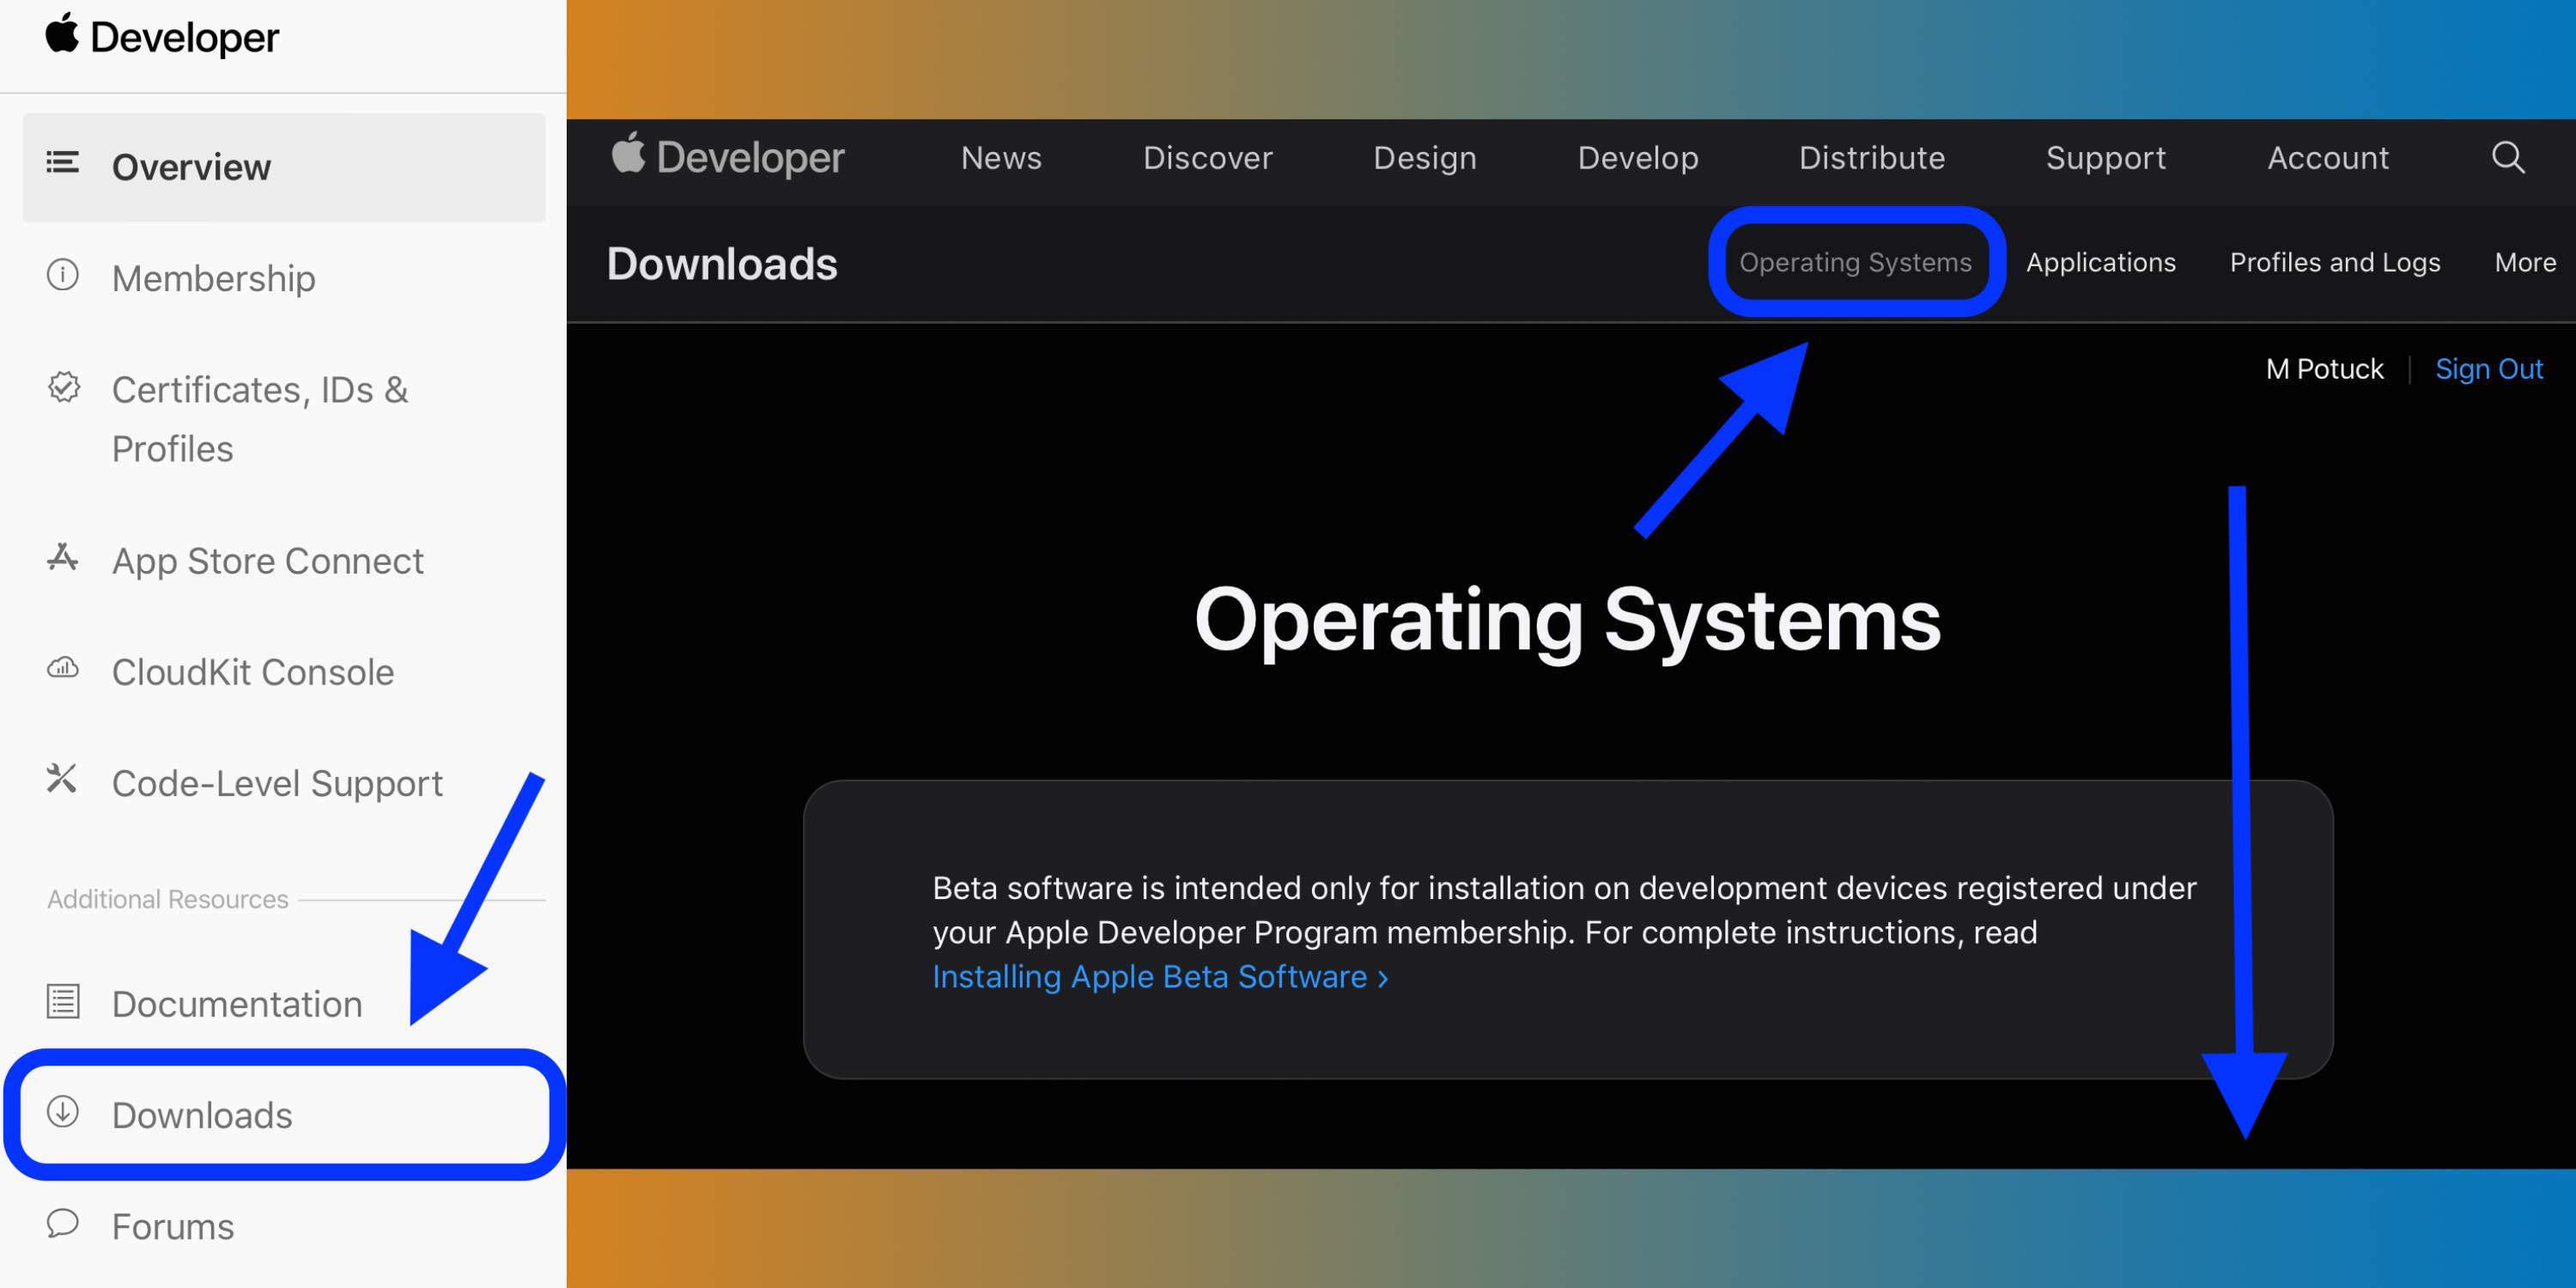
- On the bottom-left, choose Downloads
- Click the two-line icon in the top left corner if you don’t see the option for Downloads
- Make sure the “Operating Systems” tab is selected near the top-right corner
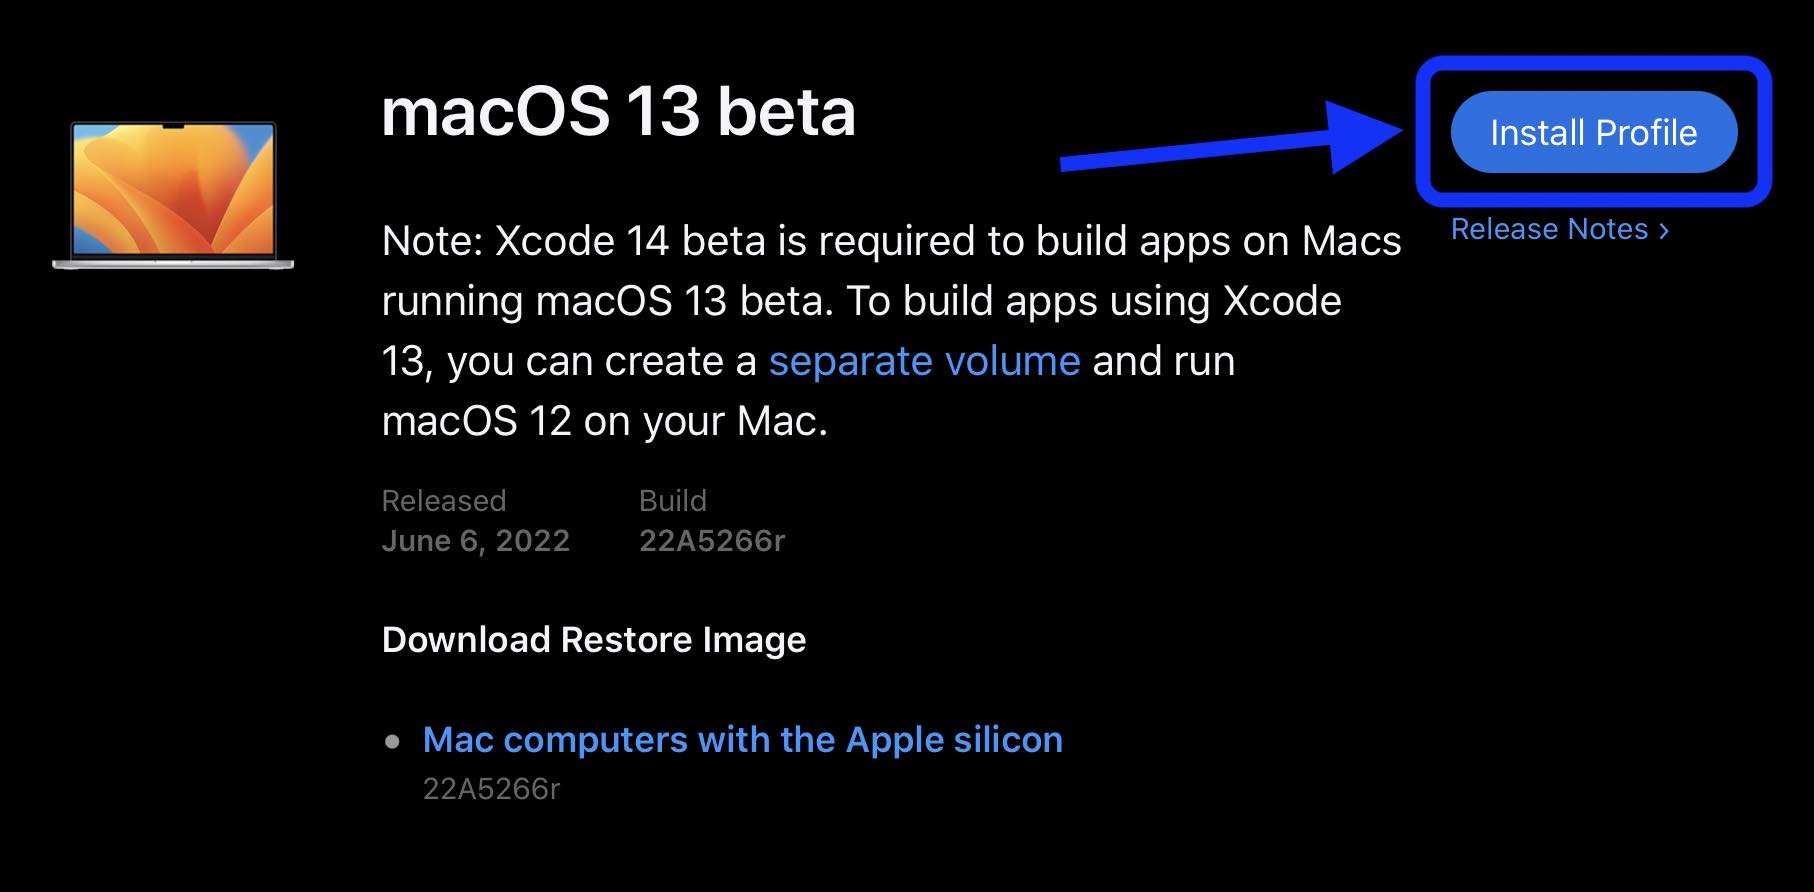
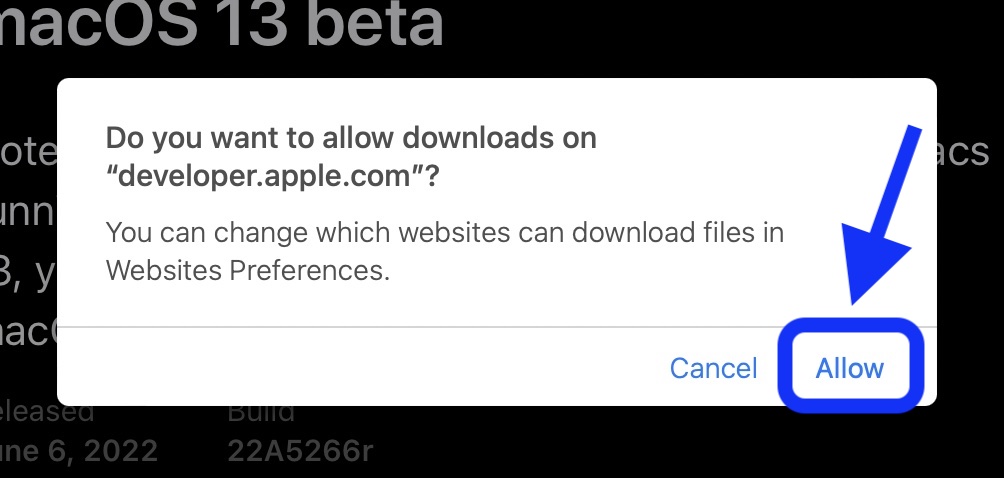
- Scroll down and click Install Profile next to the macOS 13 beta, then choose Allow
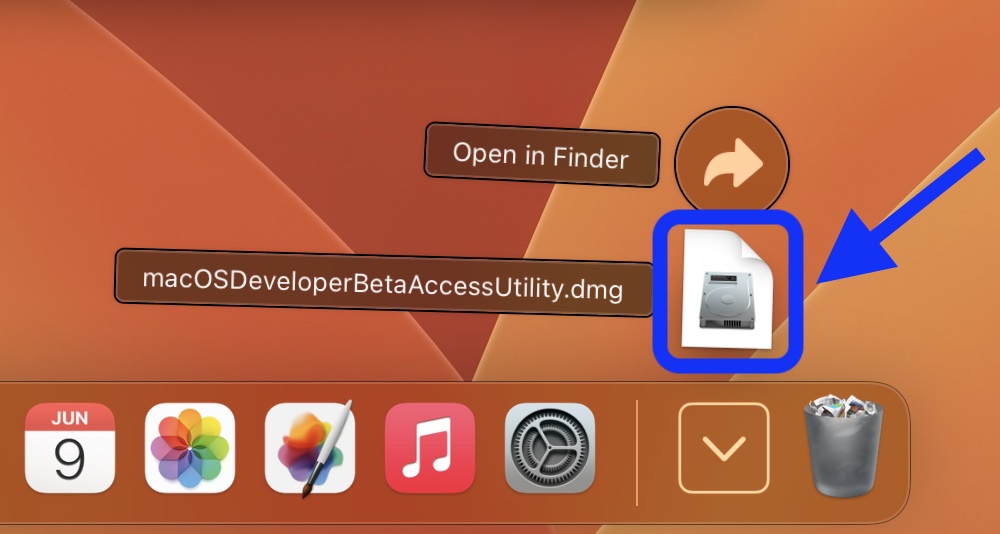
- Head to your Downloads folder and you should see the macOS beta Access Utility
- Click it to mount the utility disk image, then double-click the Access Utility.pkg to install the macOS beta profile on your Mac
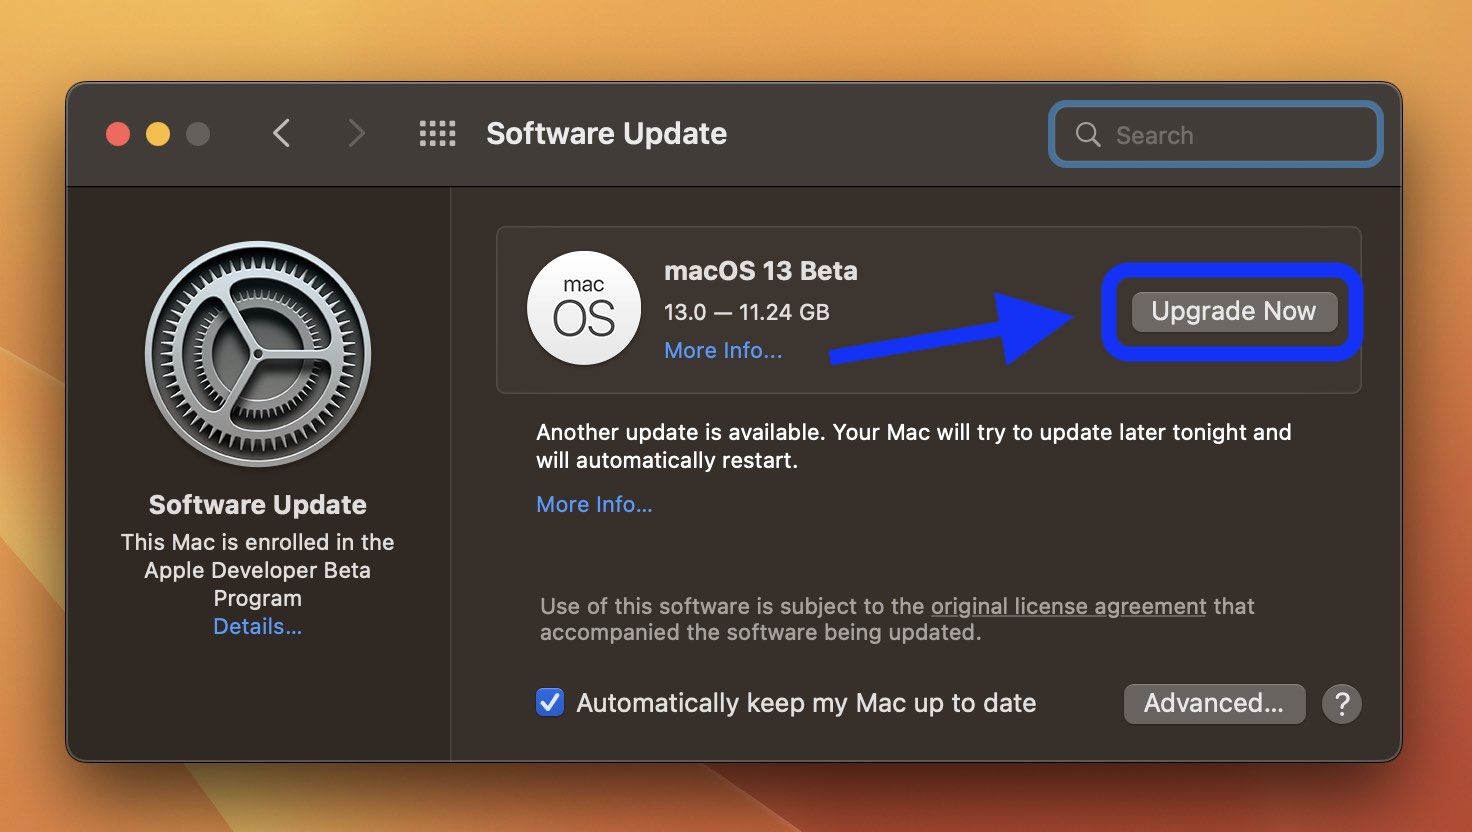
- The System Preferences > Software Update window should launch automatically with the macOS 13 beta appearing, click Upgrade Now to download the update
- When the download is complete follow the prompts to finish the beta installation
Here’s how the process looks for installing the macOS beta and check out our video walkthrough below as well:

Before long you should be all set up with the beta!
Read more on macOS Ventura:
- These macOS Ventura features are exclusive to Apple Silicon-powered Macs
- First look at System Settings redesign on macOS 13 Ventura
- macOS Ventura’s Clock is the Mac app I didn’t know I needed
- Apple Mail modernizes with several new features in macOS Ventura and iOS 16
FTC: We use income earning auto affiliate links. More.


Comments