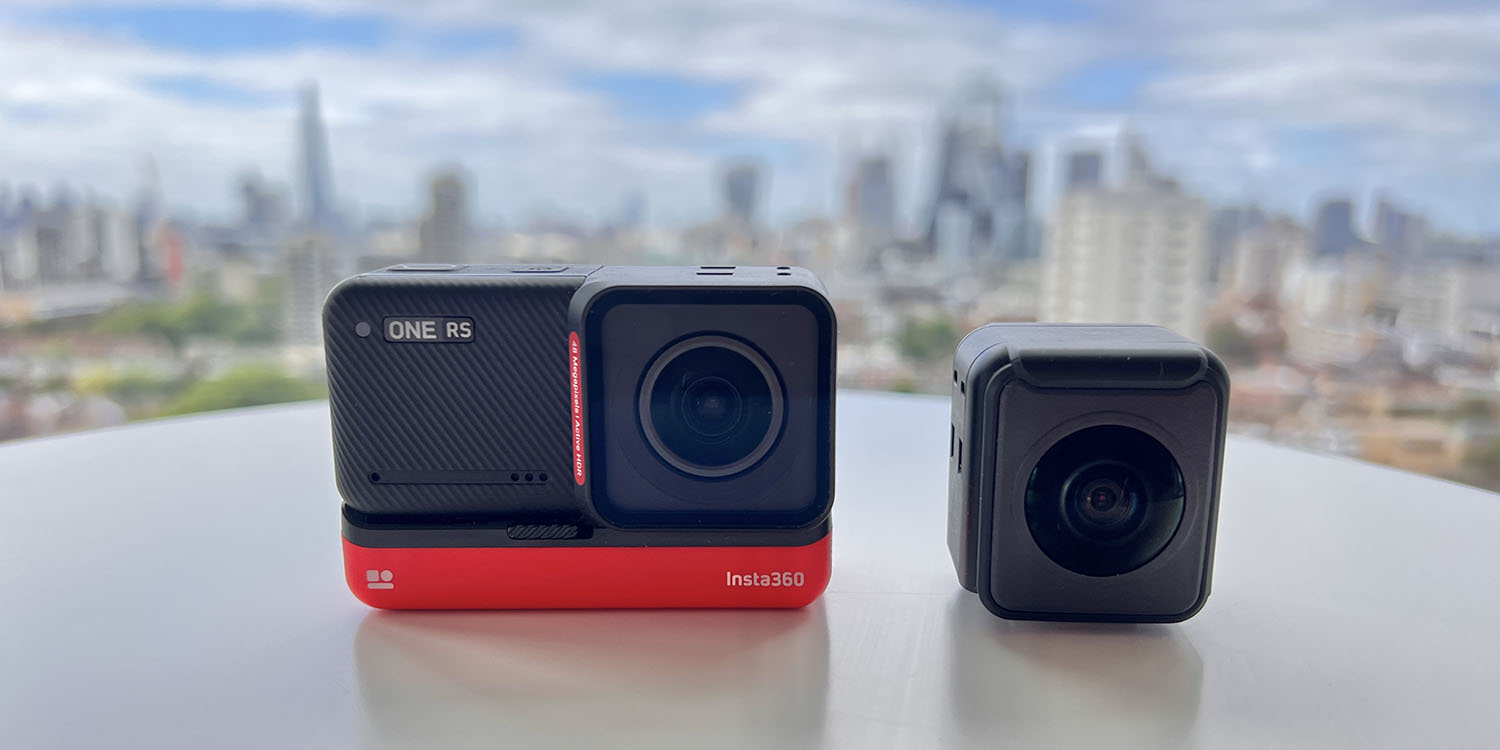
My first experience of using a 360-degree camera was a few years ago, the Insta360 ONE iPhone module. The Insta360 ONE RS Twin Edition is the company’s attempt to provide a complete action cam package, combining both 360-degree footage and conventional GoPro-style video in one modular system.
It’s a very neat approach, for not too much more than the cost of a single-camera GoPro Hero 10, and integrates extremely well with an iPhone app. You also get dedicated editing apps for both iOS and Mac …
The Insta360 ONE RS Twin Edition
Insta360 has a pretty confusing array of cameras (including the super-pocketable Insta360 GO 2 I tested recently), and brings out new ones at frequent intervals. Different packages and similar names add to the confusion, such as the ONE R and ONE RS.
The Insta360 ONE RS Twin Edition is a package that gets you:
- The main unit (“brains” and display)
- 4K 60fps action camera lens
- 5.7K 360 camera lenses (two lenses facing in opposite directions)
- Battery base
- GoPro-compatible mounting bracket
- Invisible selfie stick (which the companion apps edit out)
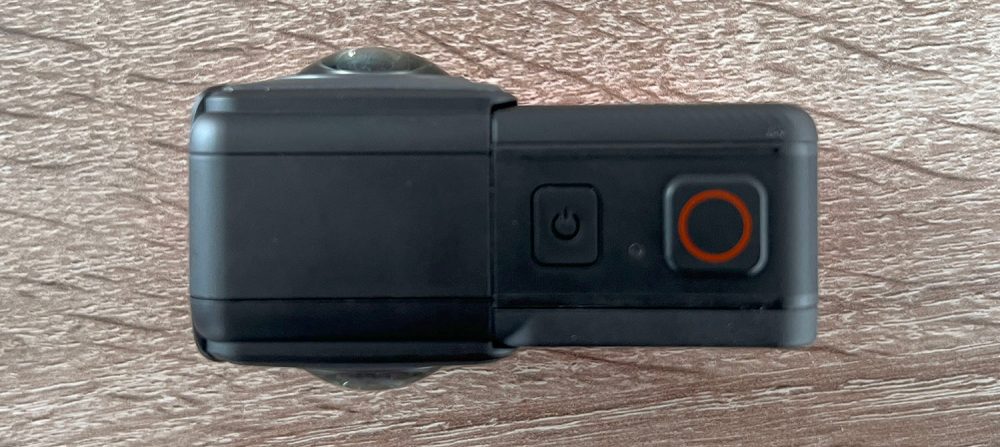
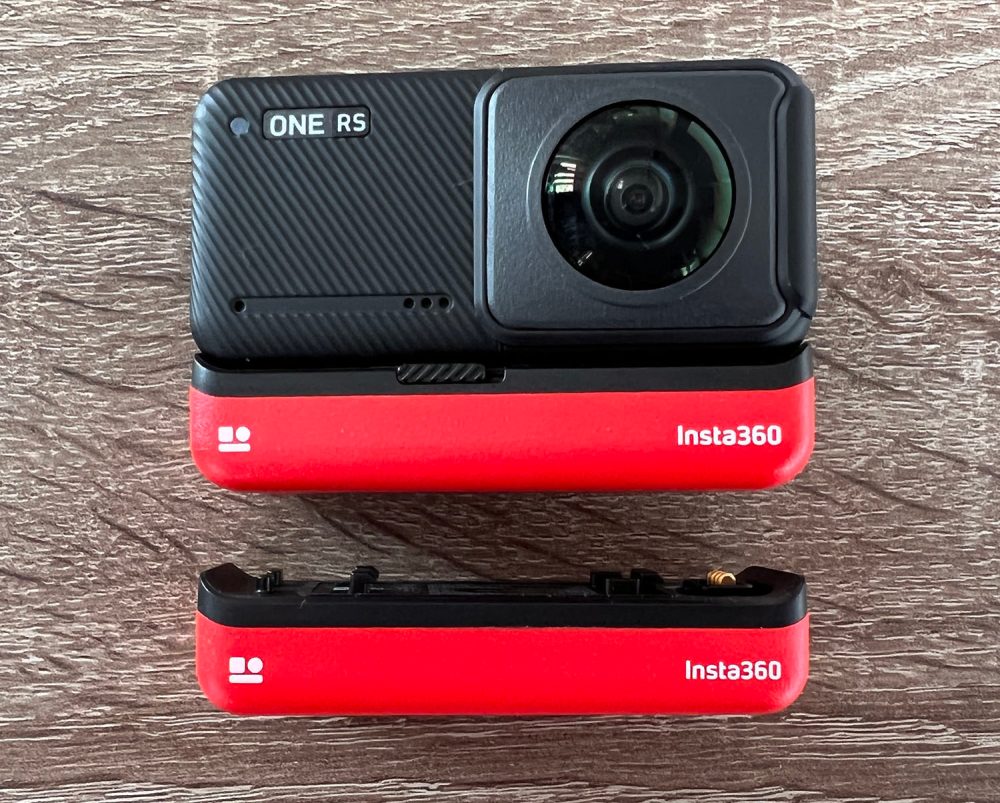
The look, and modules
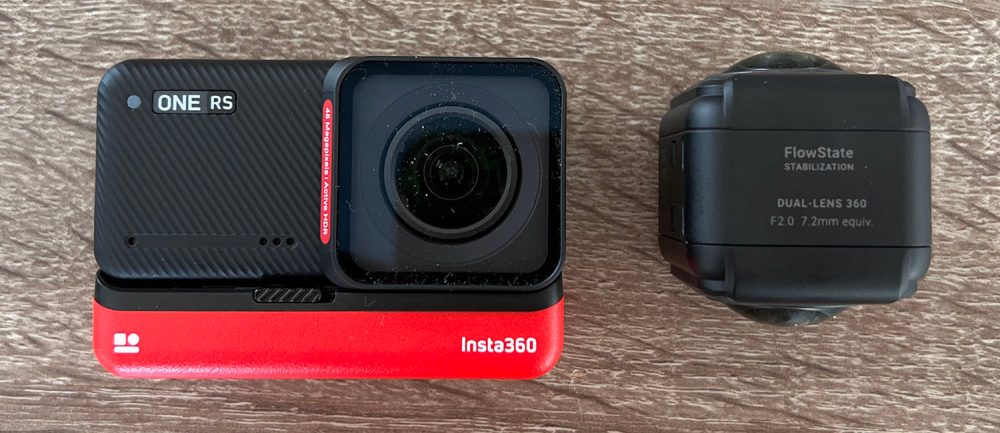
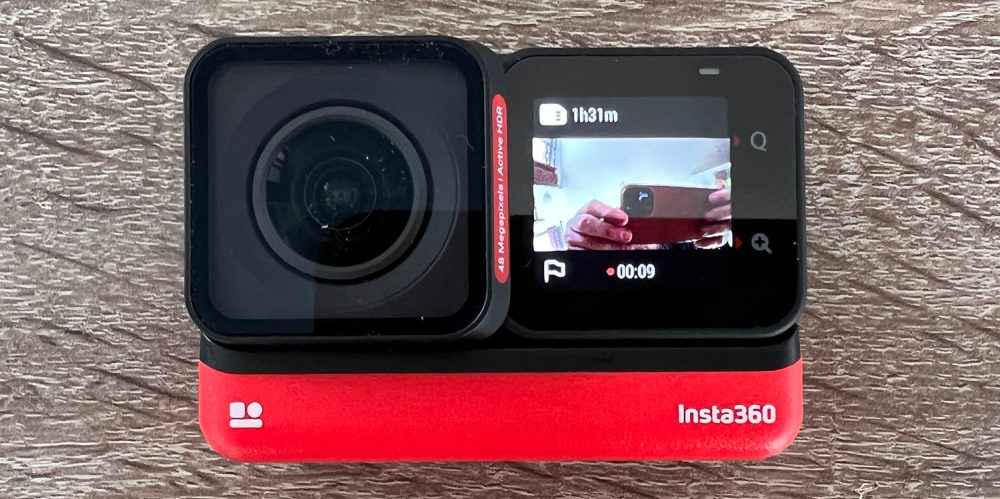
With the 4K standard lens attached in the forward-facing position, the ONE RS looks fairly similar to a GoPro. The main distinguishing feature is the bright red battery base. Here you can see it with the 360-degree module alongside:
But the lens module can be reversed, so if you’re filming yourself, just pull it off, reverse it, and push it back into place. There are no latches, so it takes just seconds.
It’s equally quick to swap the standard 4K lens module for the 5.7K 360-degree one.
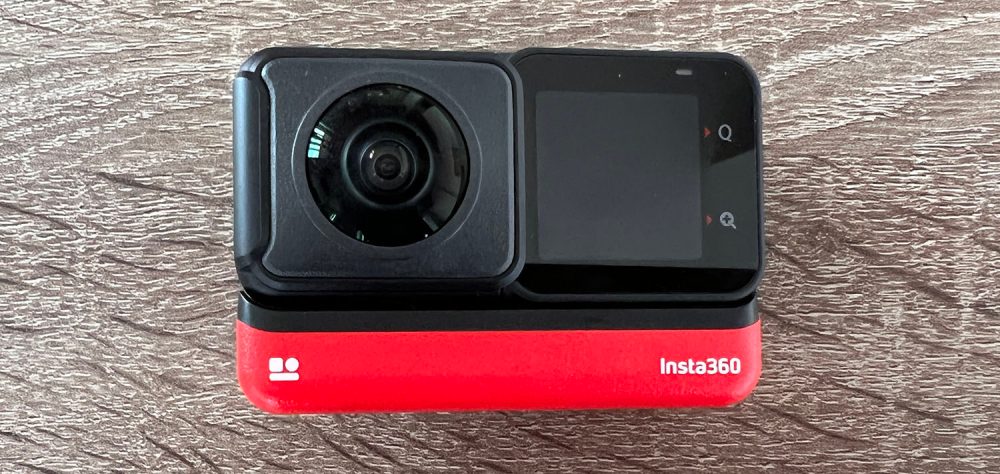
This is really two 180-degree lenses, back-to-back.
Swapping the battery pack is slightly fiddlier, as there is a small sliding latch to release it. But it’s still much easier than the normal action cam arrangement of a locking latch on the camera, and a second locking latch on the battery. Indeed, the external battery pack is one of my favorite elements of the modular design (shown here with a spare battery beneath it):
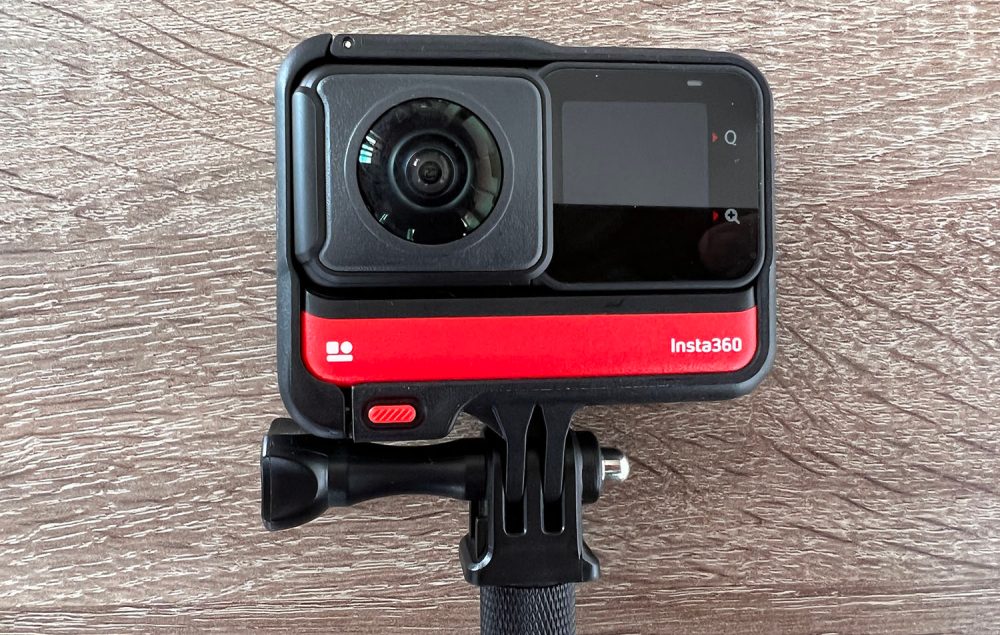
Whatever module configuration you have, the camera slides into the same mounting bracket – essentially an edges-only case – which has a standard GoPro mount. This makes it compatible with the vast range of GoPro and third-party mounting options available, and is especially useful if you’re upgrading from a GoPro, as all your accessories remain usable.
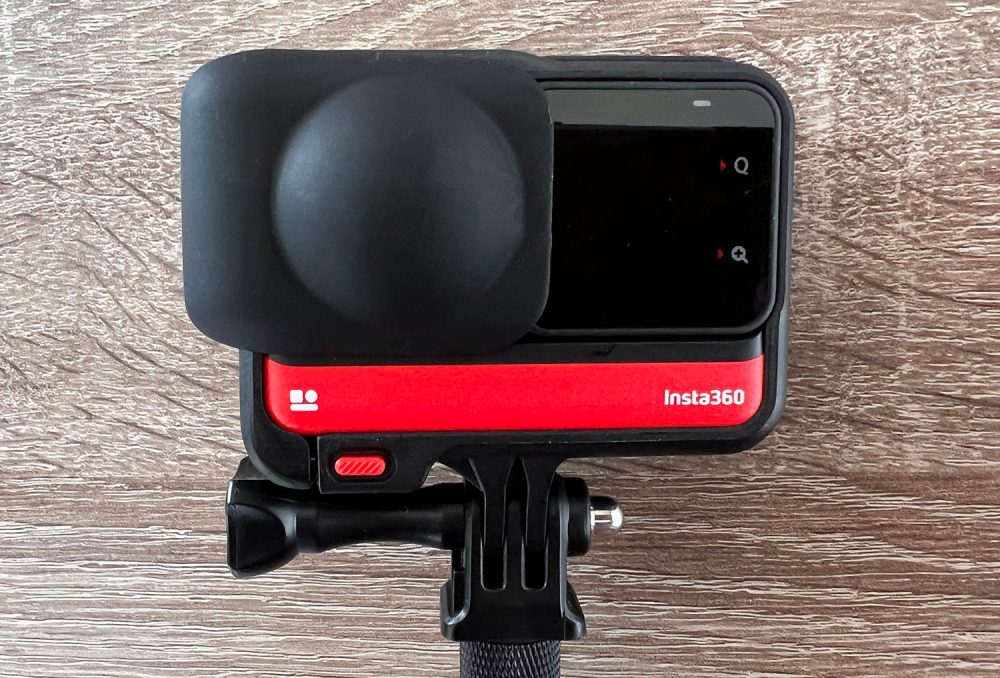
Because the 360 lens is vulnerable to damage, there’s a slide-on rubber protector that can be used whether or not the module is attached to the camera.
Finally, the kit comes with that Insta360 calls the Invisible Selfie Stick. While entirely visible in the plastic, the companion editing apps for both iPhone and Mac are configured to recognize and remove the stick from view, to give a floating drone-like look to the footage.
Specifications
Given that you’re effectively getting two cameras in one, there are separate specs for the 4K and 360 lens configurations.
4K configuration:
- Dimensions: 70 mm x 49 mm x 33 mm
- Weight: 126 g
- Lens: 16 mm equivalent, f/2.4
- Sensor: Half-inch
- Max photo resolution: 8000 x 6000 (4:3) or 8000 x 4500 (16:9)
- Photo format: JPG or RAW
- Photo modes: Standard, HDR, Interval, Night Shot, Starlapse, Burst, PureShot
- Max video resolution: 6016 x 2560 @ 25/24fps
- Slo-mo: 60fps at 3840 x 2160, 100fps at 2720 x 1530, 200fps at 1080p (1920 x 1080)
- Video format: MP4 at 100Mbps
- Video modes: Standard Video, Slow Motion, Active HDR, Timelapse, TimeShift, Loop Recording, 6K Widescreen
- Video stabilization: Yes (FlowState, in-camera or in-app)
- Claimed battery life: 75 minutes
360 degree configuration:
- Dimensions: 70 mm x 49mm x 43mm
- Weight: 135 g
- Lens: 7.2 mm equivalent, f/2
- Sensor: Half-inch
- Max photo resolution: 6080 x 3040 (2:1)
- Photo format: INSP or RAW (DNG)
- Photo modes: Standard, HDR, Interval, Night Shot, Starlapse, Burst, PureShot
- Max video resolution: 5760 x 2880 @ 30/25/24fps
- Slo-mo: 100fps at 3008 x 1504
- Video format: INSV at 100Mbps
- Video modes: Standard Video, HDR, Timelapse, TimeShift, Bullet Time, Loop Recording
- Video stabilization: No
- Claimed battery life: 82 minutes
In use
As is usual with today’s action cams, you can either use the camera in standalone mode or via an iPhone app.
The first decision you’ll need to make is whether you want to shoot conventional fixed-viewpoint 4K footage, or 360-degree video. That can be a tough call, because 4K gets you much higher (effective) resolution, while the 360 module gets you a less clear but more immersive experience.
If you opt for 360 footage, then you can later choose whether to edit and export as native 360 (spherical) video, or to reframe in edit. The latter is like you had infinite cameras shooting in different directions, with the ability to choose the viewpoint you want for each moment during the edit. The same resolution proviso applies: that claimed 5.7K resolution is across the whole field of view. However, as you are taking a smaller chunk of it for each view, this – happily – looks very much like 1080p footage.
The 4K module is pretty much standard, and I don’t have much to say about that beyond that it gives comparable results to GoPro, so this review is focused on the 360 cam.
Native 360 output
The first time I used it was when attending the opening of Apple Brompton Road, the fifth Apple Store in London, and the third flagship. Since I knew there would be plenty of standard video online, as half the people in the store were shooting with their iPhones, I opted to shoot 360-degree video to provide the most immersive experience possible.
I mentioned earlier that this did teach me a couple of lessons about shooting 360 video.
First, my assumption that it didn’t matter which way around I held the camera, since it is shooting all angles, isn’t quite correct. At least, not if you’re shooting native 360-degree footage, which lets the viewer choose the direction in which they look. (It’s not an issue if you’re going to reframe the video yourself.)
There is a front and a back to the camera, and while the viewer has full control of the direction in which they want to look, the default view is the front camera. Which I managed to hold backwards.
Second, the very wide angle view means that everything looks faster. So although I’m walking around the store at a normal speed, it kind of looks like I’m jogging around at great speed! Unless speed is a desired effect (which it will be for my next test of the camera), you really want to slow down.
With native 360 video, it’s the viewer who chooses the angle. Drag with your finger/mouse to look around. Alternatively, on an iPhone or iPad, you can turn the device instead.
I would love it if the effective resolution were higher – looking more like 1080p – but I do think spherical video is an incredibly powerful tool to really give people a sense of being there.
Reframed video
For my second test, I wanted to edit the video conventionally, so that I was choosing the angles. For this test, I took a high-speed RIB (rigid inflatable boat) ride down the Thames. Tough work, but if not me, who?
The high-speed part of the run starts a little way east of Tower Bridge, and we turn around a little way past Canary Wharf. Since the mic in the fast-moving air mostly captured wind-noise, I did consider replacing it with a music track, but I think the wind-noise gives an accurate sense of the experience!
The camera has built-in Steady State Stabilization, which is on by default. This looks for things in the scene which should be steady – like the horizon or buildings – and aims to keep them smooth while allowing foreground movement.
This did a truly incredible job! The RIB ride was incredibly bumpy, but the stabilization keeps the riverside buildings static while allowing the boat movement to be seen. The Insta360 ONE RS has the best software stabilization I’ve seen, period.
Insta360 Studio editing app
Last time I tested a 360-degree cam, I did the editing in Final Cut Pro, but this time I opted to try Insta360 Studio, the company’s own editing app. This is free, but you do need to enter the serial number of your camera to activate it.
Editing in the app is an interesting experience. You place a keyframe marker on the timeline, then when you’re ready to switch to a new angle, drop a new marker, and manually drag to the new viewpoint. Unlike conventional editing, however, the app will smoothly transition between viewpoints instead of an instant switch.
This is deliciously easy to do, and I personally think the panning transitions work better than jump cuts, but there is a bit of trial-and-error involved to get the framing you want all the way through. For example, when we overtook a sightseeing boat, and again when we were playing in the wake of an Uber boat. But you can simply drag the markers back and forth as necessary, so it’s not difficult.
You can choose your aspect ratio, and also choose natural view or some special effects. The only effect I used was Tiny Planet for the opening and closing – everything else was Natural View.
I found smooth transitions work best, but I did throw in a couple of fast ones so you can see how that looks. This includes a “head over heels” shot, which made me dizzy.
Insta360 ONE RS: Pricing and conclusions
Pricing depends on the exact package you get. The Insta360 ONE RS Twin Edition package I tested costs just under $500 (or less on Amazon). Given that you’re getting both a 360-cam and a GoPro style cam, and both are excellent, I think that’s good value.
The 360-degree view is of course a distorted one. It’s not something you’d choose for every video for sure, which is why the twin-pack makes so much sense. But I don’t think you can beat 360-degree video for a real sense of being there.
There’s another massive advantage for 360 video in my view: You can get to fully enjoy the live experience, not be experiencing it through a screen. For the RIB ride, I just held the selfie stick up and then relaxed and enjoyed the experience!
In terms of choosing between native 360 – where the viewer chooses the angle – and reframed, where you do, I think this depends on the intended usage. Most of the time, I think reframed makes sense, as most video viewing is passive, and most video creators want to choose what the viewers see (or don’t see).
However, if your audience has a more active interest in the subject matter, then there’s a lot to be said for letting them choose what to look at. Given enough interest, they are likely to watch the video several times, looking at different things each time.
Short of one of those AI drones that automatically follows you, this is hands-down the best way to shoot action footage, and this is a superb camera kit with which to do it. Highly recommended.
The Insta360 ONE RS Twin Edition is available on Amazon, along with many other packages. It can also be found at Apple Stores.
FTC: We use income earning auto affiliate links. More.


Comments