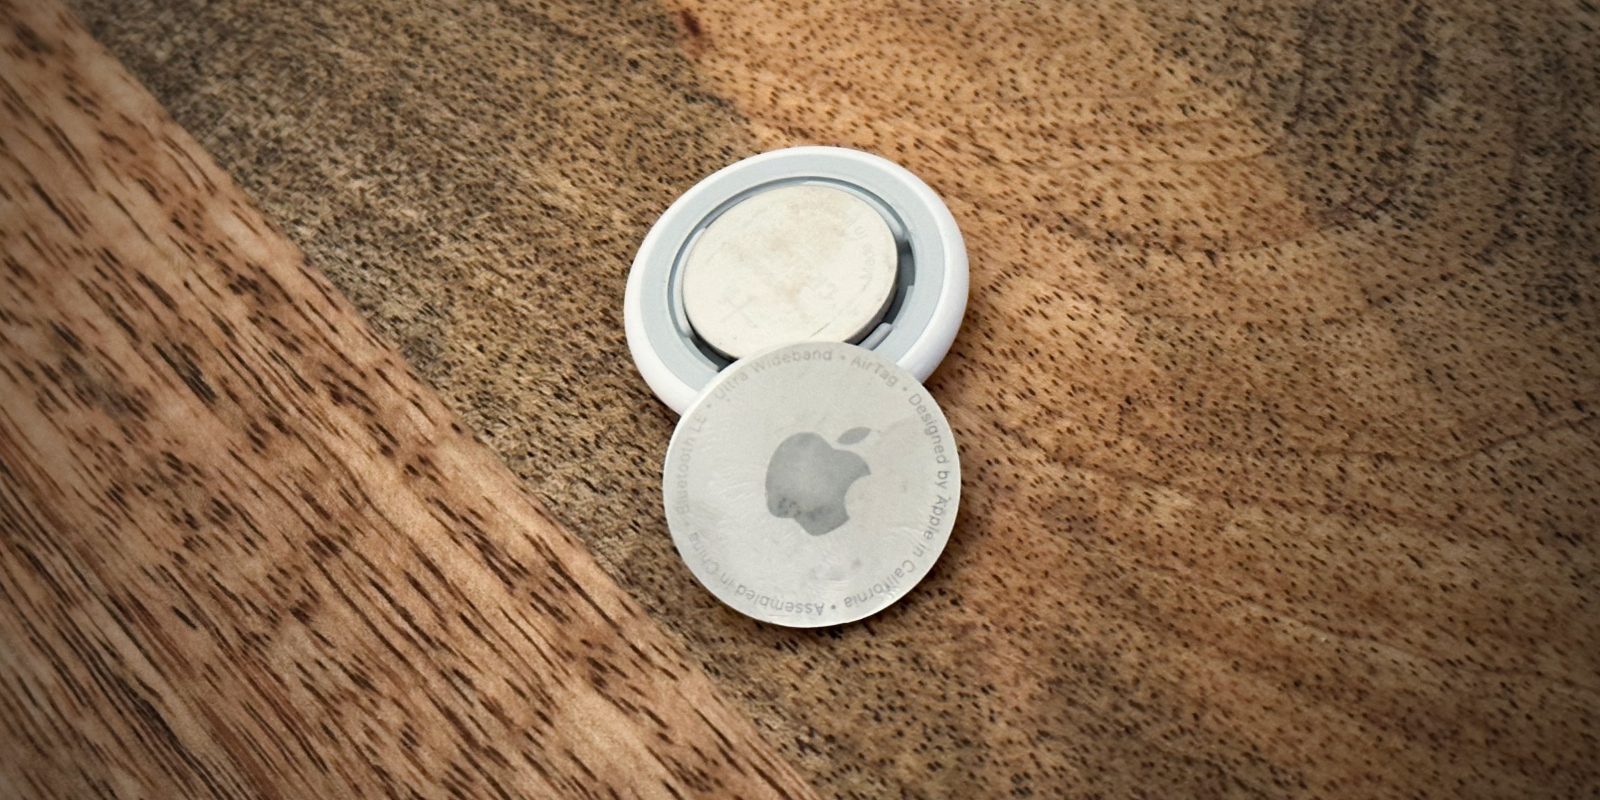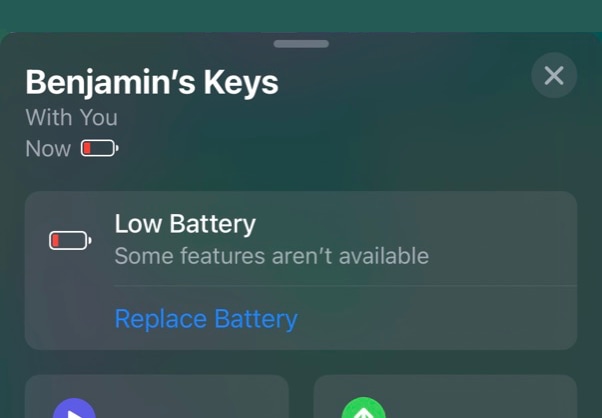
An AirTag will last about one year to eighteen months on a single CR2032 battery. When they are close to running out of juice, you will get a notification on your phone telling you to replace the battery. But how exactly do you replace the battery in an AirTag?
What kinds of batteries can I use in an AirTag?
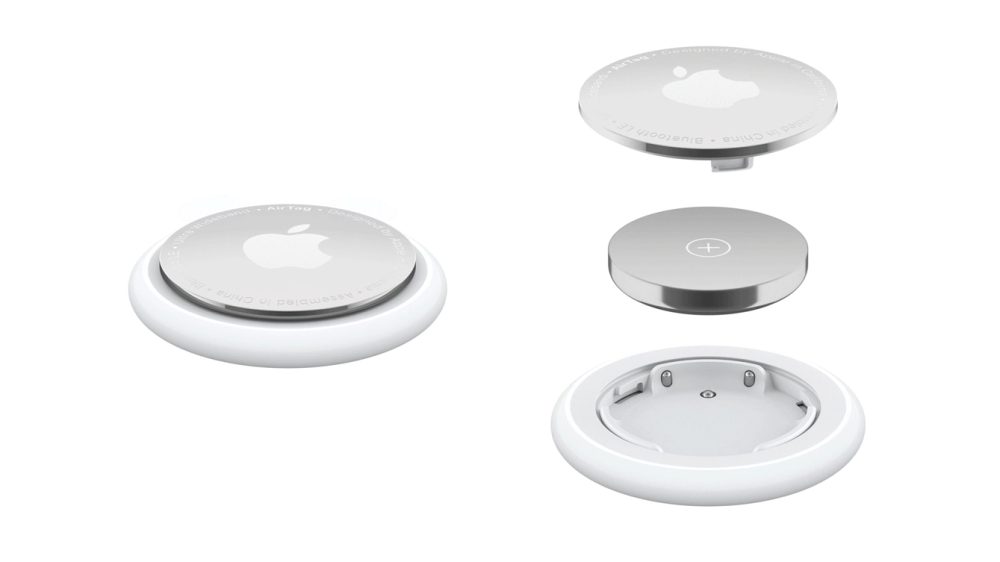
The AirTag works with standard CR2032 lithium cell batteries. The innards of the AirTag are strategically designed such that metal contacts touch both sides of the cell battery.
Some CR2032 batteries on the market have been treated with a chemical agent to deter children from putting them in their mouths, called a bitterant that intentionally gives off a poor taste.
However, the bitterant also impacts the conductivity of the cell and may not be able to make contact with the AirTag. You can remove the bitterant manually, but it’s probably easier to buy bitterant-free batteries in the first place.

Energizer batteries are a good choice of battery from a reputable brand that do not have a bitterant applied.
How to know if my AirTag battery needs to be replaced?
You will get a notification on your iPhone when the AirTag notices that its battery is running low. The AirTag will typically keep working for several months after you receive the Low Battery notification though. Some power-intensive features — like Nearby Finding — will gradually be disabled before the entire AirTag goes completely dead.

You can also check the status of your AirTag battery in the Find My app. Open Find My, go to the Items tab and tap on your AirTag accessory. If the battery is low, a Low Battery warning will be displayed.
How to replace the AirTag battery?

- Place the AirTag in your palm, face down.
- Press down on the metal back with two fingers and twist anticlockwise. The metal back will release and pop up. Place it aside.
- Take out the old battery. Place the old battery inside instead, positive side (denoted by a + marking) facing up.
- Put the back cover back over the top, aligning the three tabs with the three holes in the AirTag.
- Place two fingers down and rotate in a clockwise direction until the back cover snaps into place. You may need to use some force here; if the pressure is too light, the cover will not click in.
When the battery is successfully replaced, the AirTag will make a noise to indicate success. After the battery is replaced, you may need to re-connect the tag to the phone. Hold it close and follow the prompts. You will not have to set it up from scratch; it will remember your previous settings.
FTC: We use income earning auto affiliate links. More.


Comments