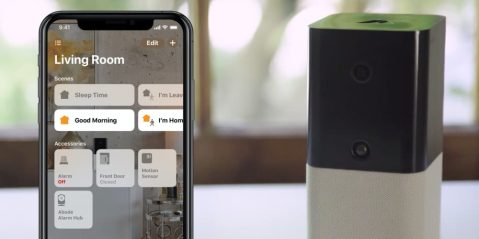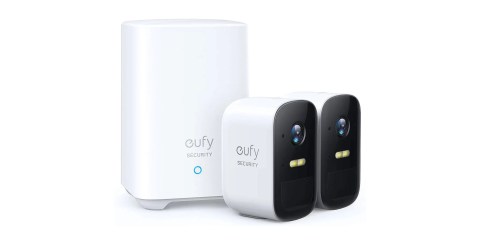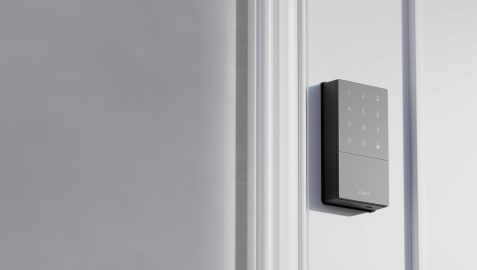
My wife and I have recently finalized the plans for our new home, so I am now able to think through how the HomeKit setup will work thoroughly. I plan to completely rebuild the “Home” to eliminate any software “crud” accumulated over the years. The first aspect I’ve been thinking through is what kind of cameras I want to use. I’ve debated using Nest cameras for outdoor use and bridging them to HomeKit using the Starling Home Hub. For indoor use, I am having a hard look at the ONVIS HomeKit Security Indoor Camera in my current home to see how it will work in my new home.
HomeKit Weekly is a series focused on smart home accessories, automation tips and tricks, and everything to do with Apple’s smart home framework.
HomeKit Secure Video sees a nice upgrade in iOS 15 related to the maximum cameras you can have in your account. Before iOS 15, you were limited to five cameras if you had the $9.99/month iCloud account. Now, if you have the highest-priced iCloud account, you’ll have the option for unlimited cameras. Five cameras might seem like a lot, but you can go through that limit very quickly if you have indoor and outdoor cameras. With the iOS 15 upgrade, you can deck out your outdoors with maximum coverage while still having the option to cover indoor areas strategically.
ONVIS HomeKit Security Indoor Camera
ONVIS, as a brand, has been making HomeKit products for as long as I can remember. The ONVIS Light Strips are some of the best I’ve used, so I was ready to put ONVIS’ HomeKit Secure Camera through its paces.
Maybe it’s because I’ve added over a dozen cameras to HomeKit over the years, but I had this camera unboxed and working in HomeKit in three minutes. The power input on the cameras uses USB-C, and it includes a USB-C to USB-A cord and adaptor. I appreciate the use of USB-C, though. It’s frustrating when products still use mini-USB in 2021, so I am looking forward to a world where everything is USB-C.
ONVIS prints the HomeKit code right on the camera, which I appreciate. Losing a device’s HomeKit code makes it unusable. I would always advise creating a backup in HomePass as well.
ONVIS includes a feature that you don’t often find in HomeKit products. It supports 5 GHz Wi-Fi, where a lot of HomeKit devices only support 2.4 GHz.
Something to remember with HomeKit Cameras is that even if you don’t want to stream or record while you’re at home, you can still use them as a motion detector to turn on lights when it detects motion.
HomeKit Secure Video with ONVIS

An aspect of HomeKit that doesn’t get much discussion is how it creates unified expectations for all of your devices. For example, when a device works with HomeKit Secure Video, there is an expectation of how it will work. You know it’ll support end-to-end encryption on the video footage. It’ll let you set it to streaming only or off when you’re at home if that’s your desire. I love how easy HomeKit makes everything. You’ll need either an Apple TV or a HomePod product to make everything work well with HomeKit.
Local storage in ONVIS camera
ONVIS has the option to use an SD card for local storage if you want to go that route for storage as well. You’ll be able to retrieve this footage in the ONVIS app. The ONVIS app is also helpful for updating the camera’s firmware as well.
Is ONVIS the best indoor HomeKit camera?
The ONVIS Indoor Camera makes a strong contender for the best indoor HomeKit camera. It’s purpose-built for HomeKit Secure Video, has USB-C for power, includes an SD card storage option, and is affordable. So if you’re looking to add a few cameras inside your house but want the security of HomeKit’s recording options, it’s worth taking a look at the ONVIS camera.
FTC: We use income earning auto affiliate links. More.


Comments