Making it easier to work to control my HomeKit accessories is something I am always thinking about. As easy as using the Home app on my iPhone is or turning items off and on with Siri, sometimes you want to make it even easier – especially for guests and non-smart home fans. You could certainly use the Brilliant panel, but what if you want something a bit easier to install? For example, have you considered an old iPad mounted on the wall? Read on to see how easier it is to configure so it can only work in the Home app.
HomeKit Weekly is a series focused on smart home accessories, automation tips and tricks, and everything to do with Apple’s smart home framework.
Table of contents
Which iPad is best for HomeKit?
Any iPad that will run the latest version of iOS 15 will work great for this situation. So if you’ve got an iPad mini – it’ll be fine. It’s you’ve got a 10.2″ iPad – it’ll work great as well. Whatever iPad you have, it’ll be perfect. Since it’ll ideally stay plugged up to power the entire time, it doesn’t matter if the battery has seen better days.
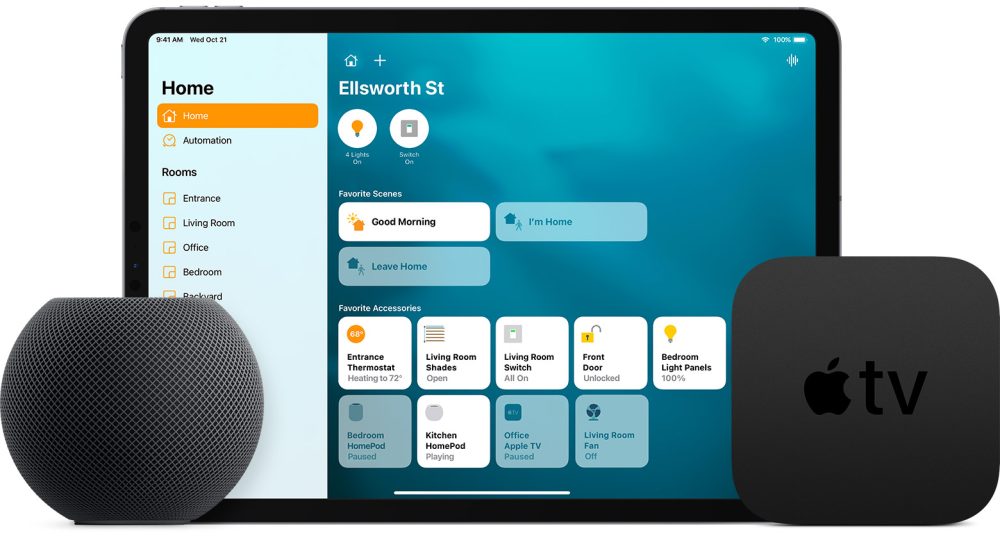
One benefit of using an iPad in this situation is that it’ll function as a Home Hub, but you’ll need to configure it first using the instructions below.
- Tap Settings > [your name] > iCloud and make sure that you’re signed in to iCloud with the Apple ID that you’re using in the Home app.
- Scroll down and check that Home is flipped on.
- Tap Settings > Home and turn on Use this iPad as a Home hub.
- To use your iPad as a HomeKit home hub, it must remain in your home, powered on, and connected to your Wi-Fi.
What gear do you need?
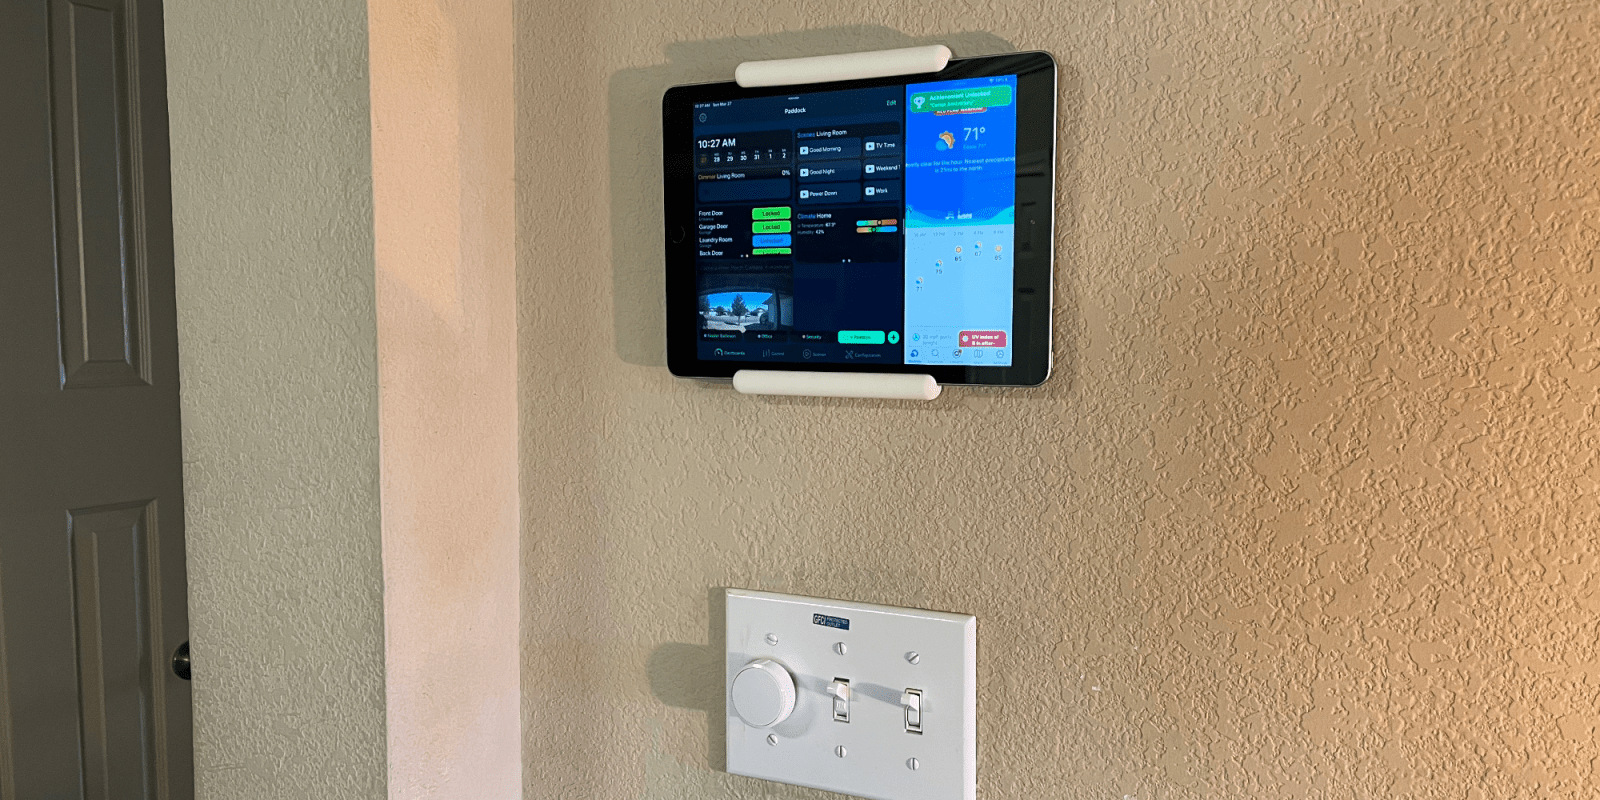
Outside of an old iPad, you’ll need to buy a mount to attach the device to the wall. One of the best options for a wide range of compatibility is the elago Tablet Wall Mount. The iPad is held between two pieces of scratch-free silicone. The design allows you to quickly remove and reattach if you need to reboot, manually install an update to iPadOS, etc. It also includes a 7mm space between the wall and the iPad – making it easy for cable management.
How do you configure the iPad for a HomeKit wall mount?
As long as your iPad is logged in to an iCloud account that has access to your HomeKit setup, half the battle is already over. On the iPad, we’re going to want to use Apple’s Guided Access feature to lock the device to the Home app.
Go to Settings > Accessibility > Guided Access, then enable Guided Access. You can then set up a passcode to disable or use FaceID/Touch ID to end an active session.
Now that it’s enabled, it’s time to launch the Home app. Then, activate Guided Access using Accessibility shortcuts. Now, you’ve got an iPad that’s locked to the Home app. You can also prevent the iPad from sleeping – which is ideal as the iPad should be on permanent power.
What else can I do?
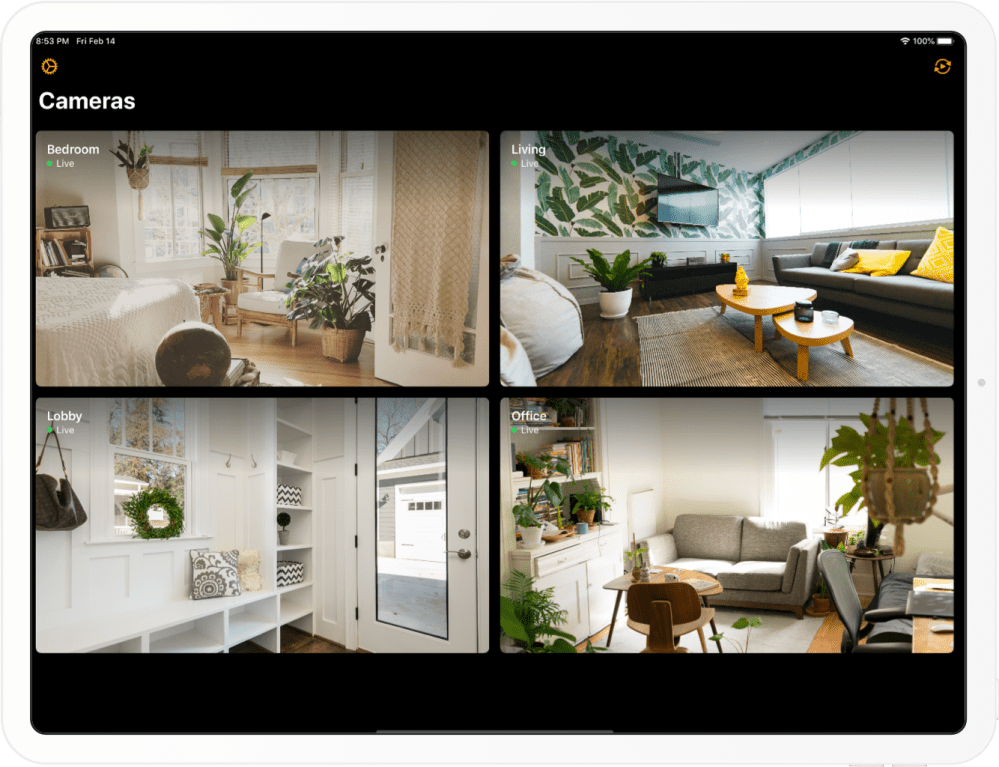
If you don’t want to lock the iPad to the Home app, you might consider HomeCam for HomeKit instead of the Home app. It’ll allow you to monitor your favorite HomeKit cameras like the Circle View camera, the outdoor eufy cameras, or the Circle View doorbell. It might be especially beneficial to put it near your bed to quickly check cameras if you hear something outside in the middle of the night.
Summary
Using an old iPad as a “HomeKit controller” is a great way to breathe life into a device that might not be powerful enough for daily iPadOS usage. Grab the elago Tablet Wall Mount, a long enough power cord to keep it charged, and you’ll have all you need to give easy access to HomeKit or other HomeKit accessories without needing to use Siri or find your iPhone that probably slipped between the couch cushions.
FTC: We use income earning auto affiliate links. More.


Comments