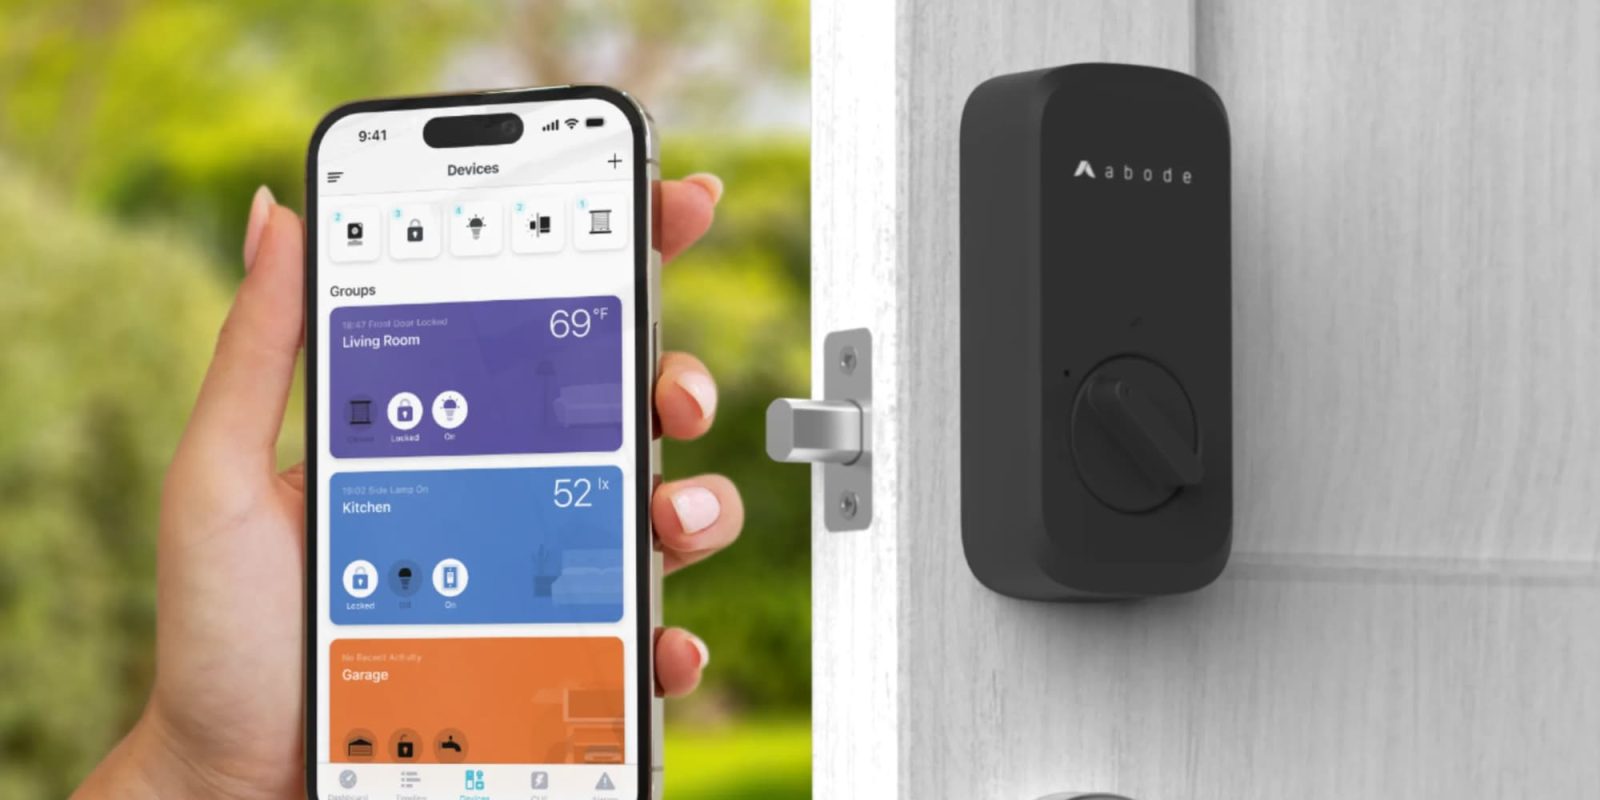
I’ve been using Abode as my security system for over four years at this point. Even when I built a new house in 2022, I decided to choose Abode once again despite being able to pick from anything. It strikes a really nice balance between ease of use, strong technology, and reliability. The products are affordable, and the monitoring plan works great. Because the company has a UL-certified monitoring station. Abode recently released a new Abode Lock & Keypad smart lock, and I’ve had a little time to integrate it into the Abode ecosystem to see how it works.
HomeKit Weekly is a series focused on smart home accessories, automation tips and tricks, and everything to do with Apple’s smart home framework.
Smart home compatibility
The major downside of the Abode Lock & Keypad is it’s only compatible with Amazon Alexa and Google Assistant. Even though the actual Abode security system and many accessories are compatible with HomeKit, the lock isn’t. I would have loved to see HomeKit support it, but I still love the Abode ecosystem. You’ll likely be able to control it over Homebridge, at least somewhat.
Installation process
If you’ve ever installed the August Smart Lock, you’ll be very comfortable installing the Abode Lock & Keypad. Similar to August, it only replaces the interior part of the deadbolt. This style is either a huge bonus or a major negative for you. The half-and-half option is fantastic for someone very concerned about the design of a smart lock on the exterior. If you want something that will offer a full lock experience, you’ll need to look elsewhere.
One thing I’ve experienced after installing countless of these is that replacing just the interior part of a lock much easier, so if you’re concerned about the physical installation part of a smart lock, keep that in mind.
As you can see in the video, you’ll want to tape the outside of your deadbolt so it won’t fall off. You’ll then want to take off the screw to your existing deadbolt and then start in the installation process. It’ll take around fifteen minutes. One thing to note: you’ll want to make sure the battery is fully charged. The light will turn blue once it’s charged. The rechargeable battery is charged by USB-C. I had a little trouble getting the front cover off, but once I did, it was a breeze.
Once you’ve installed the lock, you’ll go into the Abode app to add it to your app. You’ll choose Security Add-ons, Abode Lock, walk through the steps, enter your Wi-Fi information, and then it’ll scan to look for the lock. The Abode Lock can be paired to either a 2.4GHz or 5GHz Wi-Fi network.
Using the lock
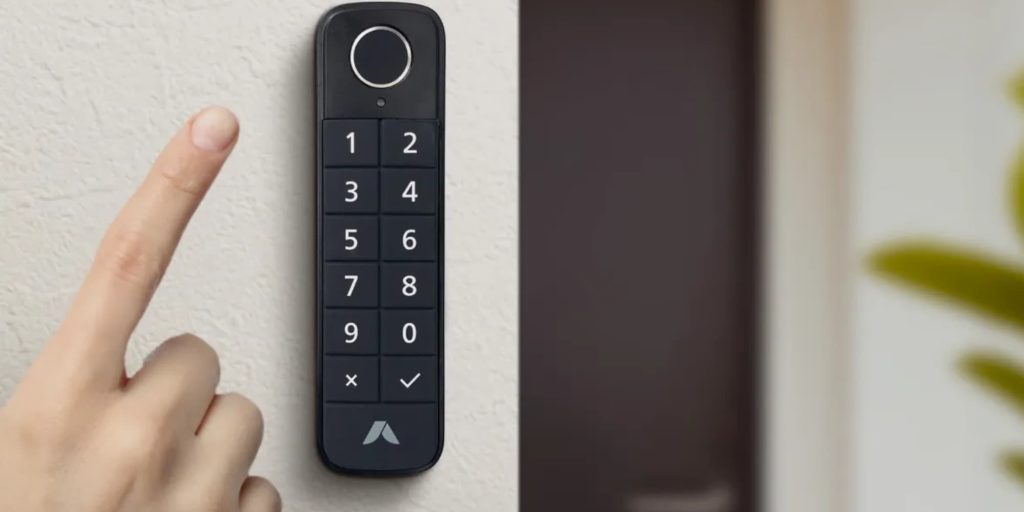
The Abode Lock & Keypad offers multiple ways to interact with the lock via the Abode app, allowing for manual operation or integration with Abode’s CUE Automation as an actionable item. You can add up to 10 people to the app. Each user can create a unique PIN and register a fingerprint for access. However, setting up fingerprint access requires the presence of both the account holder and the user, ensuring secure enrollment.
To lock your door, the Abode Lock can be secured directly from the app or through a CUE Automation. If you want to lock the door without the app, you can use your physical key or by pressing and holding a single button on the keypad for about five seconds. One thing to note that while PINs and your finger can unlock the device, they cannot lock it.
Additionally, the Abode Lock & Keypad has an Auto Lock function, which I love. It automatically secures the Abode Lock after a predetermined period. This feature is adjustable via the lock’s settings in the app, with time delays varying from 10 seconds to 30 minutes.
Wrap up
The major downside of the Abode Lock & Keypad is the lack of HomeKit support. You can add it as an iOS home screen widget, though. There are some nice integrations within the Abode app, if you use the Abode security system, I highly recommend it.
You can buy the Abode Lock & Keypad from Amazon or directly from Abode.
FTC: We use income earning auto affiliate links. More.


Comments