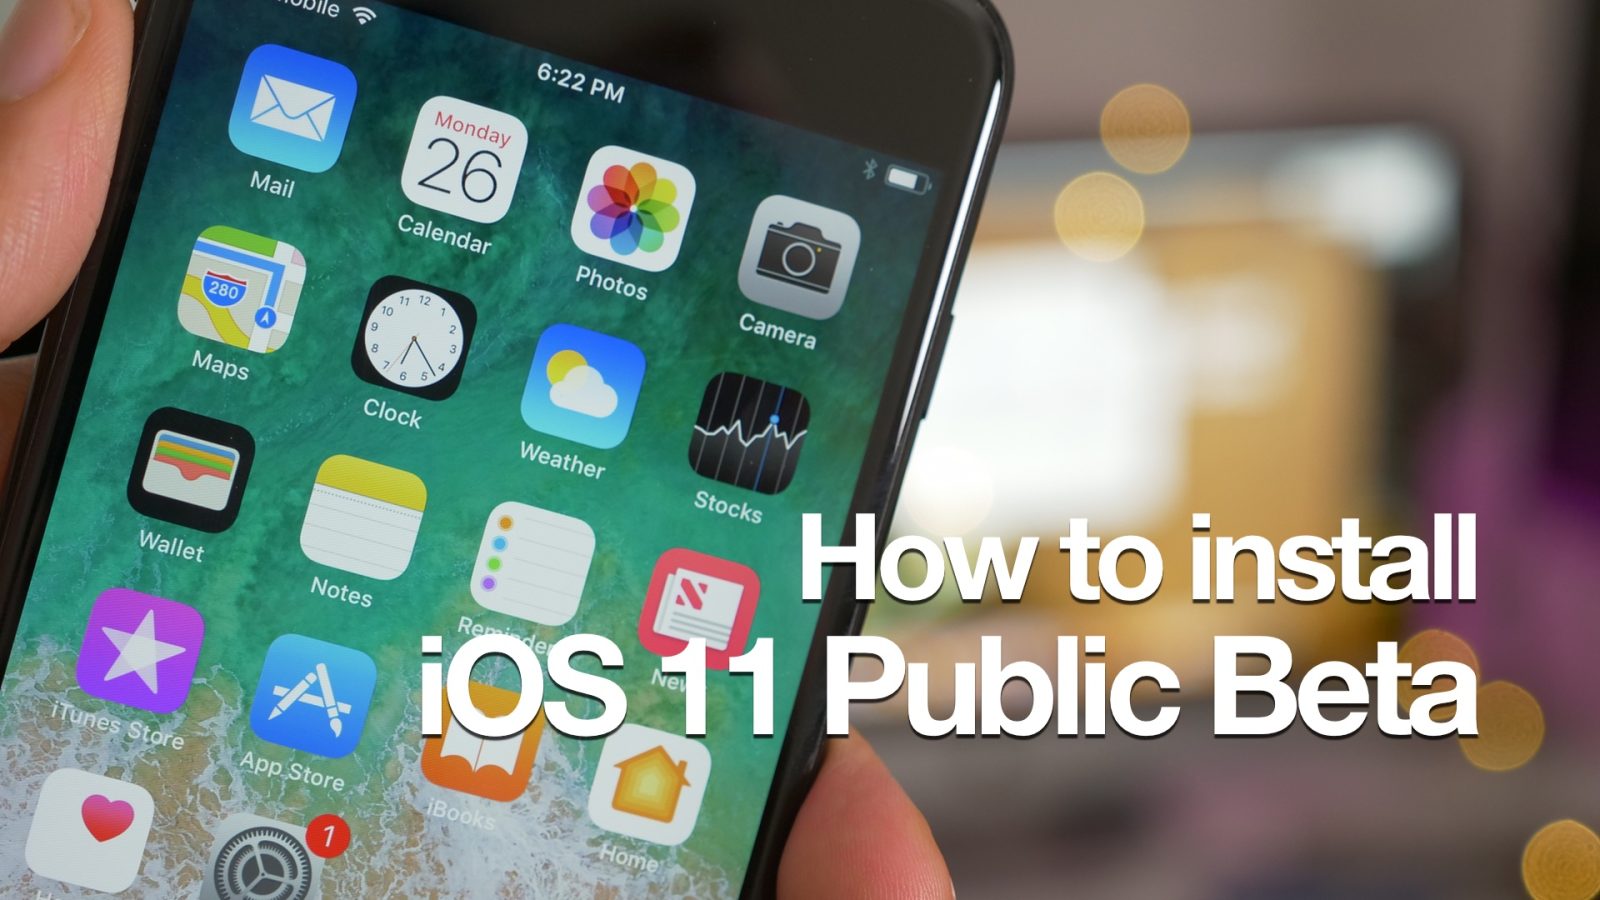
As we just noted, the iOS 11 public beta has been released for anyone who is interested in trying iOS 11 before it is officially released later this fall. That means that you don’t have to be a registered Apple developer in order to install iOS 11, as the public beta process affords a straightforward process for anyone wishing to take the software for an early test drive. In this walkthrough, we’ll guide you through the iOS 11 install process step-by-step on your eligible iPhone, iPad, or iPod touch.
Will my device work with the iOS 11 public beta?
Of course, not every iOS device out there will work with iOS 11. Here is a list of all supported devices:
iPhone
- iPhone 7
- iPhone 7 Plus
- iPhone 6s
- iPhone 6s Plus
- iPhone 6
- iPhone 6 Plus
- iPhone SE
- iPhone 5s
iPad
- 12.9-inch iPad Pro
2nd generation - 12.9-inch iPad Pro
1st generation - 10.5-inch iPad Pro
- 9.7-inch iPad Pro
- iPad Air 2
- iPad Air
- iPad
5th generation - iPad mini 4
- iPad mini 3
- iPad mini 2
iPod touch
- iPod touch
6th generation
Backing up your device
Please note that Apple recommends using iTunes to back up your device and archiving that backup for safekeeping. Keep in mind that you when you install iOS 11 that you are using in-development software, which is bound to have bugs. If possible, it’s recommended that you install the iOS 11 beta on a secondary device instead of your primary iPhone or iPad.
Important: You will need to encrypt your backup to retain Health & Activity data in the backup.
Video walkthrough
Subscribe to 9to5Mac on YouTube for more iOS 11 videos
How to install the iOS 11 public beta
Step 1: From your eligible iOS device, use Safari to visit Apple’s public beta website.
Step 2: Tap the Sign Up button.
Step 3: Sign in to the Apple Beta Program with your Apple ID.
Step 4: Tap the Accept button in the bottom right-hand corner of the Agreement page.
Step 5: Tap the iOS tab.
Step 6: Tap the enroll your iOS device link.
Step 7: Tap the Download profile button.
The profile area of the Settings app will now open
Step 8: On the Install Profile page, tap Install in the upper right-hand corner.
Step 9: Tap Install on the Consent page.
Step 10: Tap the Install button at the bottom of the page.
Step 11: Tap Restart to reboot your iOS device
Your iOS device will reboot with the iOS 11 public beta profile installed
Step 12: Once you device reboots, go to Settings → General → Software Update and you should see Checking for Update.
Step 13: Tap the Download and Install button.
Step 14: Tap Agree in the bottom right-hand corner of the Terms and Conditions page. This will begin the download process.
Step 15: Once the download is complete, tap Install Now to begin the install.
Despite the sheer amount of steps noted above, installing the iOS 11 public beta is actually a fairly straightforward process. Most of the steps involve taps to confirm the update. In general, I find that the installation process takes about 20 minutes or so, depending on the speed of your wireless network.
Be sure to watch our hands-on video of 100 new features found in iOS 11 in order to become better acquainted with the new beta software running on your device.
FTC: We use income earning auto affiliate links. More.


Comments