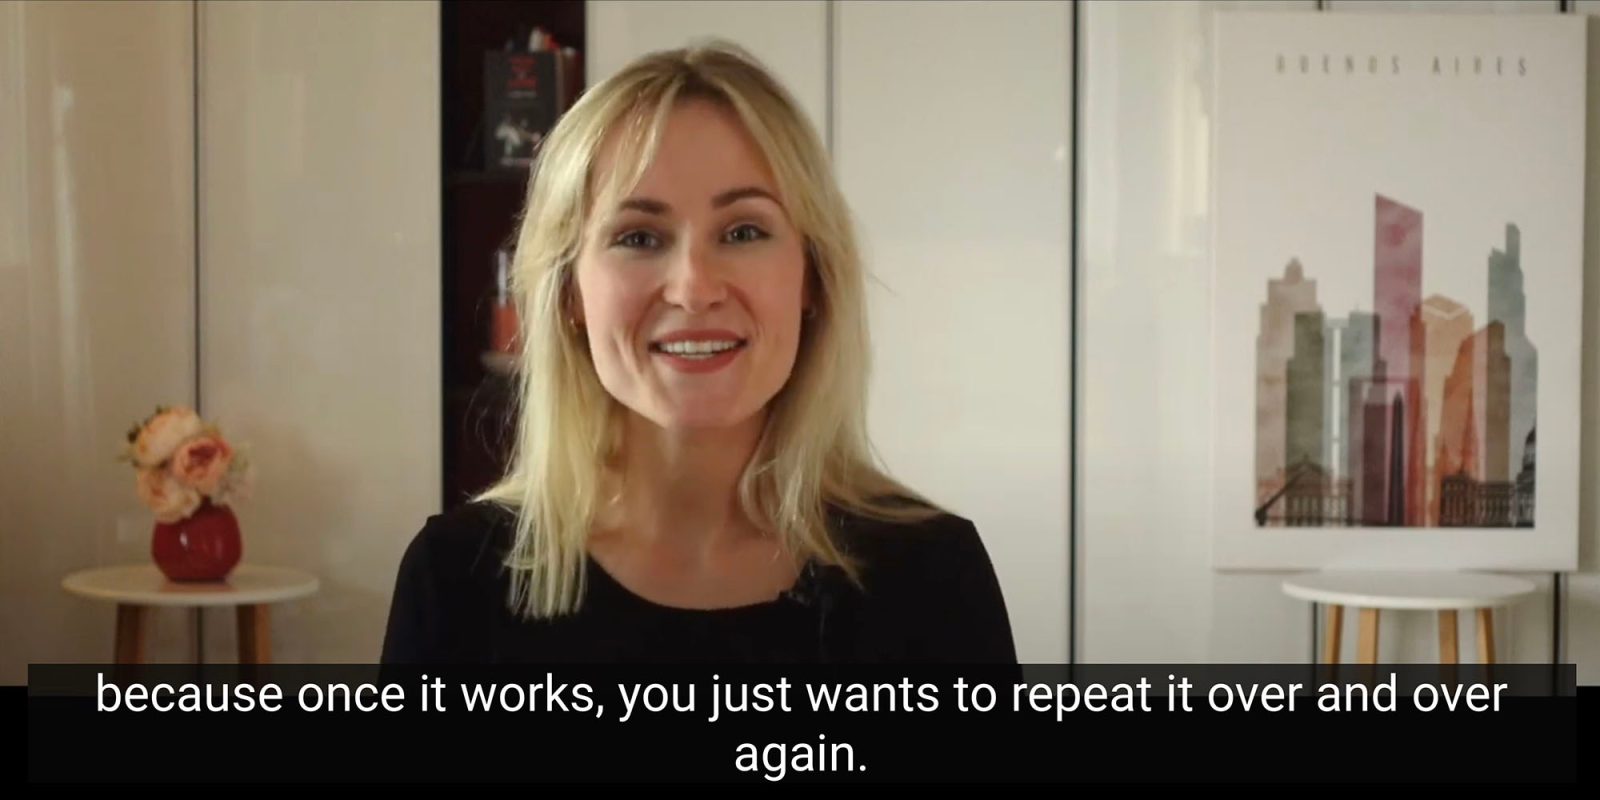
Apple last week launched Final Cut Pro 11, and the company clearly consider the new features offered to be a big deal. The last time Apple did a full version number change was the launch of Final Cut Pro X (aka FCP 10) way back in 2011.
Final Cut Pro 11 includes eight new features, and the AI-driven automatic caption feature was one of the headline ones …
Final Cut Pro 11 auto-captions
Apple teased the feature during the Mac mini presentation, before formally announcing it. The company said that it was one of two AI-powered features, alongside magnetic mask (which makes it easier to isolate individual elements in a video clip).
Apple said auto-captioning was a long-requested feature.
Transcribe to Captions is a highly requested feature that provides fast and accurate closed captions […] Closed captions can be automatically generated in the timeline using an Apple-trained large language model that transcribes spoken audio.
A big deal for videographers
The last time I generated captions for a video, it was a very time-consuming activity. You need to create a caption box for each few seconds of video, typically containing just some part of a sentence. These need to be manually aligned with the video clips.
There are AI tools to handle the actual transcription, and I since found MacWhisper to be an excellent tool for this. But these still only do part of the job for you: you still need to create the caption boxes and paste in the right section of text, and it is still a slow and rather laborious job.
With the new tool, it’s 100% automatic – and takes literally seconds!
Here’s all you need to do. Select the video in the timeline, right-click and select Transcribe to Captions:
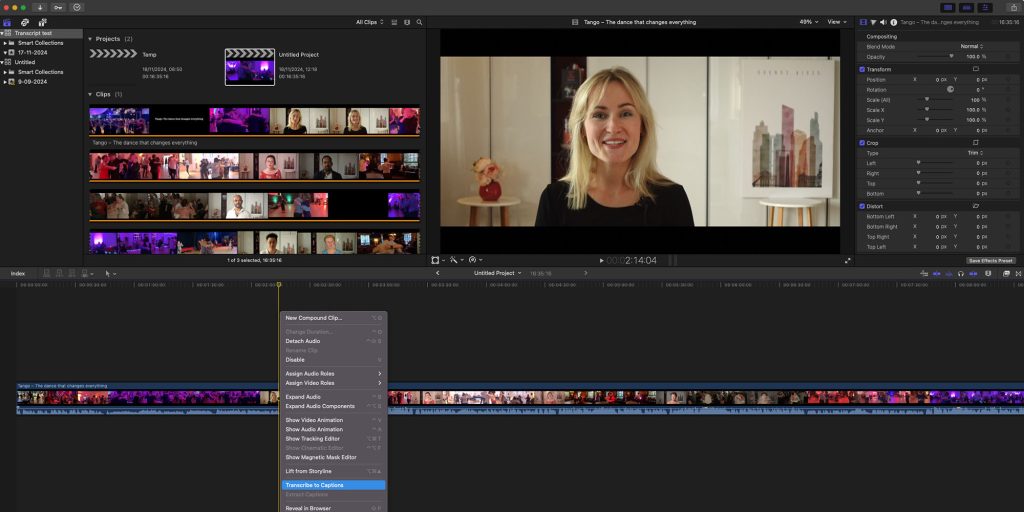
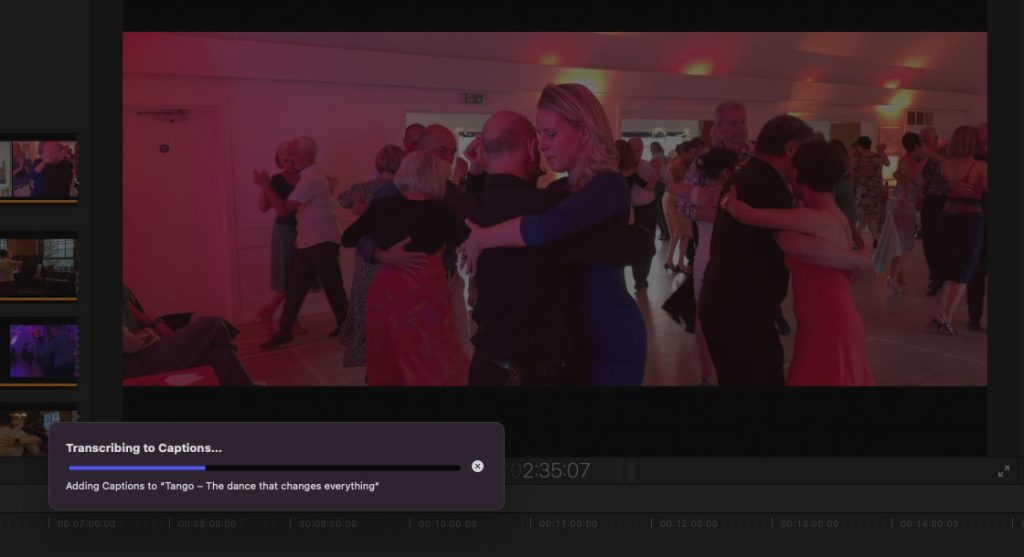
Then just wait. In this example, it’s a 16-minute video and the total time taken on a 2021 M1 Max MacBook Pro was less than 11 seconds.
Once it’s done, the caption line appears in the usual way, and can be edited as required.
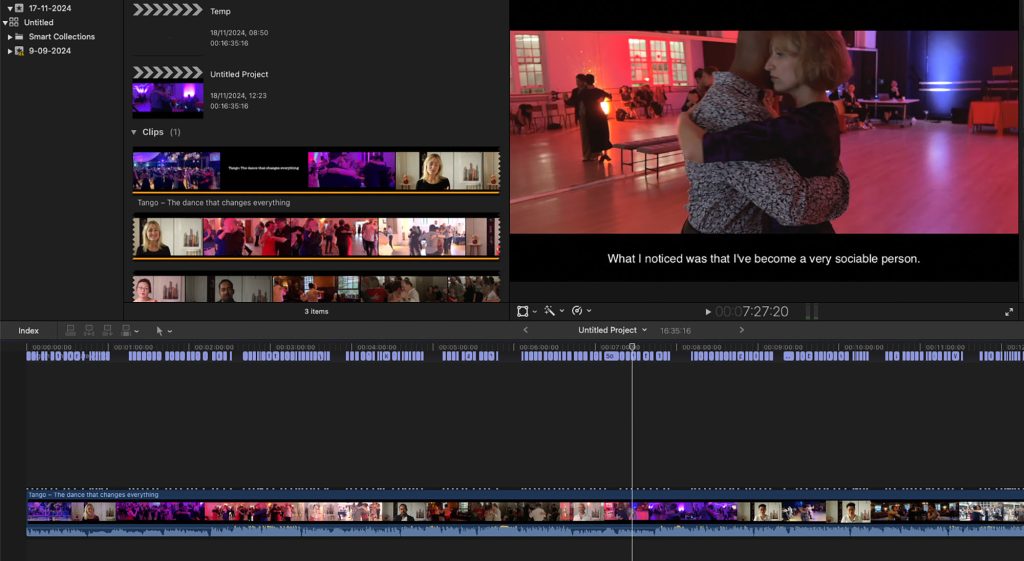
Of course, no AI transcription tool is perfect, and Apple’s captioning feature is no exception. You will need to make some corrections, but I was completely blown away by how good it was in a video with multiple nationalities and accents. My top tip here is to edit the .ITT file (see below) in Text Editor, rather than editing the text in Final Cut – it’s much easier.
To judge the quality for yourself, here’s the video with completely unedited transcriptions. You can use the chapter markers to skip to different interviewees to see how well it copes with different accents (make sure you hit the icon looking like an index card to enable captions).
Once you have the transcripts in Final Cut, go to File > Export Captions to export the .ITT file.
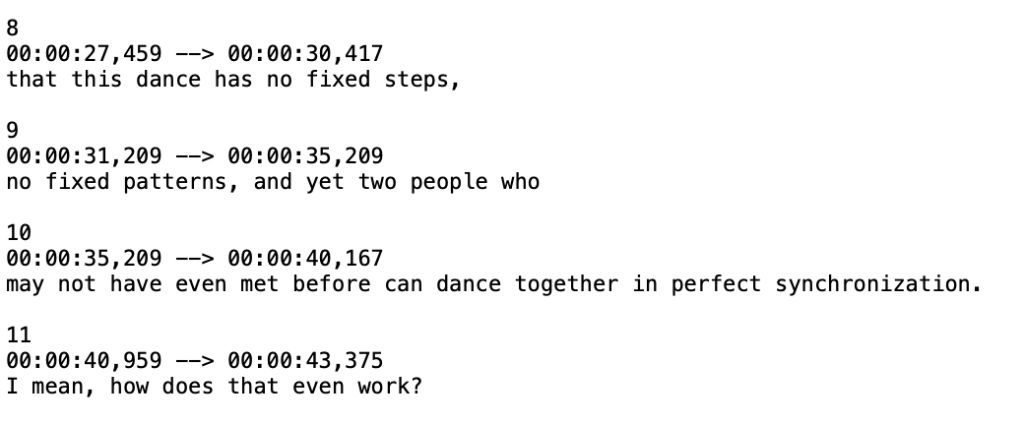
When uploading to YouTube, simply click the Add Captions button in the workflow and then select the upload option and point to the file, selecting the ‘With timecode’ option.
A big deal for accessibility
There are, conservatively, tens of millions of people who are completely dependent on captions for videos. Add in those who have partial hearing loss, struggle to hear dialogue specifically, or simply prefer to watch with captions, and you’re likely at a billion plus people.
Yes, YouTube offers an auto-caption feature of its own, but as anyone who has ever tried it will know, it’s very hit-and-miss.
By making it so quick and easy to add high-quality captions, it really is a no-brainer for creators to use it. With just a few seconds of automation, and a few minutes of manual correction, it’s hard to see why anyone wouldn’t do it.
Of course, this is just the start. The feature is currently limited to US English, but other languages will follow, just they will in Apple Intelligence more generally.
If you create videos, and use Final Cut Pro, I highly recommend giving this a try – I think you’ll be impressed!
Image: 9to5Mac
FTC: We use income earning auto affiliate links. More.


Comments