
With the release of macOS Sonoma back in 2023, Apple introduced a new High Performance screen sharing feature for the Mac’s native Screen Sharing application. This mode dramatically increases the usefulness of screen sharing. Responsiveness is improved, stereo sound output from the native Mac is enabled, and HDR is available, among other features.
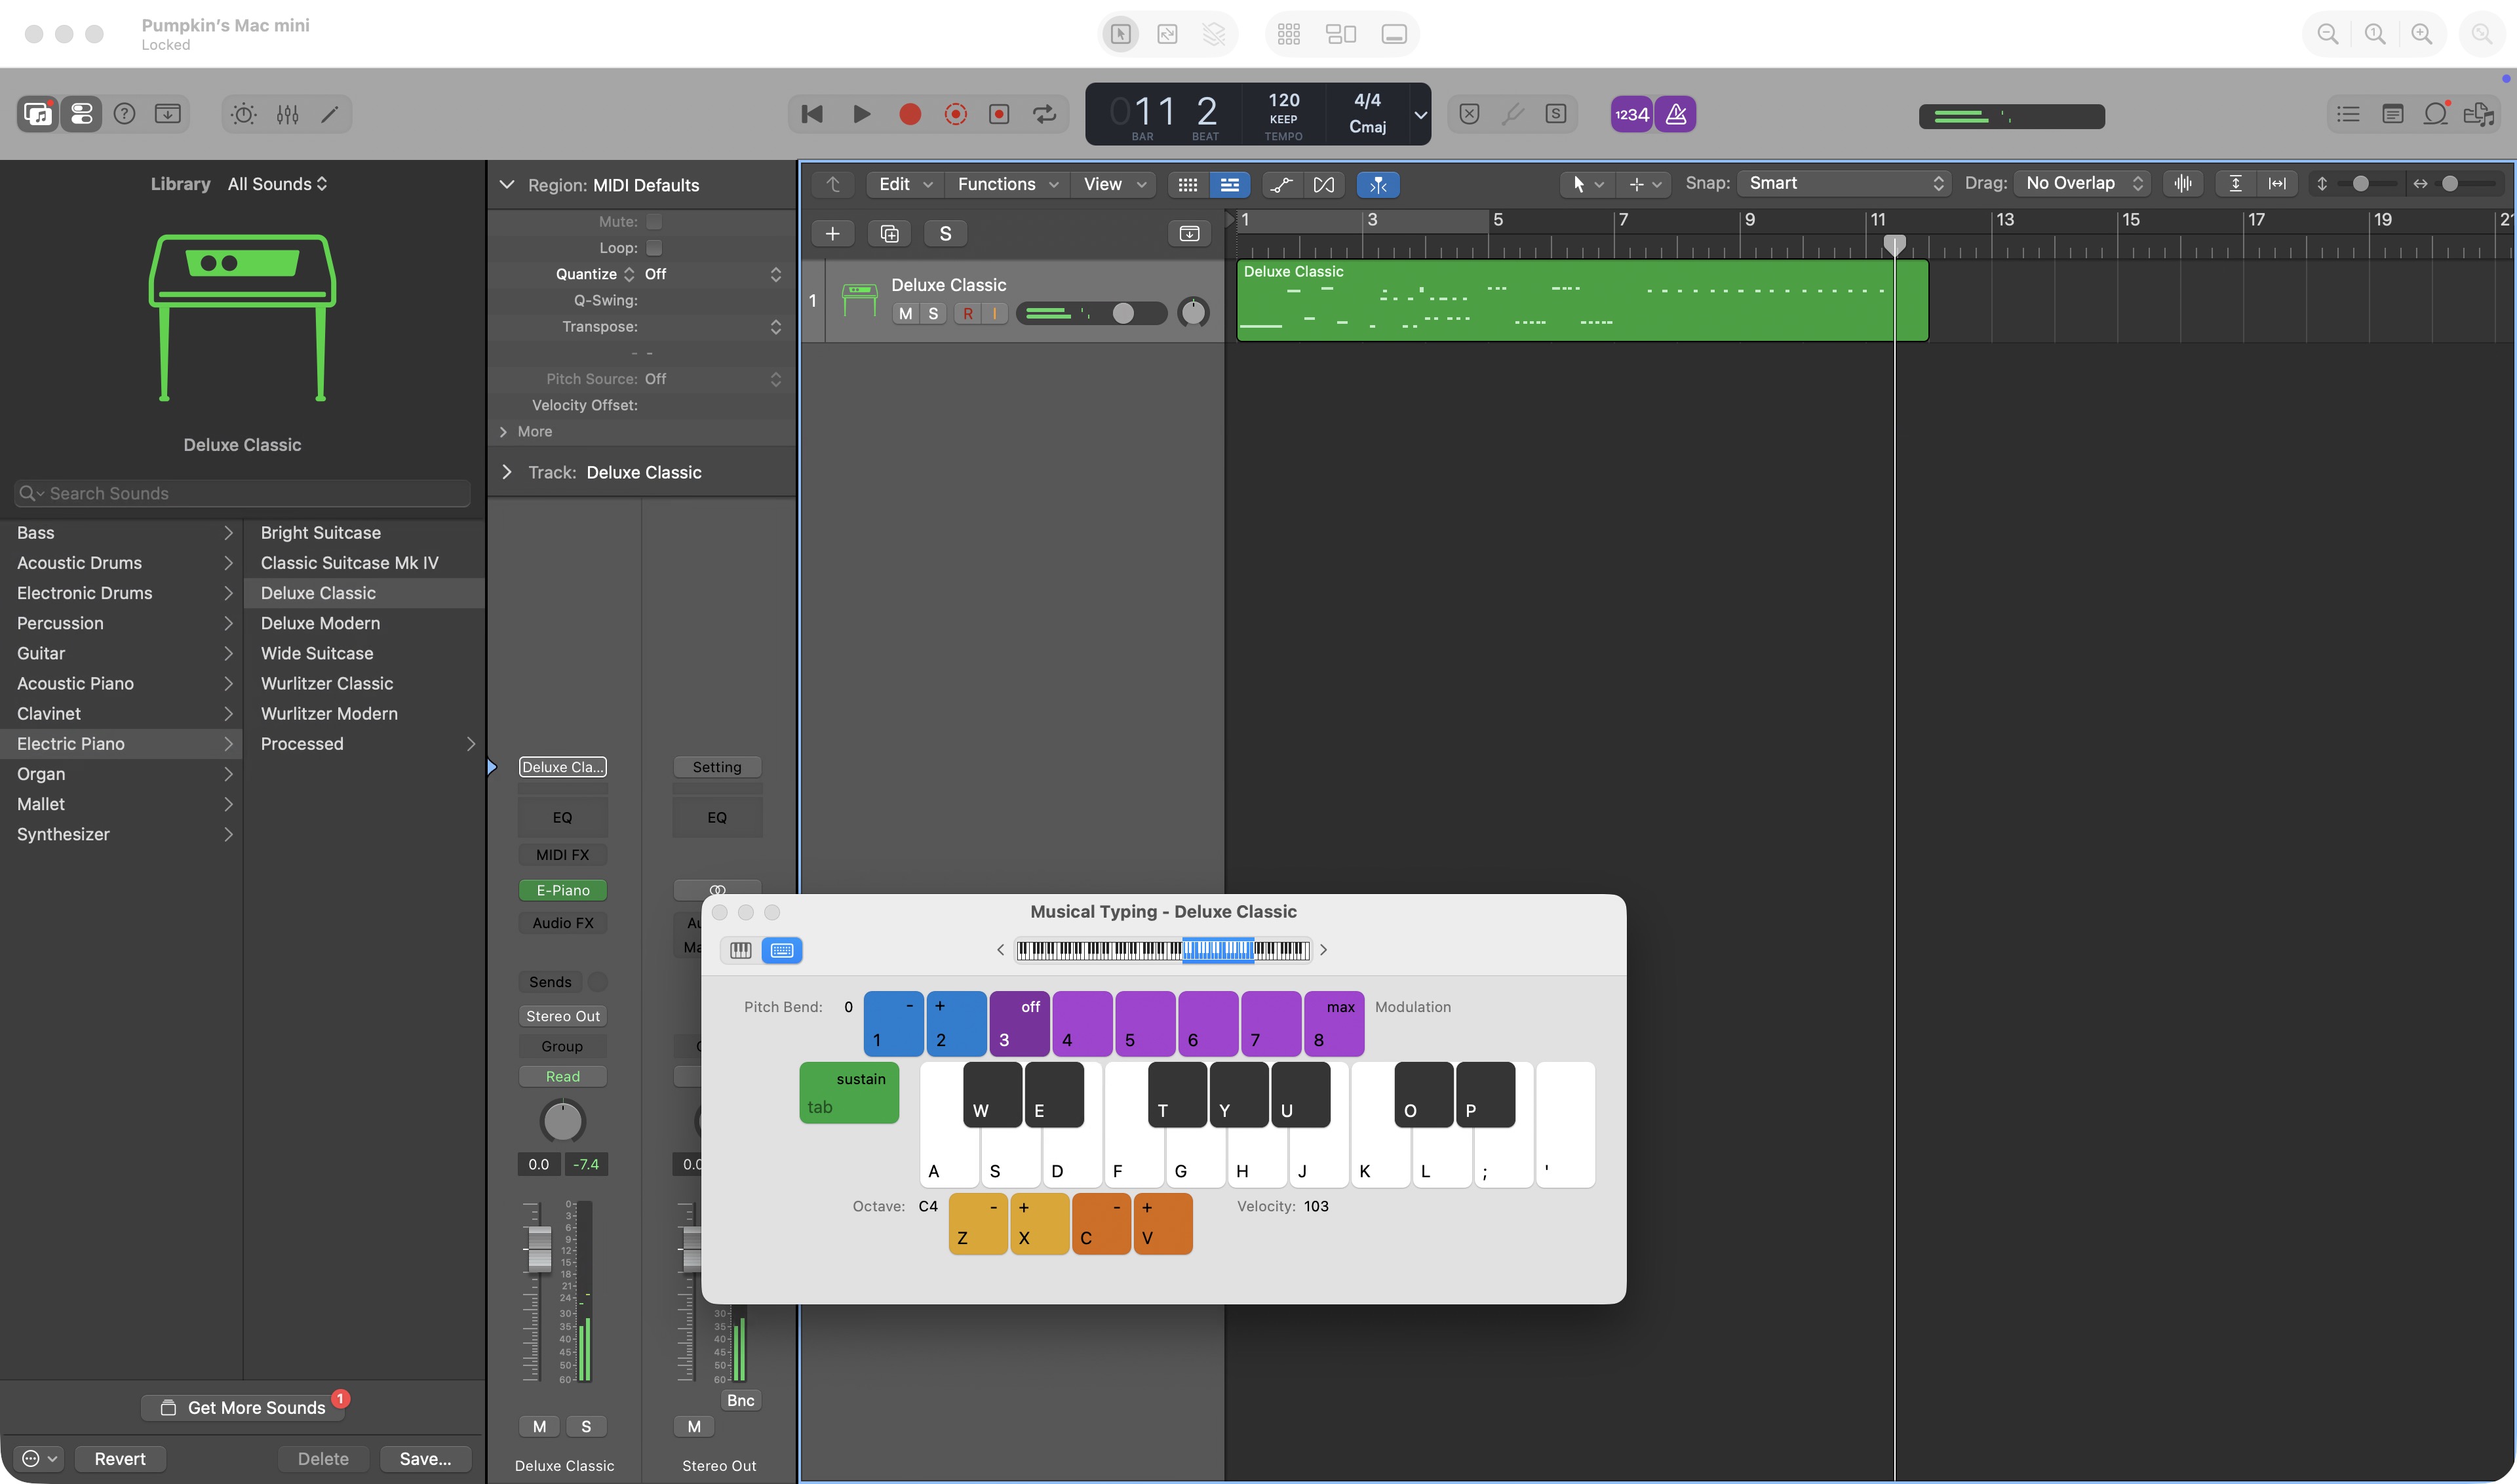
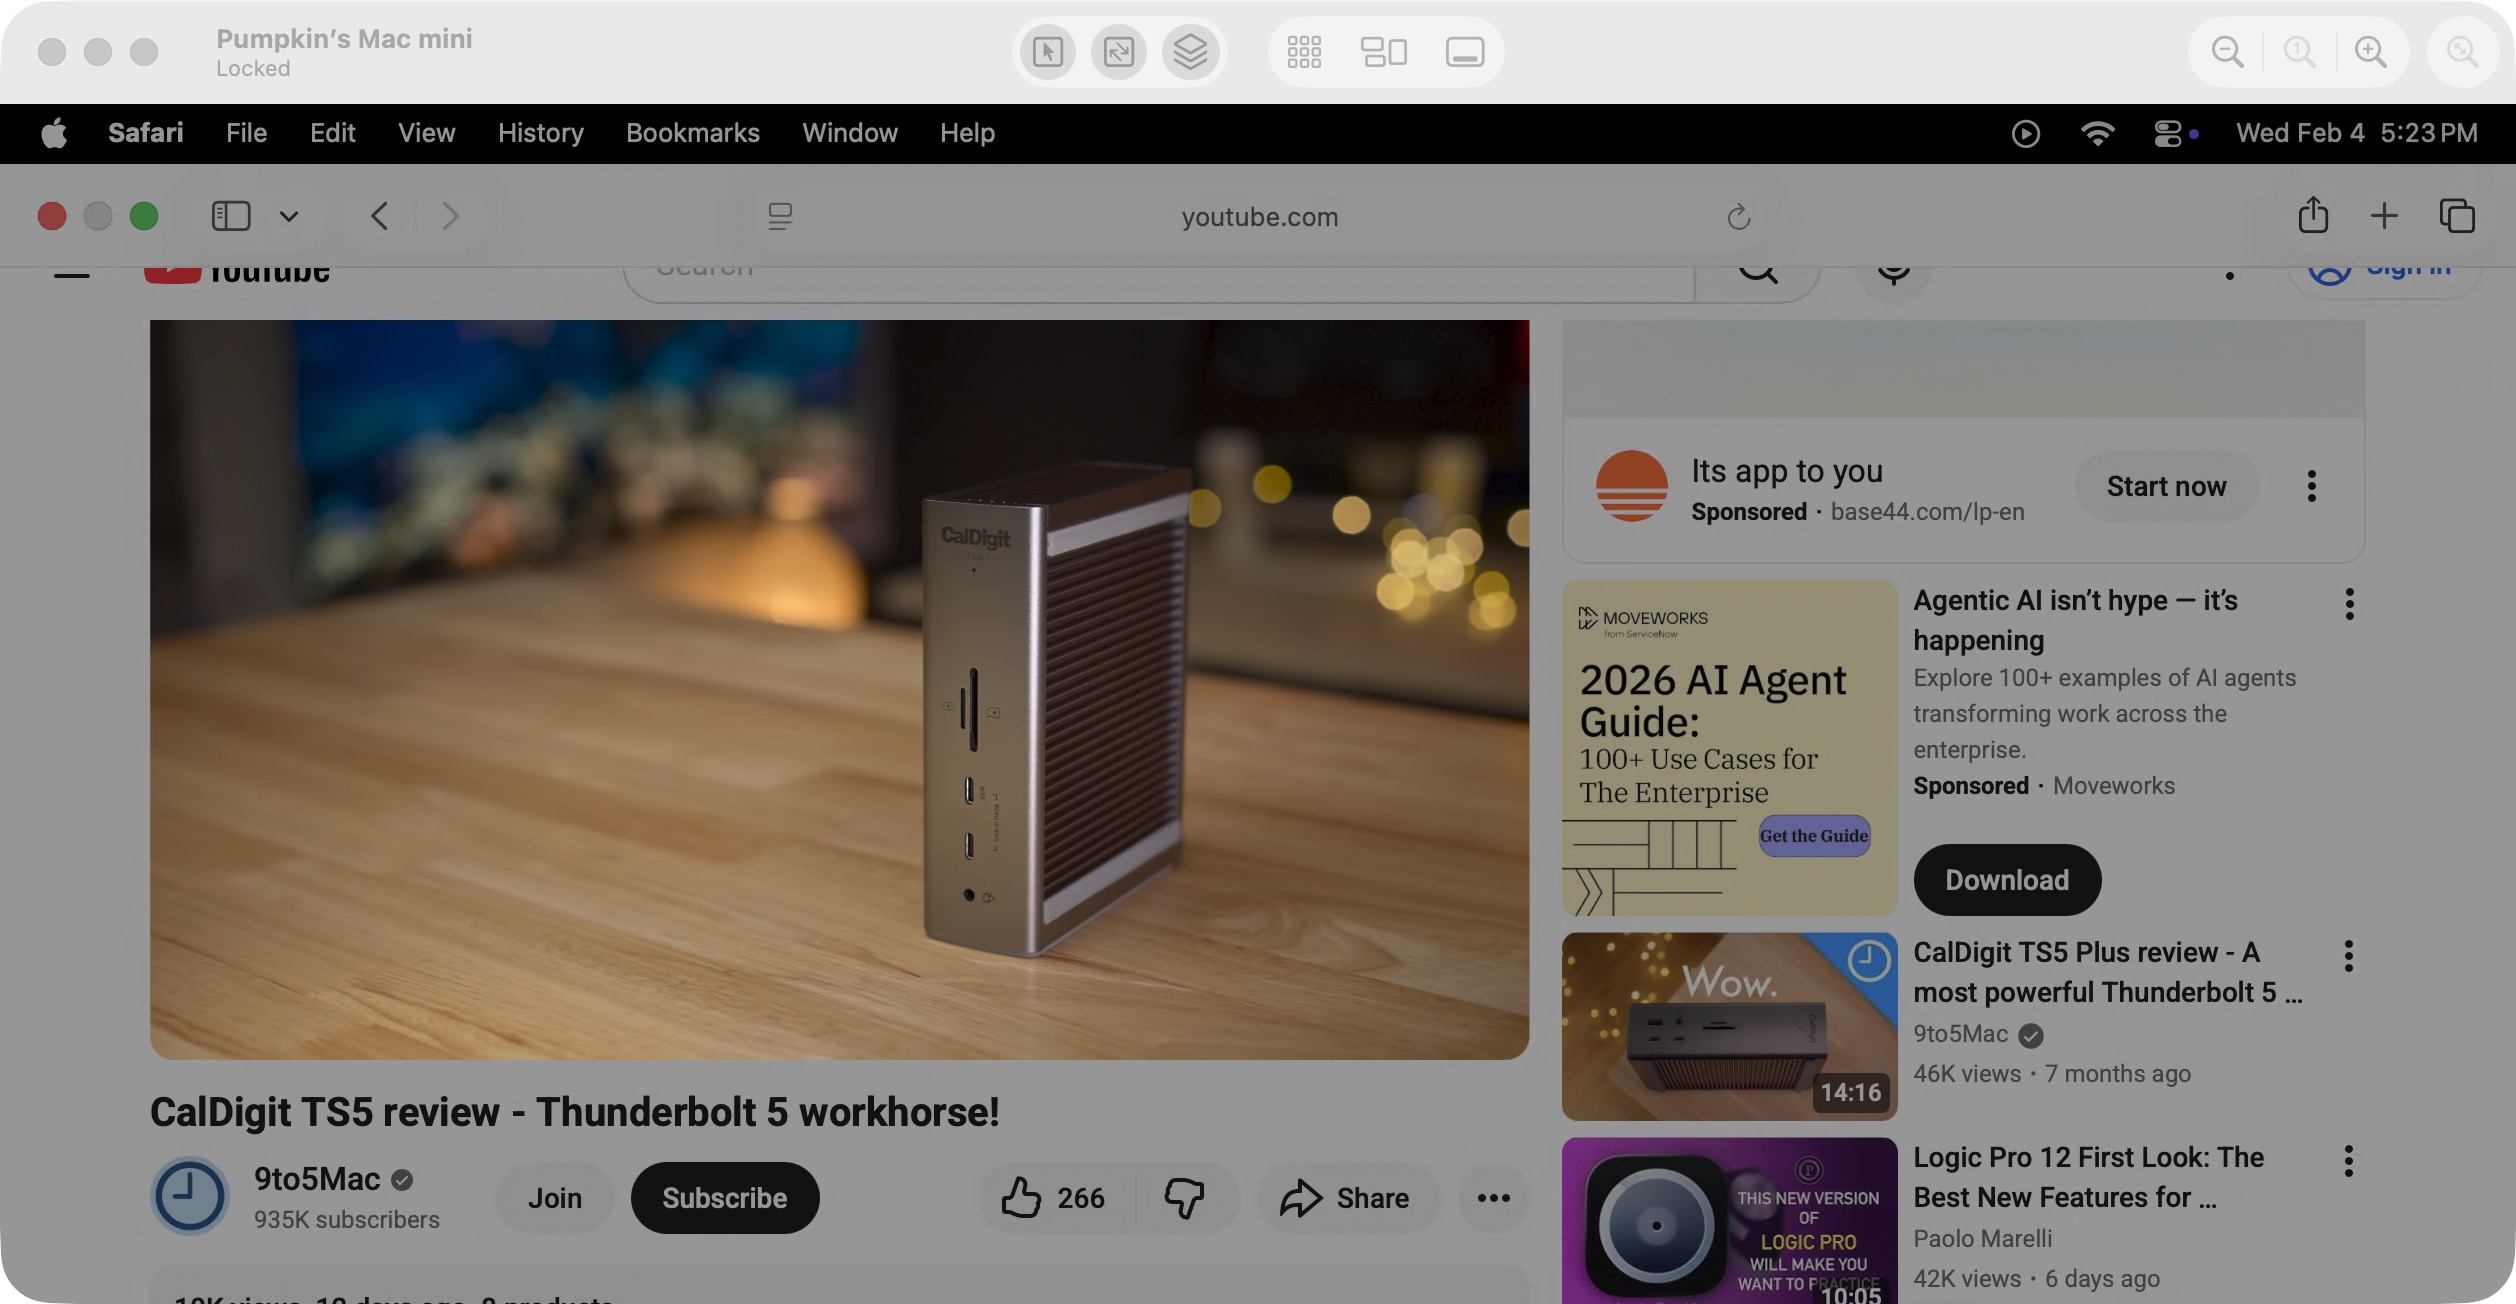
Users working with professional apps like Final Cut Pro or Logic Pro will find that High Performance screen sharing significantly enhances the experience using those apps via a Screen Sharing connection with few downsides. Watch my hands-on video walkthrough to learn more, and be sure to subscribe to 9to5mac on YouTube for more videos.

High Performance screen sharing requirements
To use High Performance screen sharing, both computers must be Apple Silicon Macs running macOS Sonoma 14 or later. In my example, I’m connecting my 16-inch M4 Pro MacBook Pro to my headless M4 Mac mini, mounted under my desk, using Sonnet’s MacCuff mini (review).
The second most important requirement for using High Performance screen sharing is a high-bandwidth, low-latency network connection. Apple recommends a wired network of at least 75Mbps for a single 4K display. In my video example, I’ve set up a gigabit Ethernet bridge between the Mac mini and my CalDigit TS5 Plus Thunderbolt hub (review), which provides more than enough bandwidth to meet Apple’s requirements.
Note: Communication on UDP ports 5900, 5901, and 5902 must be available for both Macs.
Video: High Performance screen sharing on macOS
Subscribe to 9to5mac on YouTube for more videos

How to use High Performance screen sharing
Step 1: On the Mac you wish to connect to, go to Settings → General → Sharing, and enable Screen Sharing or Remote Management.
Step 2: If choosing Remote management, click the ‘i’ button next to Remote Management, and add a user along with desired permissions.
Step 3: Ensure you have a stable connection of at least 75 Mbps between the host and viewer.
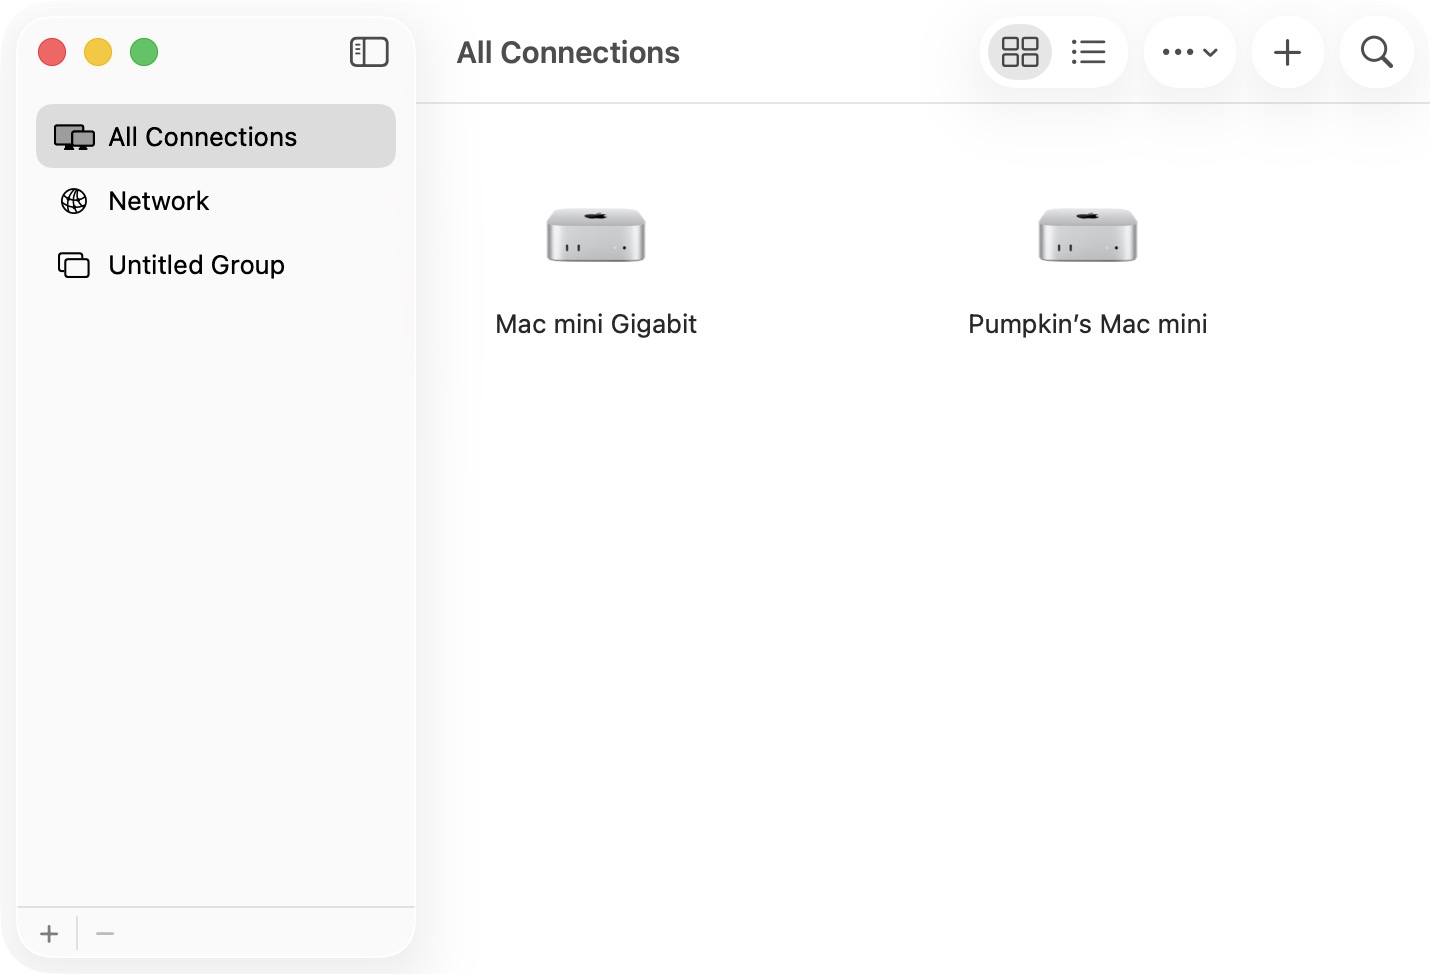
Step 4: On the Mac that you wish to connect from, open Screen Sharing via Applications/Utilities.
Step 5: On the Connections page, select the Mac you wish to connect to, then click to authenticate with the username and password.
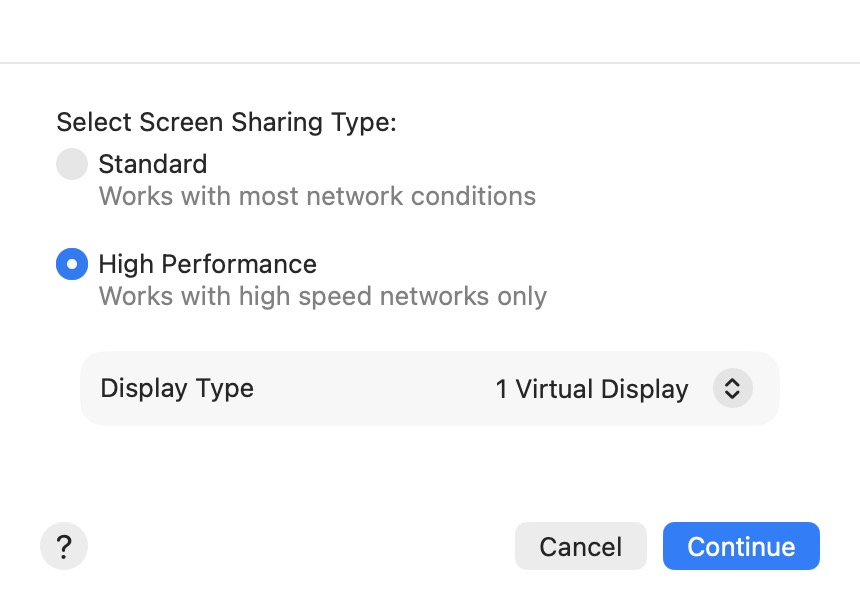
Step 6: For Screen Sharing Type, select High Performance.
Step 7: For Display Type, select either 1 Virtual Display or 2 Virtual Displays.
Step 8: Click Continue.
Key benefits of High Performance screen sharing
Reduced latency
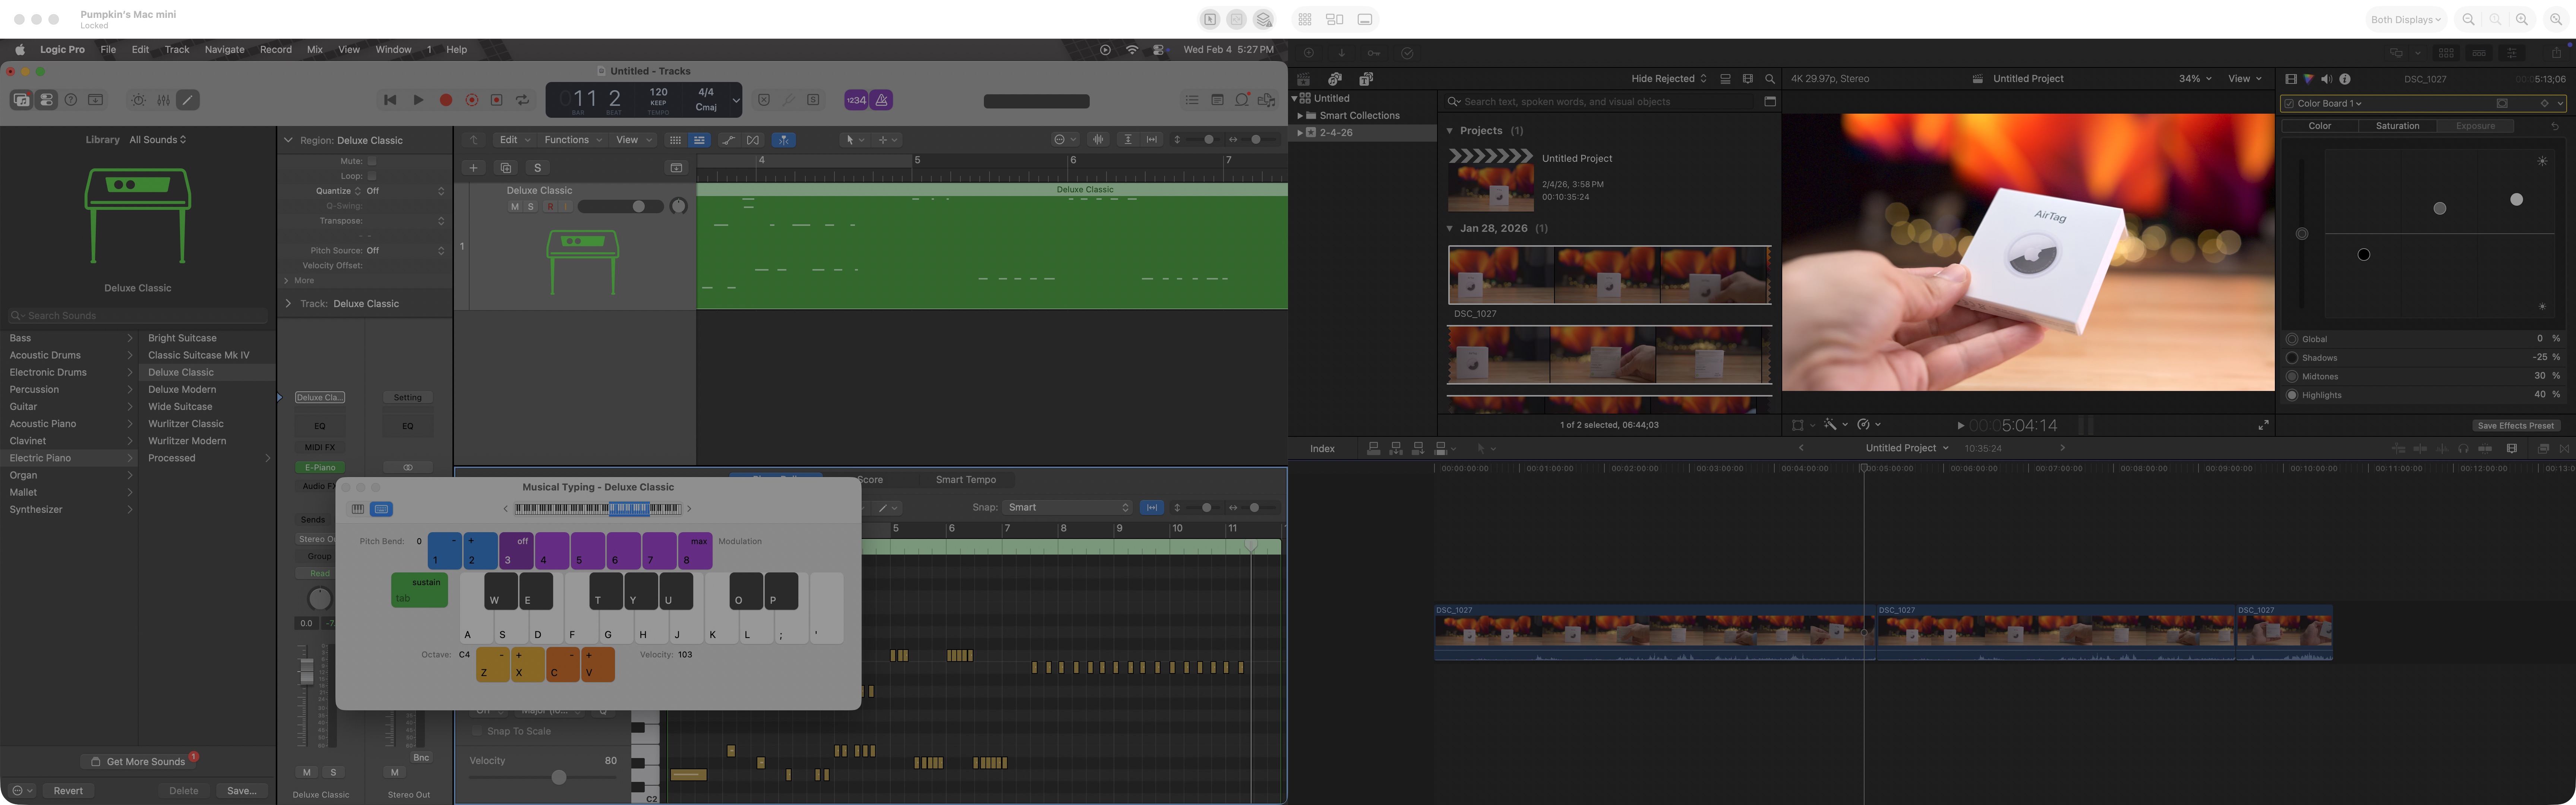
The most obvious benefit, and the one I noticed immediately, was the reduced latency. Overall responsiveness, frame rates up to 60fps, and latency are greatly improved, almost to the point where it feels like I’m controlling the Mac natively from the viewer. This is, in my opinion, one of the best reasons to use high performance mode, and it is especially useful when working with an app like Final Cut Pro. I can edit a Final Cut Pro timeline via the connected machine, and it feels almost native.
Better sound
The other big thing that I noticed was sound quality. Not only does high performance mode enable stereo sound, but it also routes the sound from the machine you’re connecting to to the native Mac’s audio output. If I play music in the Music app or scrub through a Final Cut Pro timeline, I hear the sound coming from my Mac’s speakers. And since latency is reduced, it’s possible to work with music applications like Logic Pro, where high latency would be a deal-breaker.

Better color
High performance mode also makes it possible to enjoy HDR reference mode and 4:4:4 chroma subsampling. This lets me edit and play HDR video content on the connected machine and view it in full HDR on my local machine, assuming it has a compatible HDR display.
To use HDR reference mode, set the display’s Color Profile to the HDR Video (P3-ST 2084) preset, then click the High Dynamic Range button at the top of the Screen Sharing interface.
Dual virtual displays
One added benefit of High Performance mode is that you can enable a second virtual display. This allows you to utilize full-screen mode on one app, for instance, while using other apps on the second virtual display.
By selecting the ‘Display’ drop-down menu in the upper right-hand corner of the Screen Sharing app, you can switch between both displays running side by side, as individual windows, or quickly switch to just a single view of either virtual display.

Dynamic Resolution
If the Screen Sharing viewer is used on a display with a different native resolution and aspect ratio, you can force it to adapt to the display’s settings by clicking the Dynamic Resolution button at the top of the Screen Sharing app. This is a handy feature for times when you want a full-screen experience on a MacBook Pro that doesn’t use a 16:9 aspect ratio.
High Performance screen sharing limitations
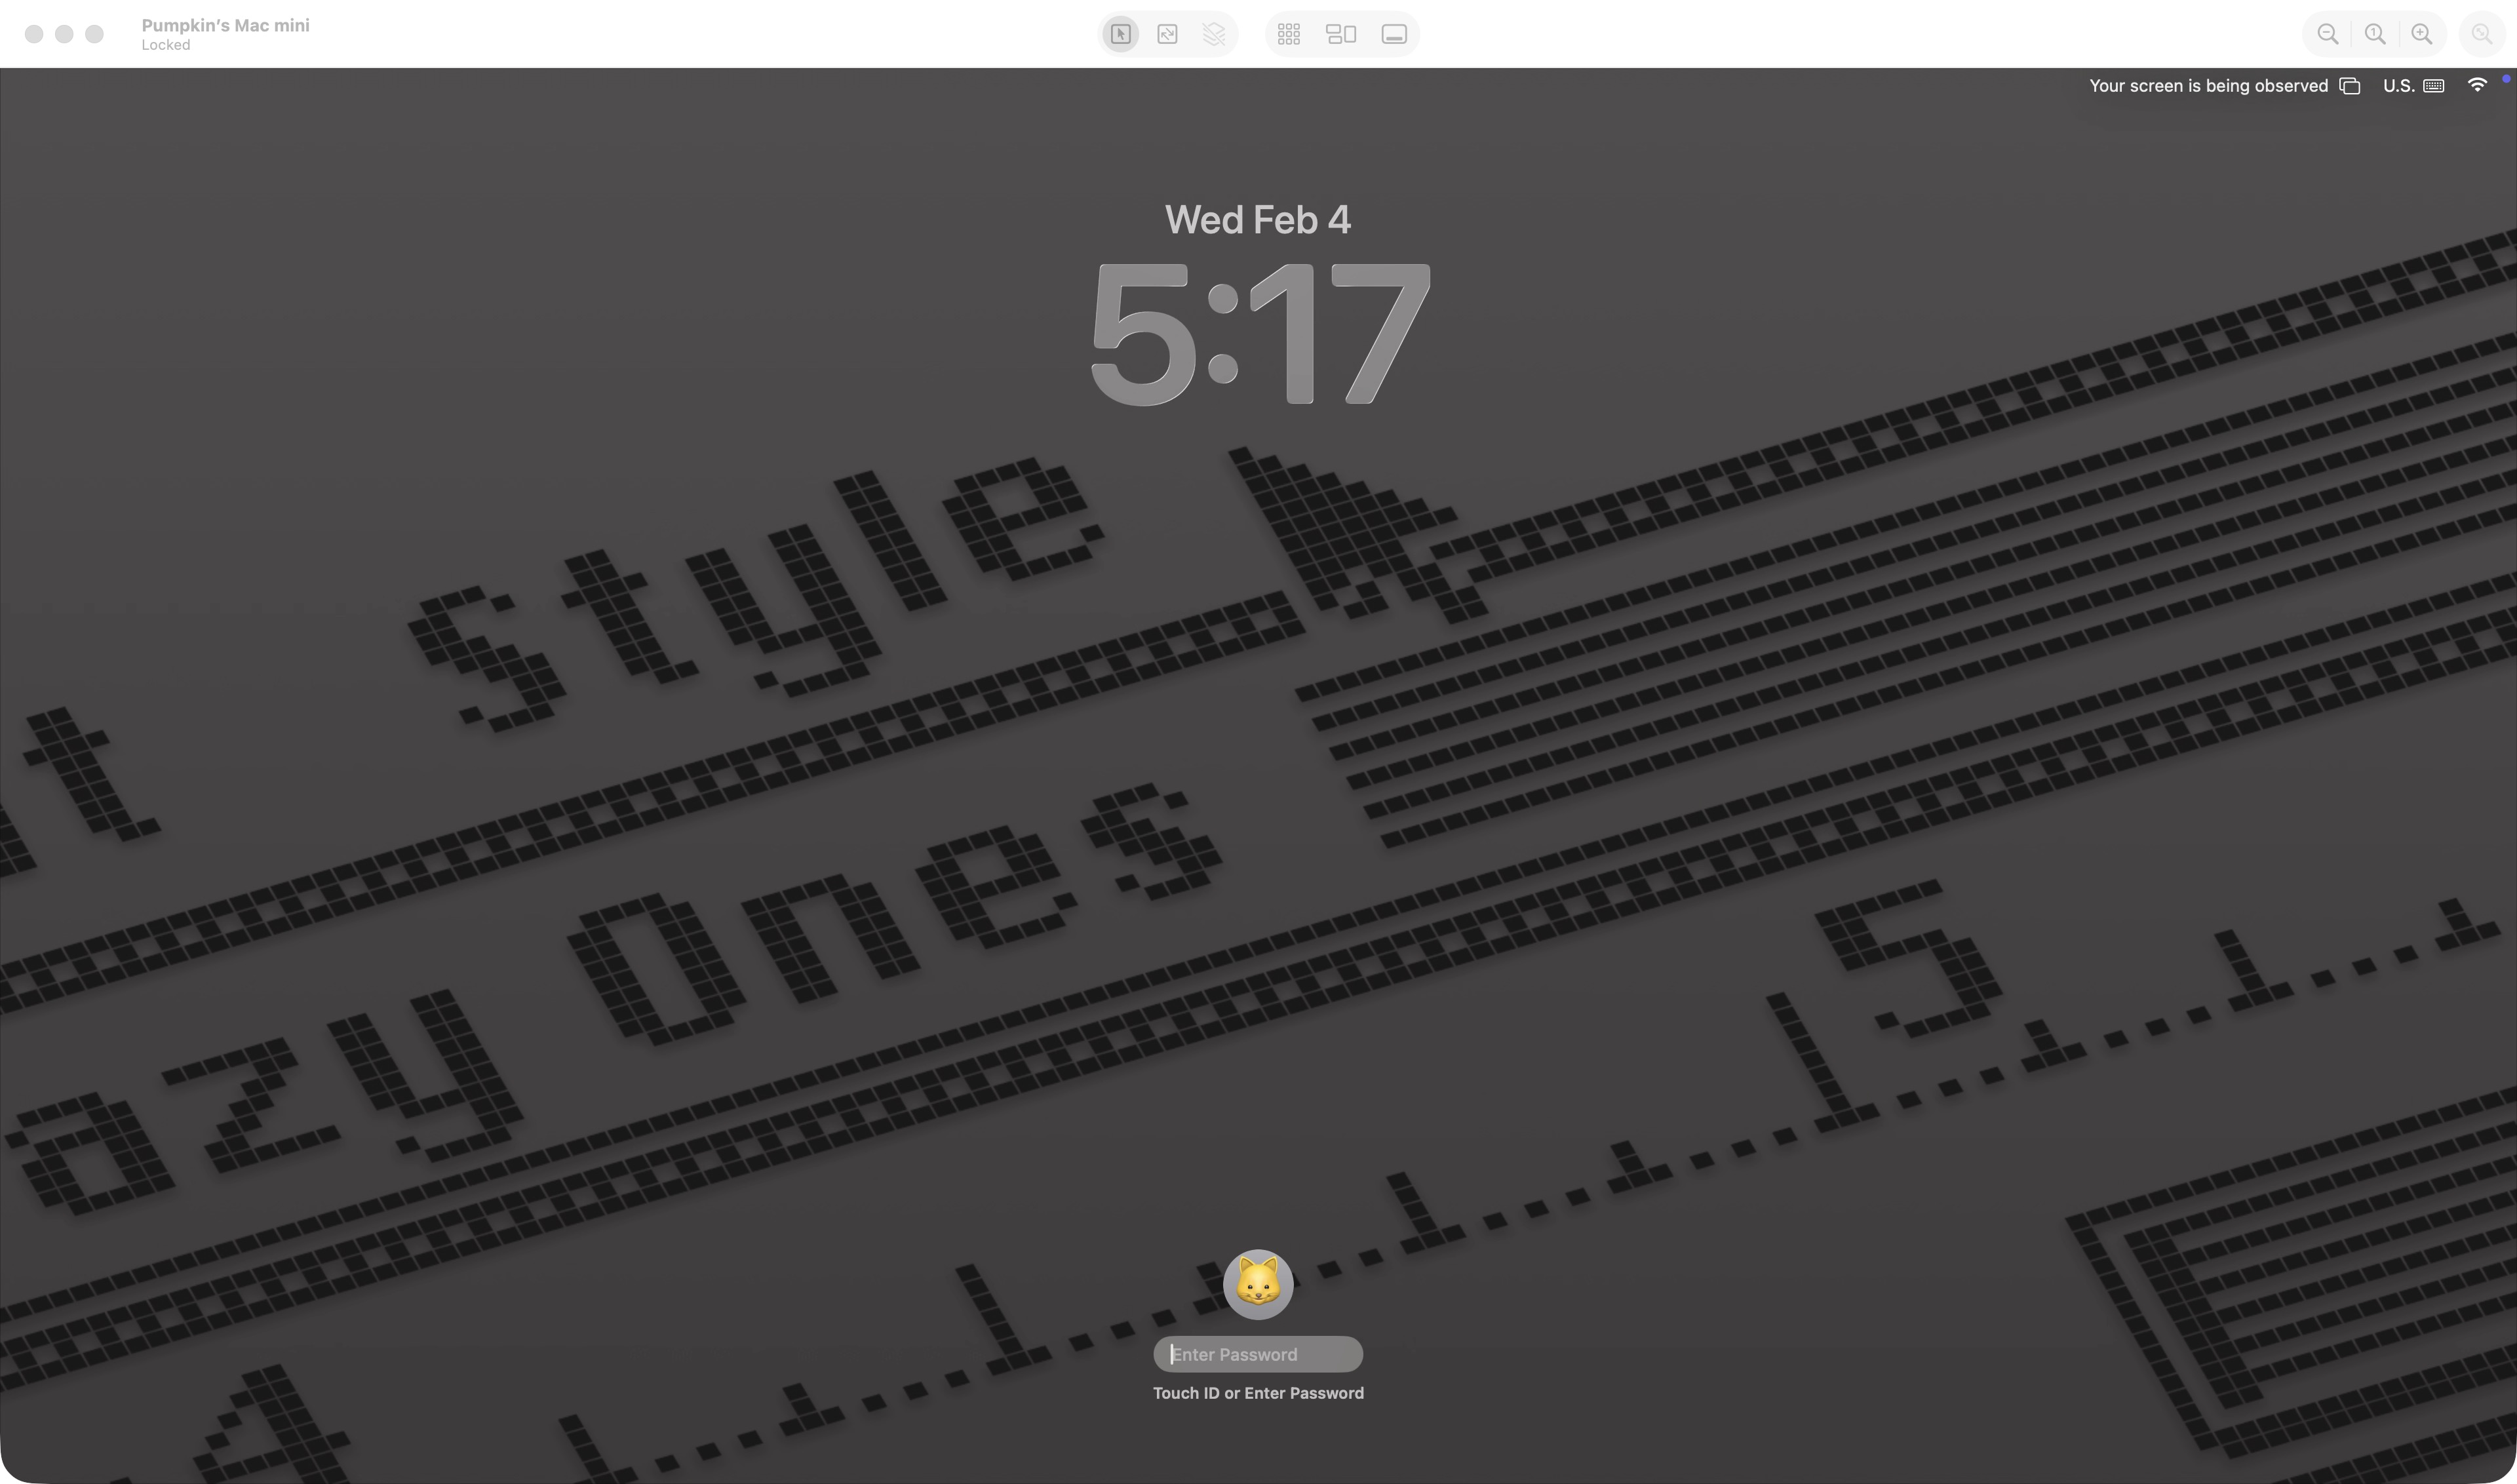
Users can initiate only one High Performance session at a time on each Mac. When in use, the displays connected to the Mac being controlled are blanked for privacy and cannot be used by anyone else.
The maximum resolution of either virtual display in High Performance mode is 4K (3840 x 2160) or 1920 x 1080 when using HiDPI resolution settings.
Conclusion
High Performance screen sharing greatly improves the screen sharing experience on the Mac, and I could see it used in a variety of use-cases. For example, say you had a high-powered headless machine like the Mac Studio that you wanted to connect to from significantly less powerful machines like the MacBook Air. With a high-bandwidth connection, you could leverage the resources of a higher-spec machine from a remote location.
What do you think about High Performance screen sharing? Have you ever used it? Sound off in the comments with your thoughts.
FTC: We use income earning auto affiliate links. More.


Comments