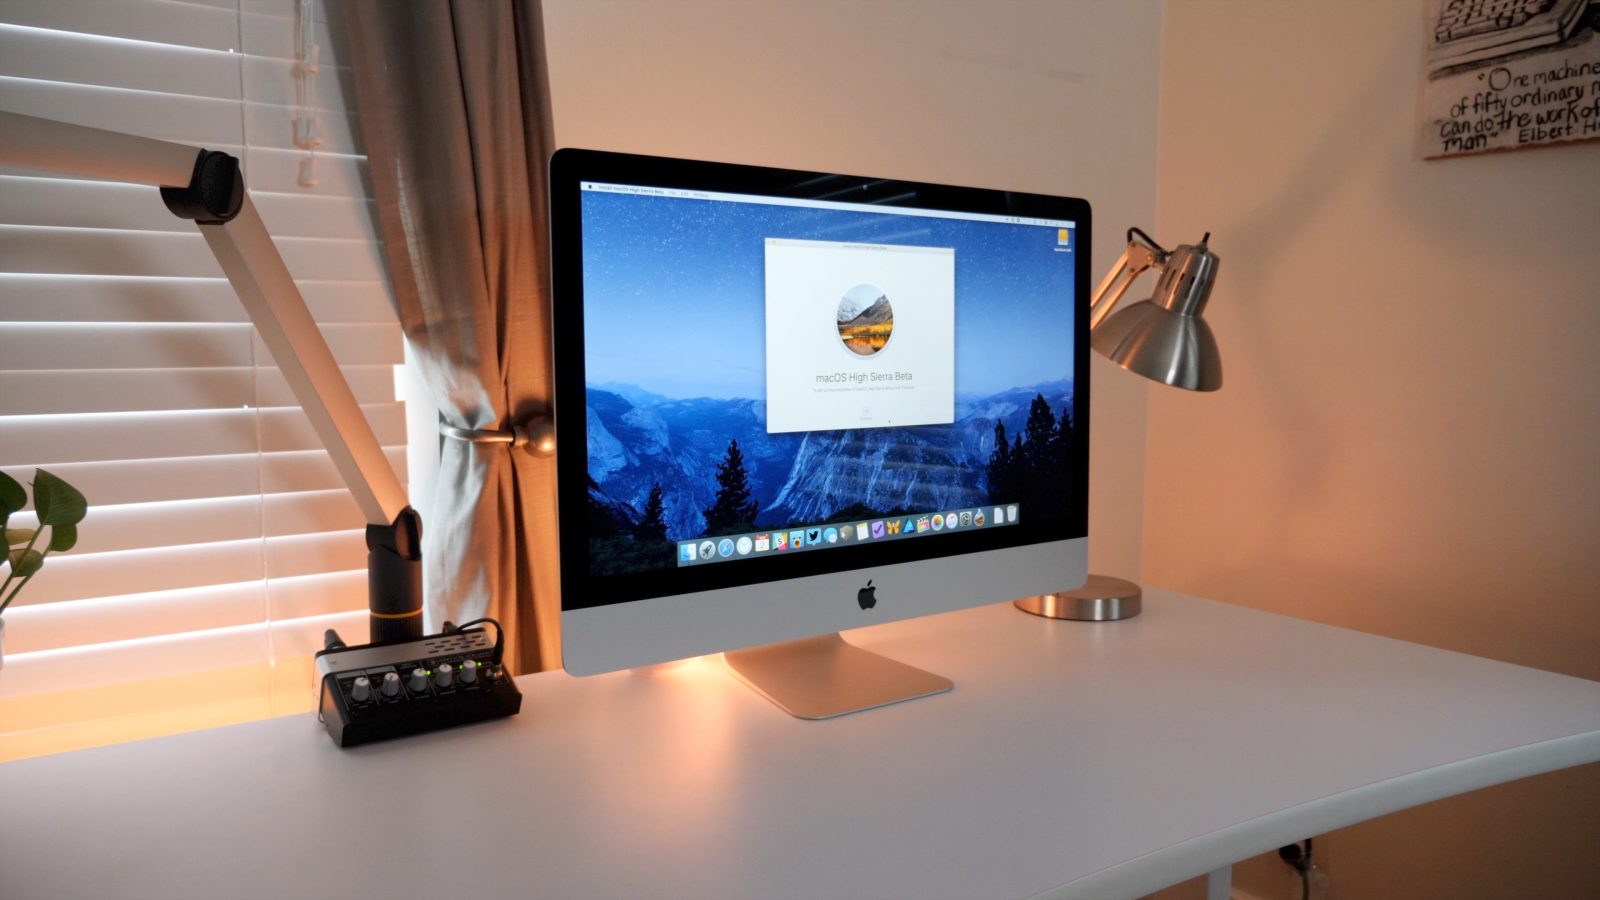
If you want the ability to perform a fresh and clean install of macOS High Sierra, then you should consider creating a bootable macOS High Sierra USB install drive. Not only will this walkthrough work for the macOS High Sierra beta, but it will also work for the final public release once available. In the following video tutorial, we’ll show you how.
A note about flash drives: You will need a USB flash drive to make this work. Your USB drive should be at least 8GB, and USB 3.0 is preferred. There are many USB 3.0 flash drives available on Amazon, just make sure that it’s at least 8GB. Keep in mind that the following tutorial will purge everything on the drive, so make sure you back up any important data before proceeding.
Step 1: Download macOS High Sierra from the Mac App Store. Once High Sierra officially launches, you’ll be able to go directly to the Mac App Store and download it. Until then, you can access the High Sierra beta from Apple’s developer website, or via Apple’s public beta website.
Step 2: Once macOS High Sierra is downloaded, close the installer that appears using Command (⌘)+Q.
Video walkthrough
Subscribe to our YouTube channel for more macOS how-tos
Step 3: Open Finder → Applications and right-click on Install macOS High Sierra Beta and select Show Package Contents.
Step 4: Open Contents → Resources.
Step 5: Open a macOS Terminal window via Applications → Utilities → Terminal.
Step 6: In the Terminal window type sudo followed by a space.
Step 7: Drag createinstallmedia into the Terminal window from the Finder location opened in Step 4.
Step 8: Type --volume followed by a space.
Step 9: Connect your USB drive to your Mac.

Step 10: Drag the USB flash drive volume into the Terminal window.
Step 11: Type --applicationpath in the Terminal window followed by a space.
Step 12: Open Finder → Applications and drag Install macOS High Sierra Beta into the Terminal window.
Step 13: Press Return on the Keyboard to submit the full command.

Step 14: Type a ‘Y’ to continue when prompted to do so, and press Return on the keyboard.
Step 15: The install process will commence by erasing the contents of your USB drive and copying the installer files to the drive. The entire process is quite lengthy — it can take around 20-30 minutes — so you’ll need to be patient as the install process completes.
Once the process is finished, you’ll have a working macOS High Sierra bootable USB install disk that can be used to install macOS High Sierra beta on any Mac that supports it. In my opinion, if you’re looking to install a fresh copy of macOS High Sierra, this is the best way to go about doing so.
FTC: We use income earning auto affiliate links. More.


Comments