If you’re looking to step up the production value of your videos shot on iPhone, then boosting the sound quality is an easy way to do so. While no shortage of hardwired external microphones are available, a truly wireless microphone setup, like what we find with the late-2021-announced DJI Mic, provides much greater flexibility.
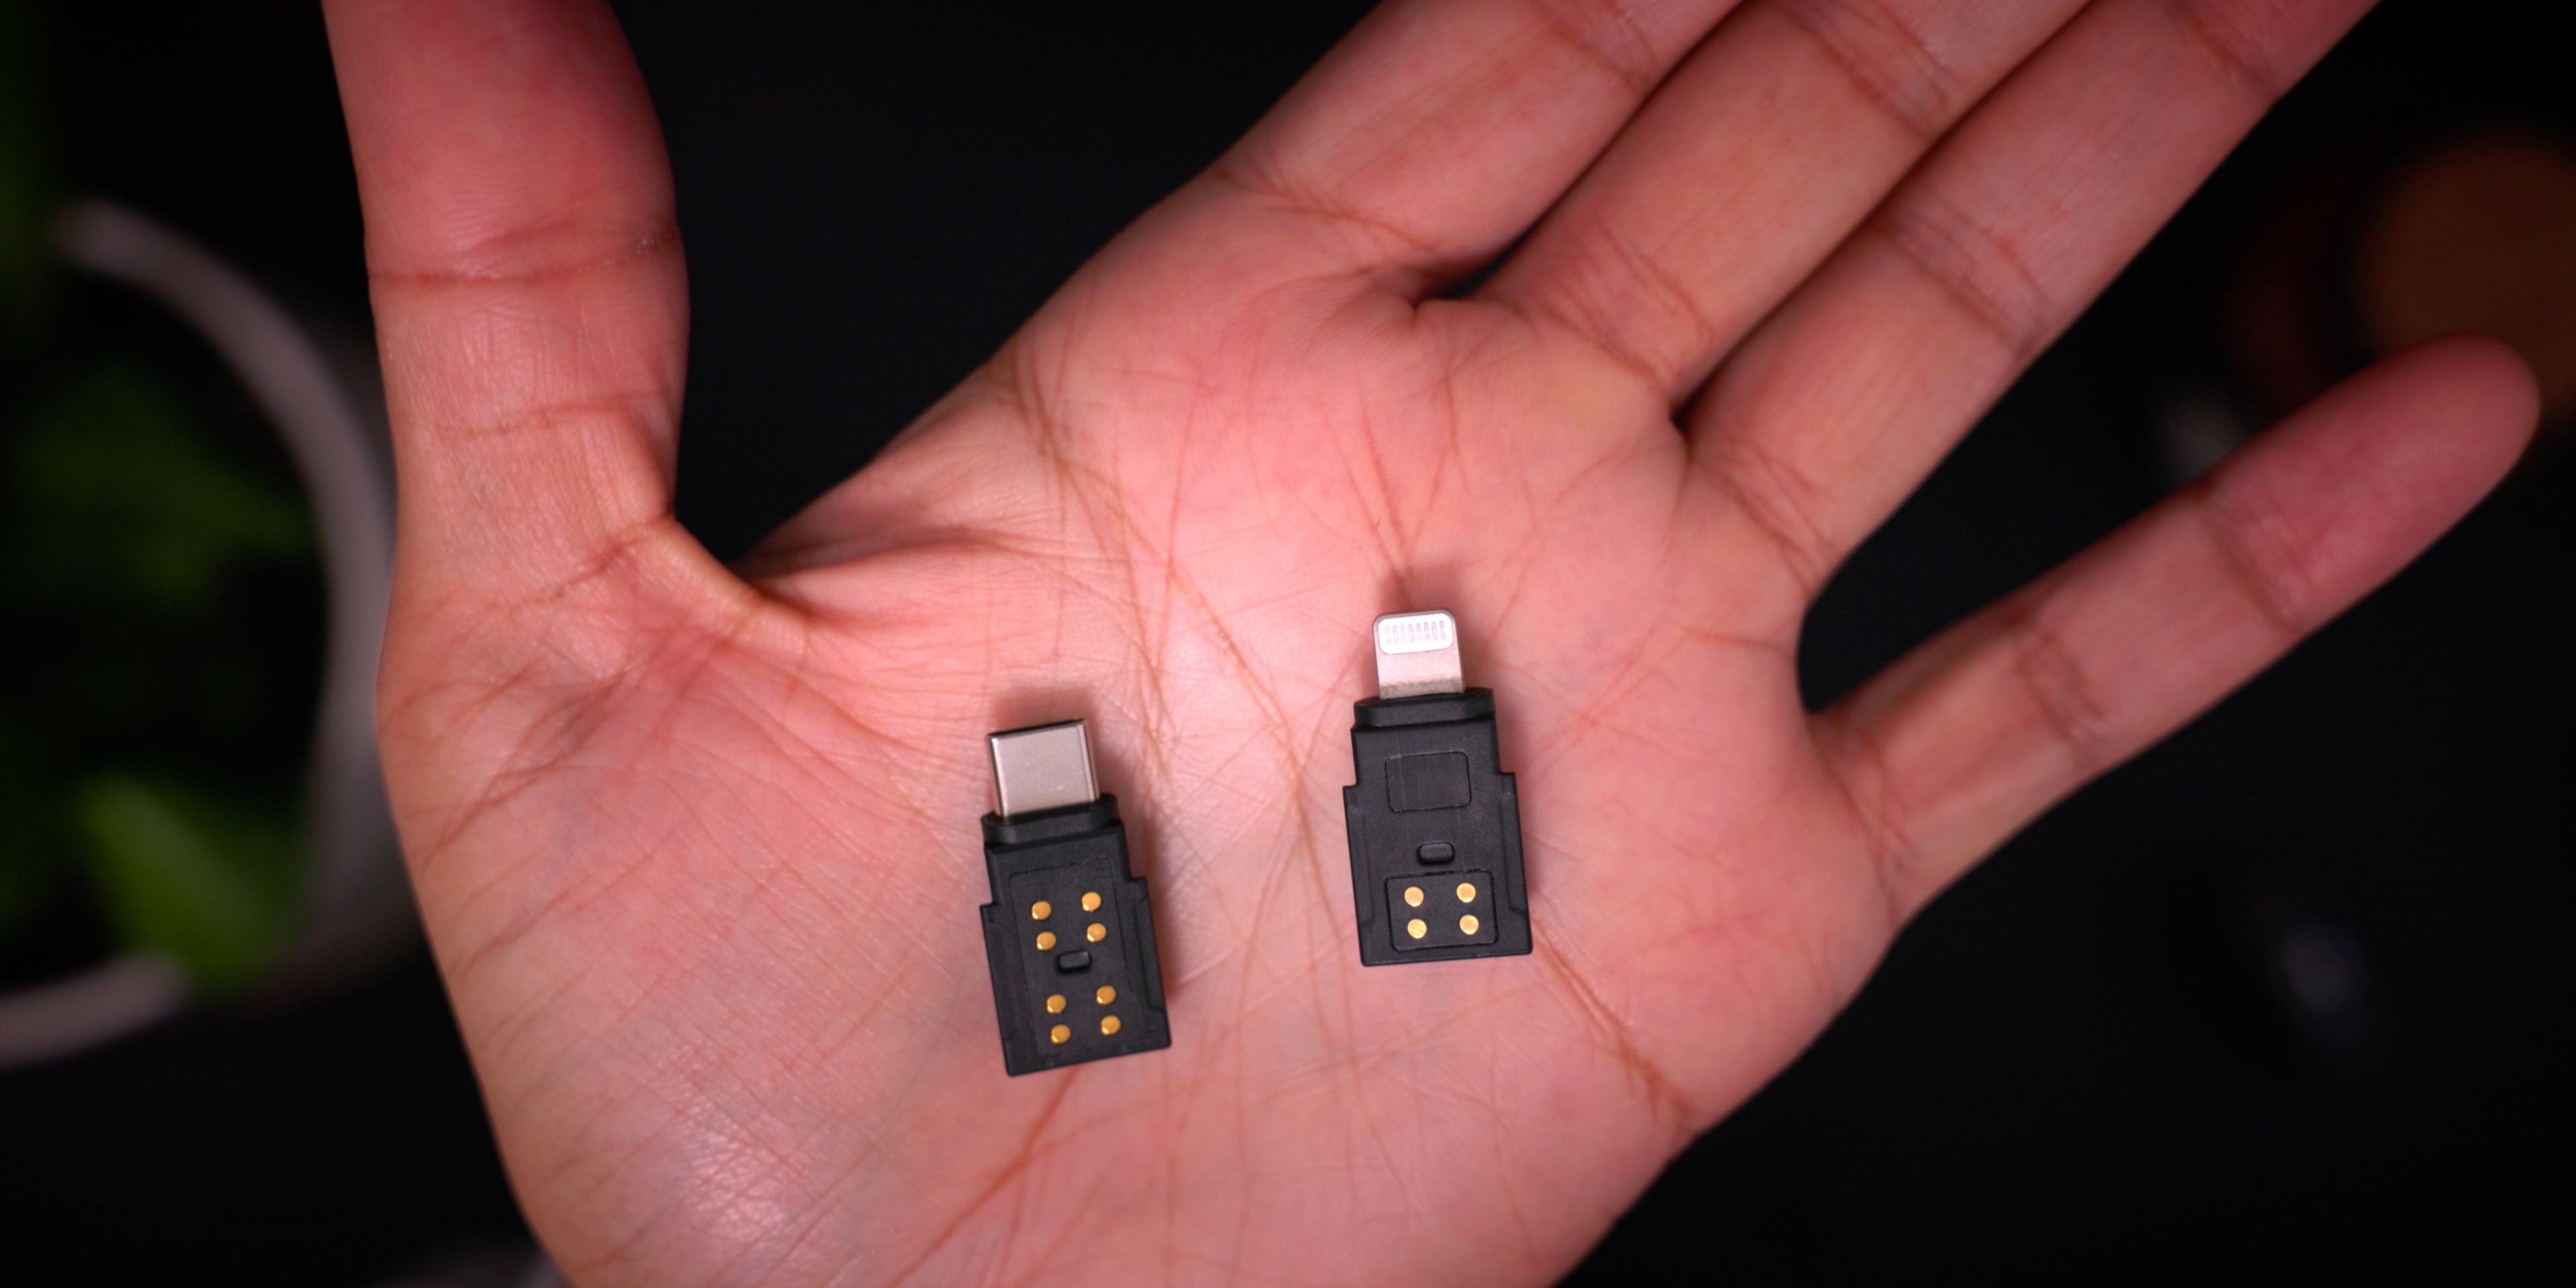
The $329 DJI Mic, which is now available, is a wireless microphone system based around two transmitters and a receiver. The receiver comes with a Lightning and USB-C attachment for iPhone and iPad connectivity, enabling wireless audio for these portable devices over a fairly long distance.
What separates the DJI Mic from popular competitors like Rode’s Wireless Go II, is that DJI includes a handy AirPods-esque charging case for recharging both transmitters and the receiver. This is not only convenient for charging, but also helps to keep up with all of the components in one place.
Thanks to its internal 8GB of storage, the transmitters can operate as a standalone recorder — just clip it on your collar and press the record button. But the DJI Mic also connects to mirrorless cameras, Android devices, iOS devices, and even functions as a wireless microphone for your Mac. Watch our DJI Mic hands-on video for the details.

Of course, DJI isn’t the first company to develop a compact wireless microphone solution, as operations like Rode have well-established and well-liked products in this space. A quick search on Amazon will even show that other companies, such as budget fan-favorite Hollyland, have wireless microphone solutions with AirPods-like charging cases. But DJI has put build quality, form factor, wireless range, and ease of use all in the same package, and the result is a fairly compelling wireless microphone system, though it isn’t without a few shortcomings.
Specifications and accessories
- 2 x Transmitters weighing 30g
- Receiver with touch screen interface
- Charging case
- 250m transmission range
- Omnidirectional polar pattern
- Dual-channel recording (via both transmitters)
- Up to 14 Hours of storage
- 5.5-hour battery life per transmitter
- 5-hour battery life for receiver
- 15-hour combined battery life (when using charging case)
- 2 x clip magnets
- 2 x windscreens
- USB-C and Lightning adapters
- 3.5mm TRS cable and 3.5mm port
- 3.5mm headphone monitoring port
- Hot shoe adapter
- USB-C to USB-A charging cable
- Carrying pouch
- $329
Video: Hands-on with the DJI Mic wireless microphone system
Subscribe to 9to5mac on YouTube for more videos
Unboxing and design
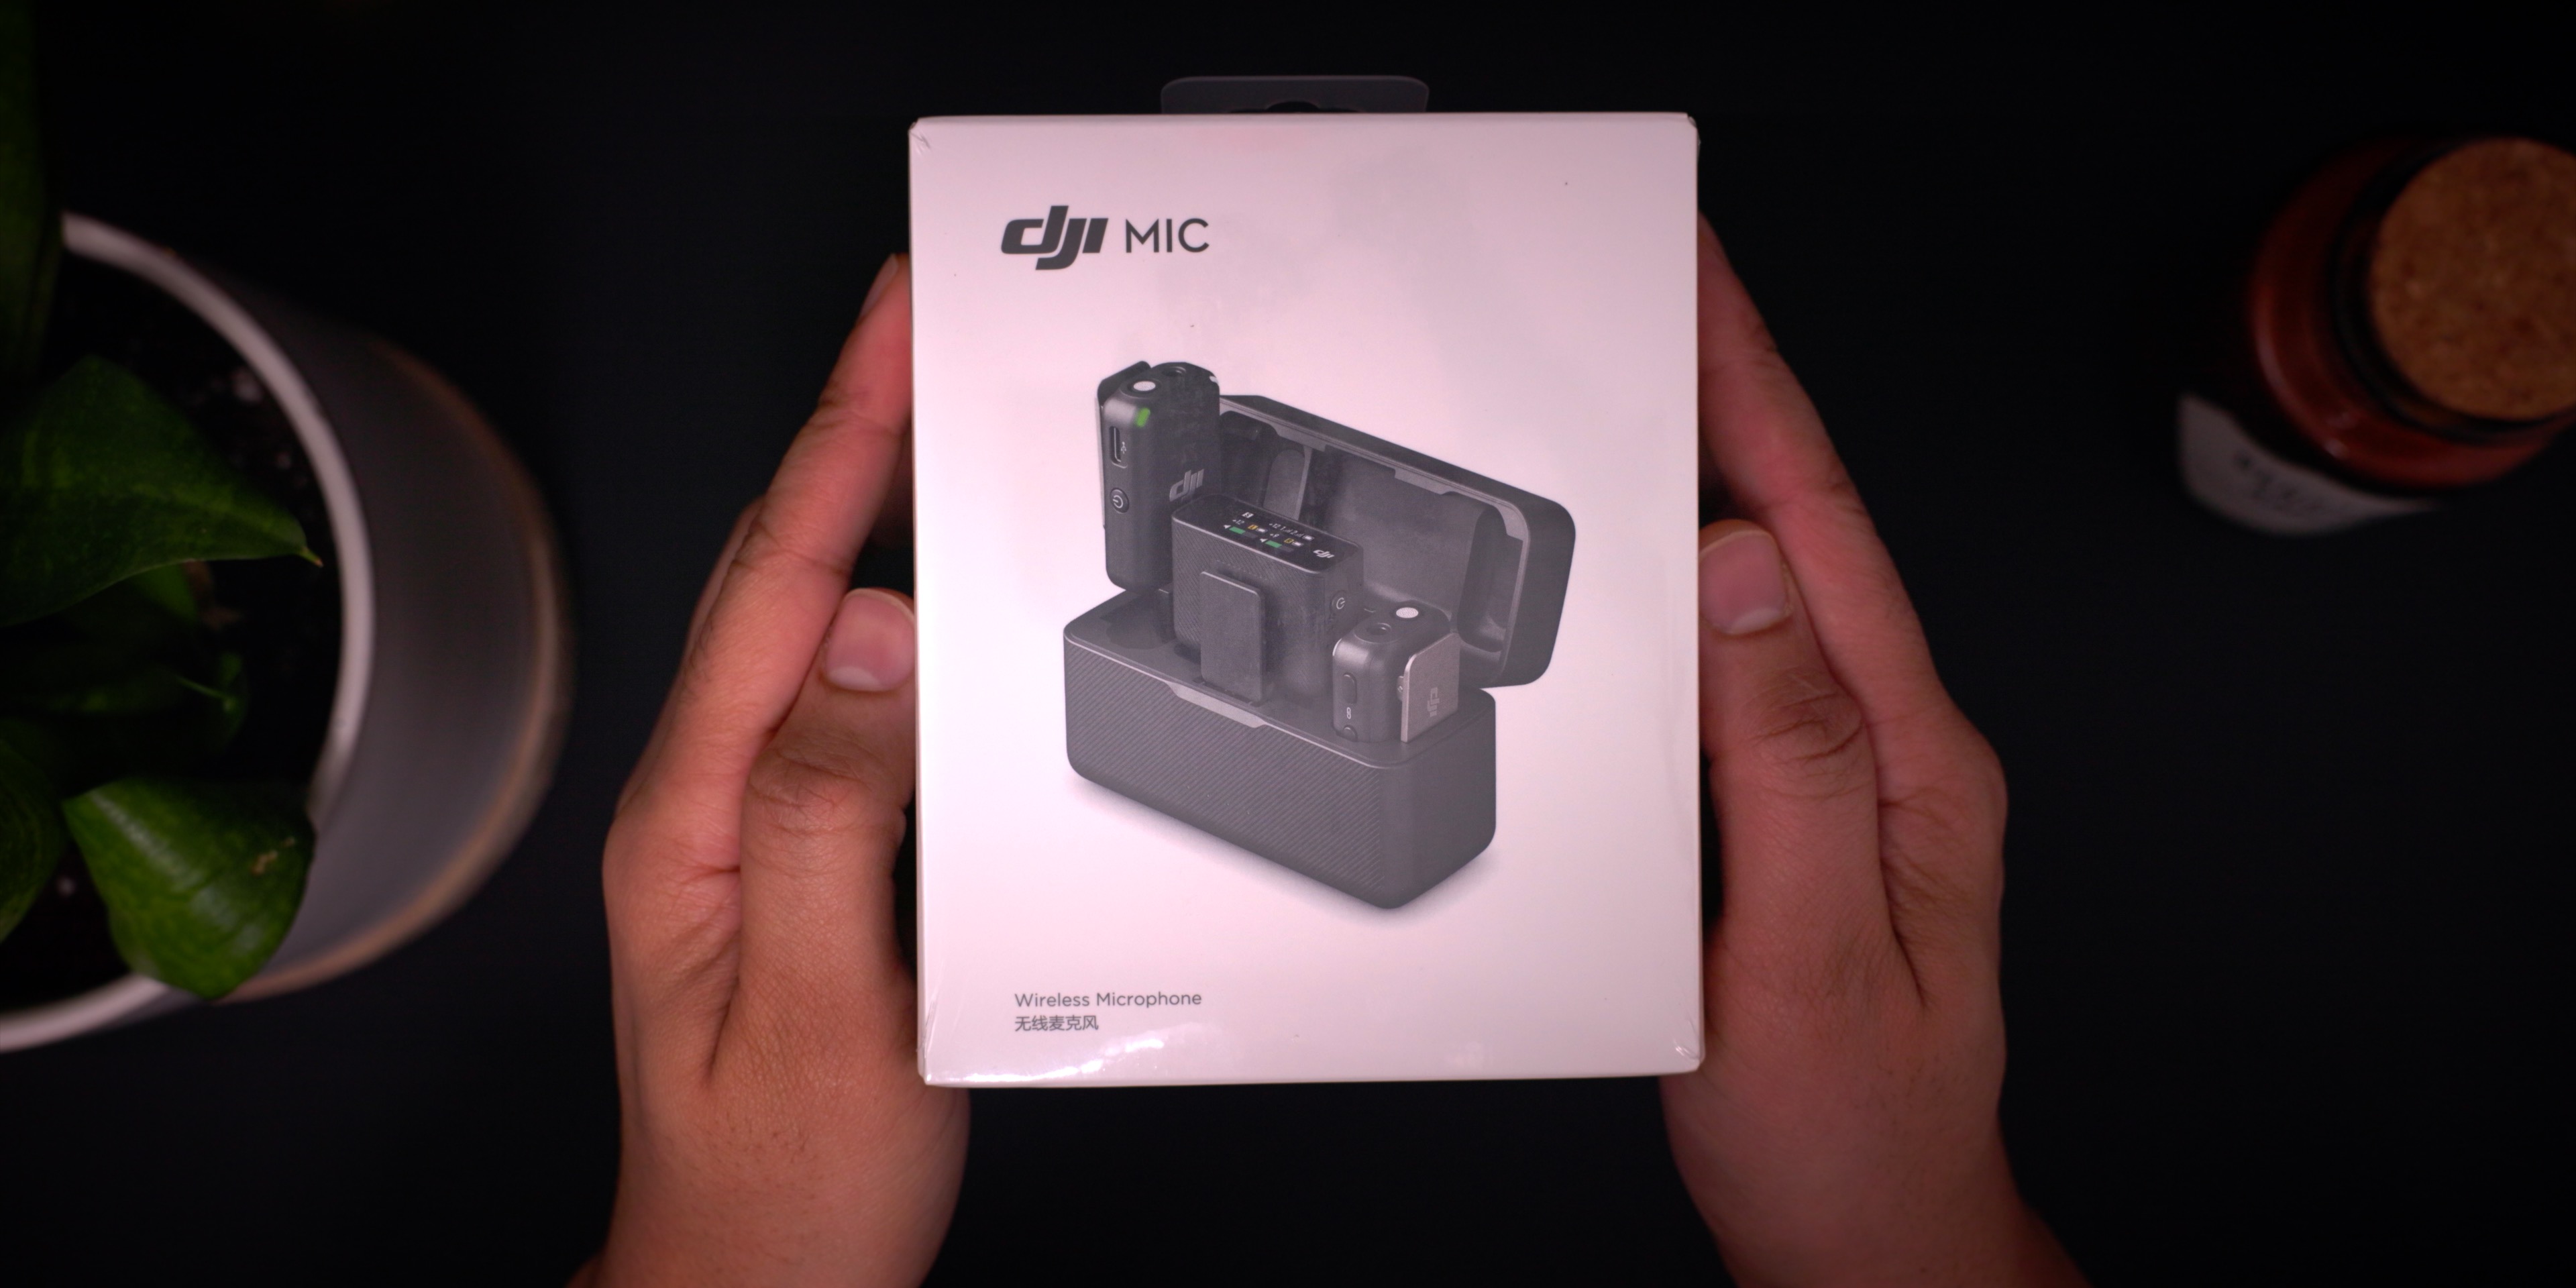
Inside the DJI Mic box, you’ll find an accessory package containing the windscreens, carrying pouch, cables, etc. Beneath the accessory package rests the star of the show – the DJI Mic charging case.
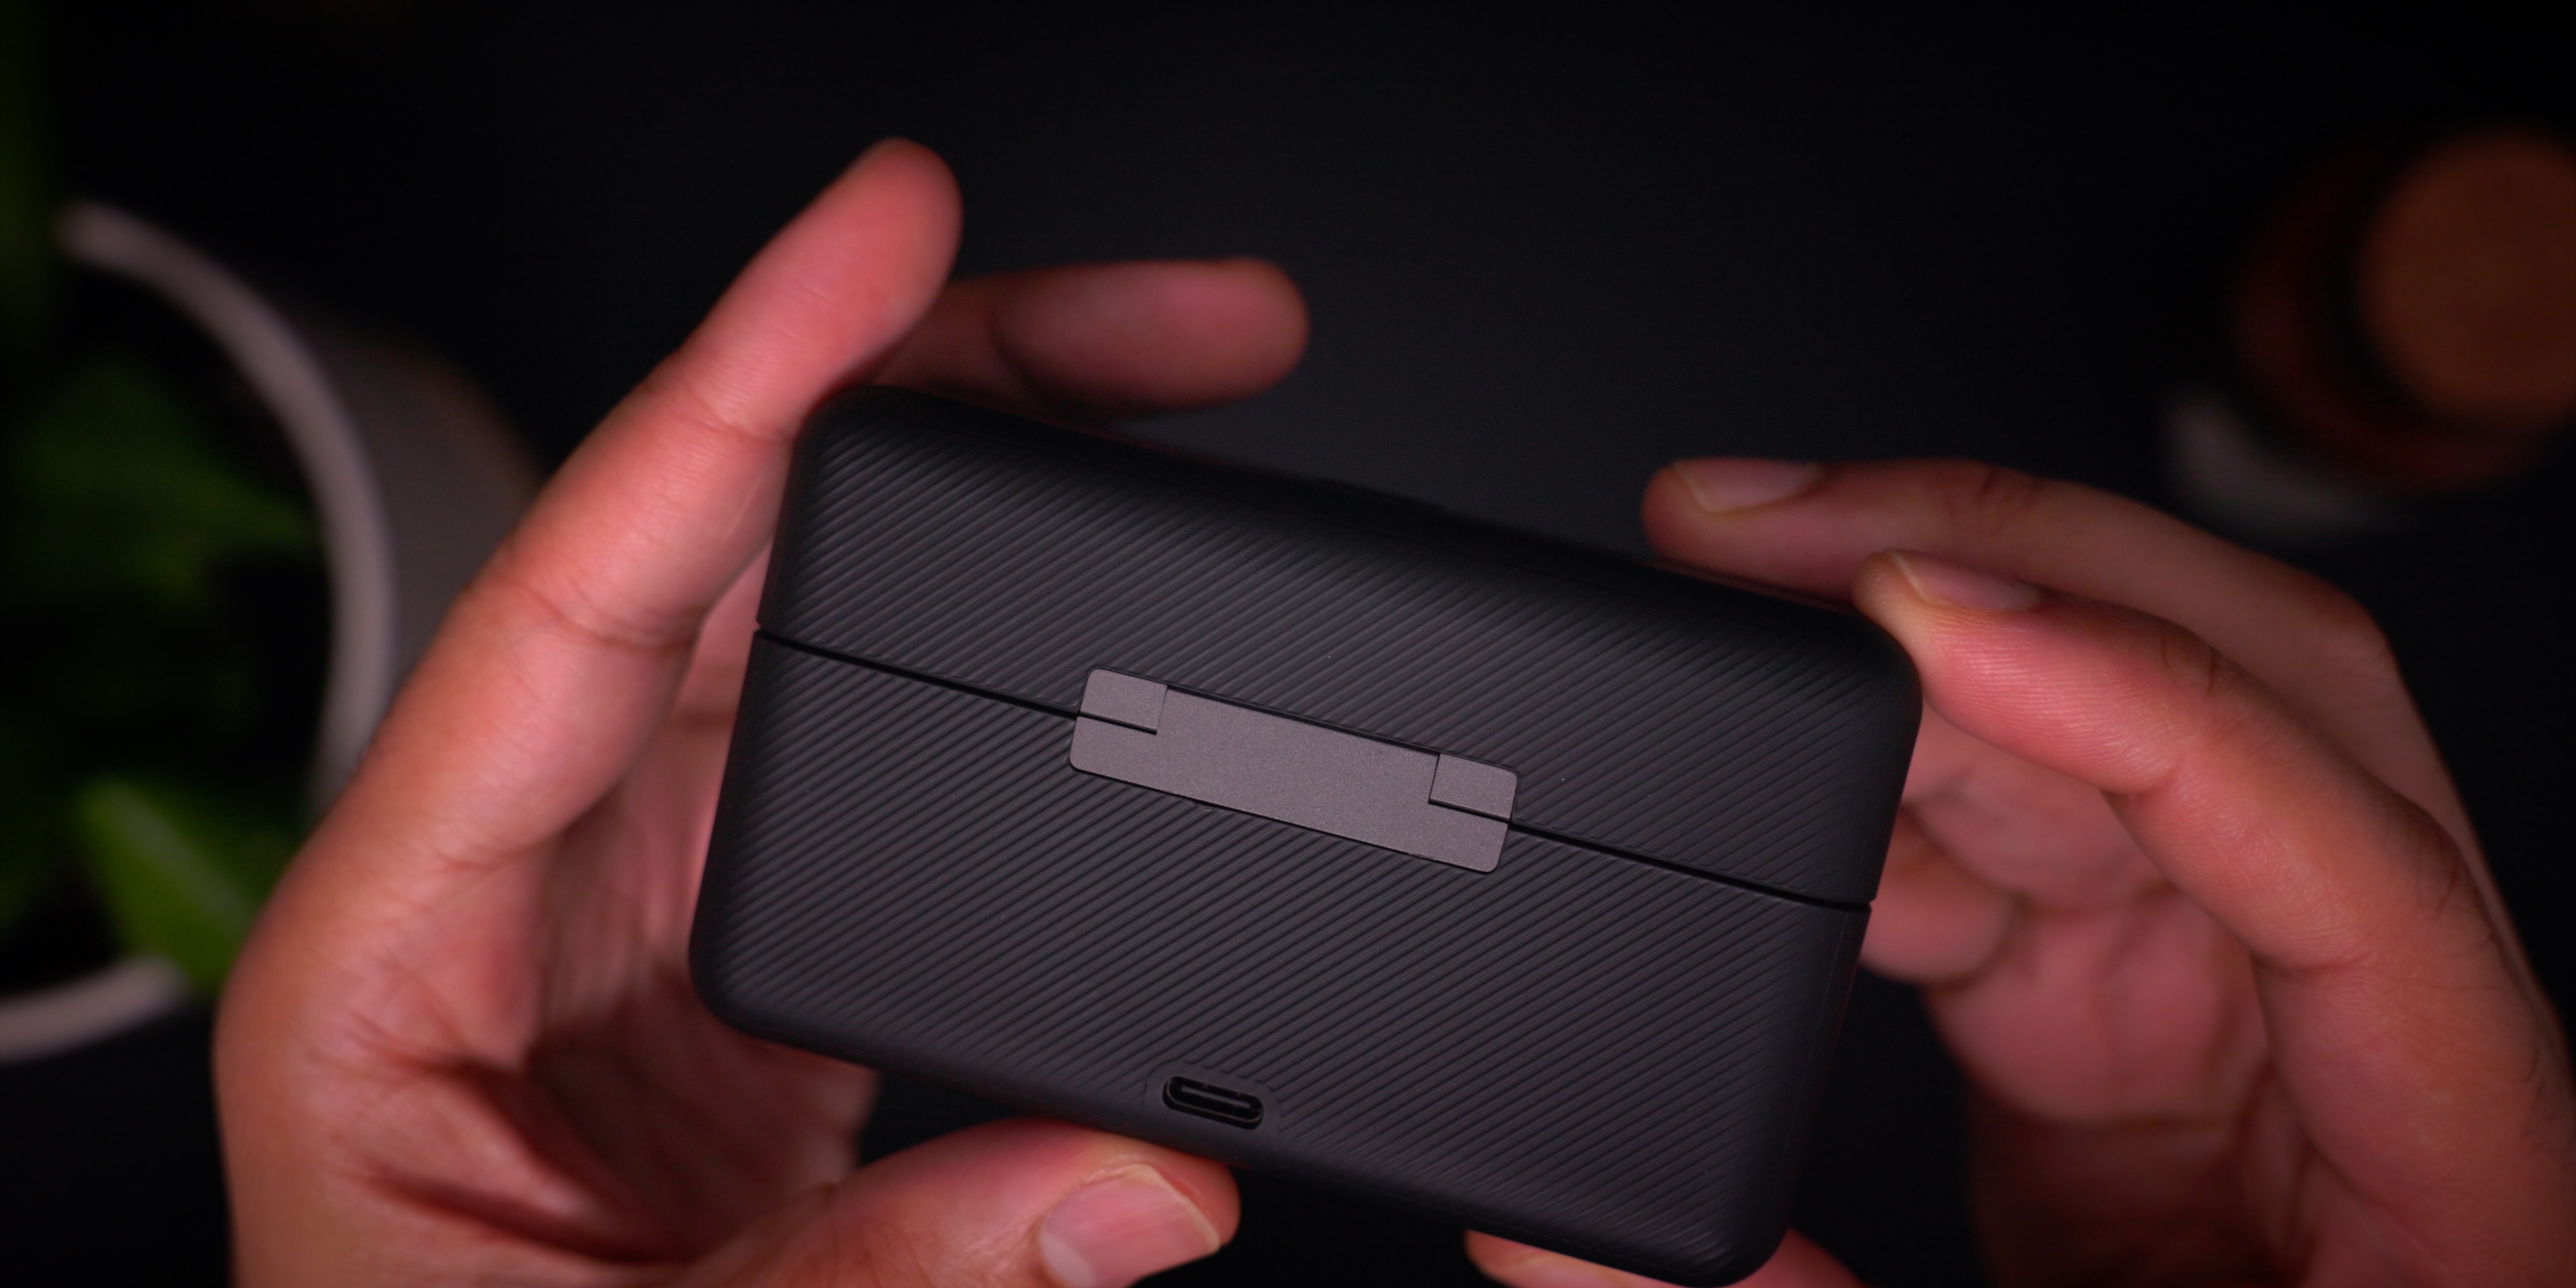
The charging case will immediately remind you of the AirPods wireless charging case, albeit significantly larger and heavier. On the front of the case, you’ll find four small LED lights to illustrate remaining charging case battery life, while a USB-C port resides on the rear for charging. DJI reports that the charging case takes roughly 2 hours and 40 minutes to go from 0% to 100% battery, and I found this to be accurate during my testing.

The charging case is primarily comprised of plastic, but in typical DJI fashion, it feels sturdy. The case features a metal hinge on the rear and lends the lid a satisfying audible snap when closed.
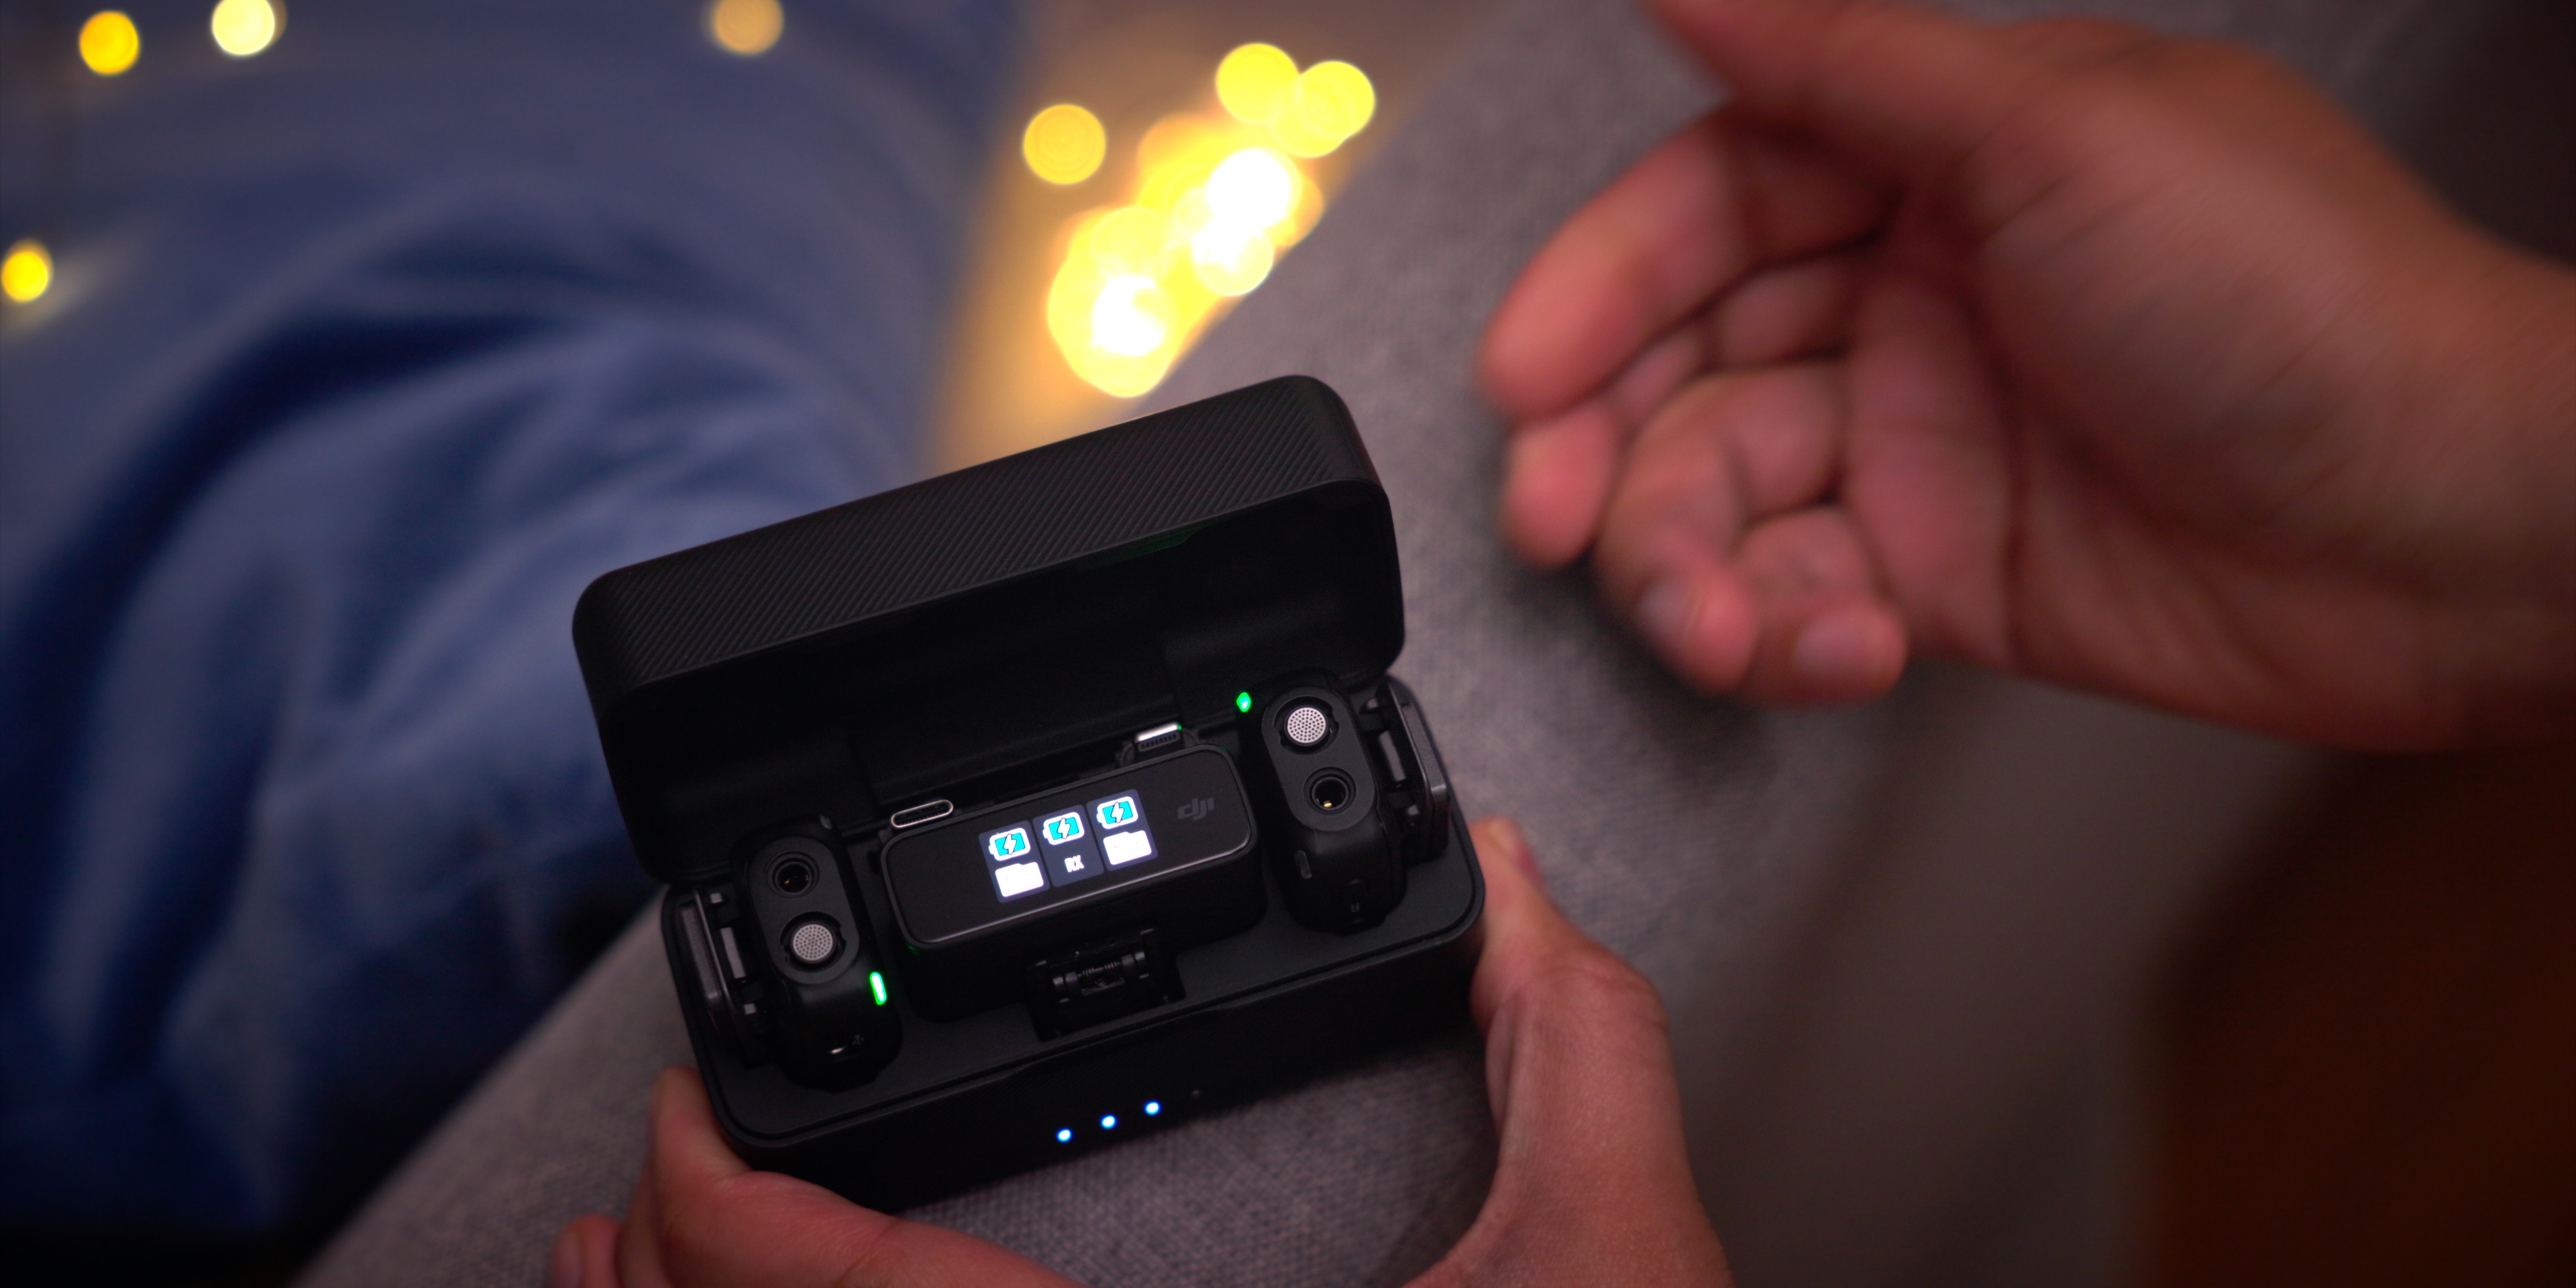
Inside the charging case you’ll find the receiver, a pair of transmitters, hot shoe adapter, and the Lightning and USB-C mobile phone adapters. The charging cases utilizes pogo pins to recharge the transmitters and receiver, with each drawing from the case’s internal battery to recharge when stored.
When you remove the receiver and transmitter(s) from the charging case, the units are automatically powered on, paired, and ready to record out of the box. Each transmitter provides up to 5.5 hours of operating time per charge, while the receiver features five hours of operating time. What’s great about this setup is that, similar to AirPods, the charging case can be used to recharge all three devices without needing to connect to a wall outlet.
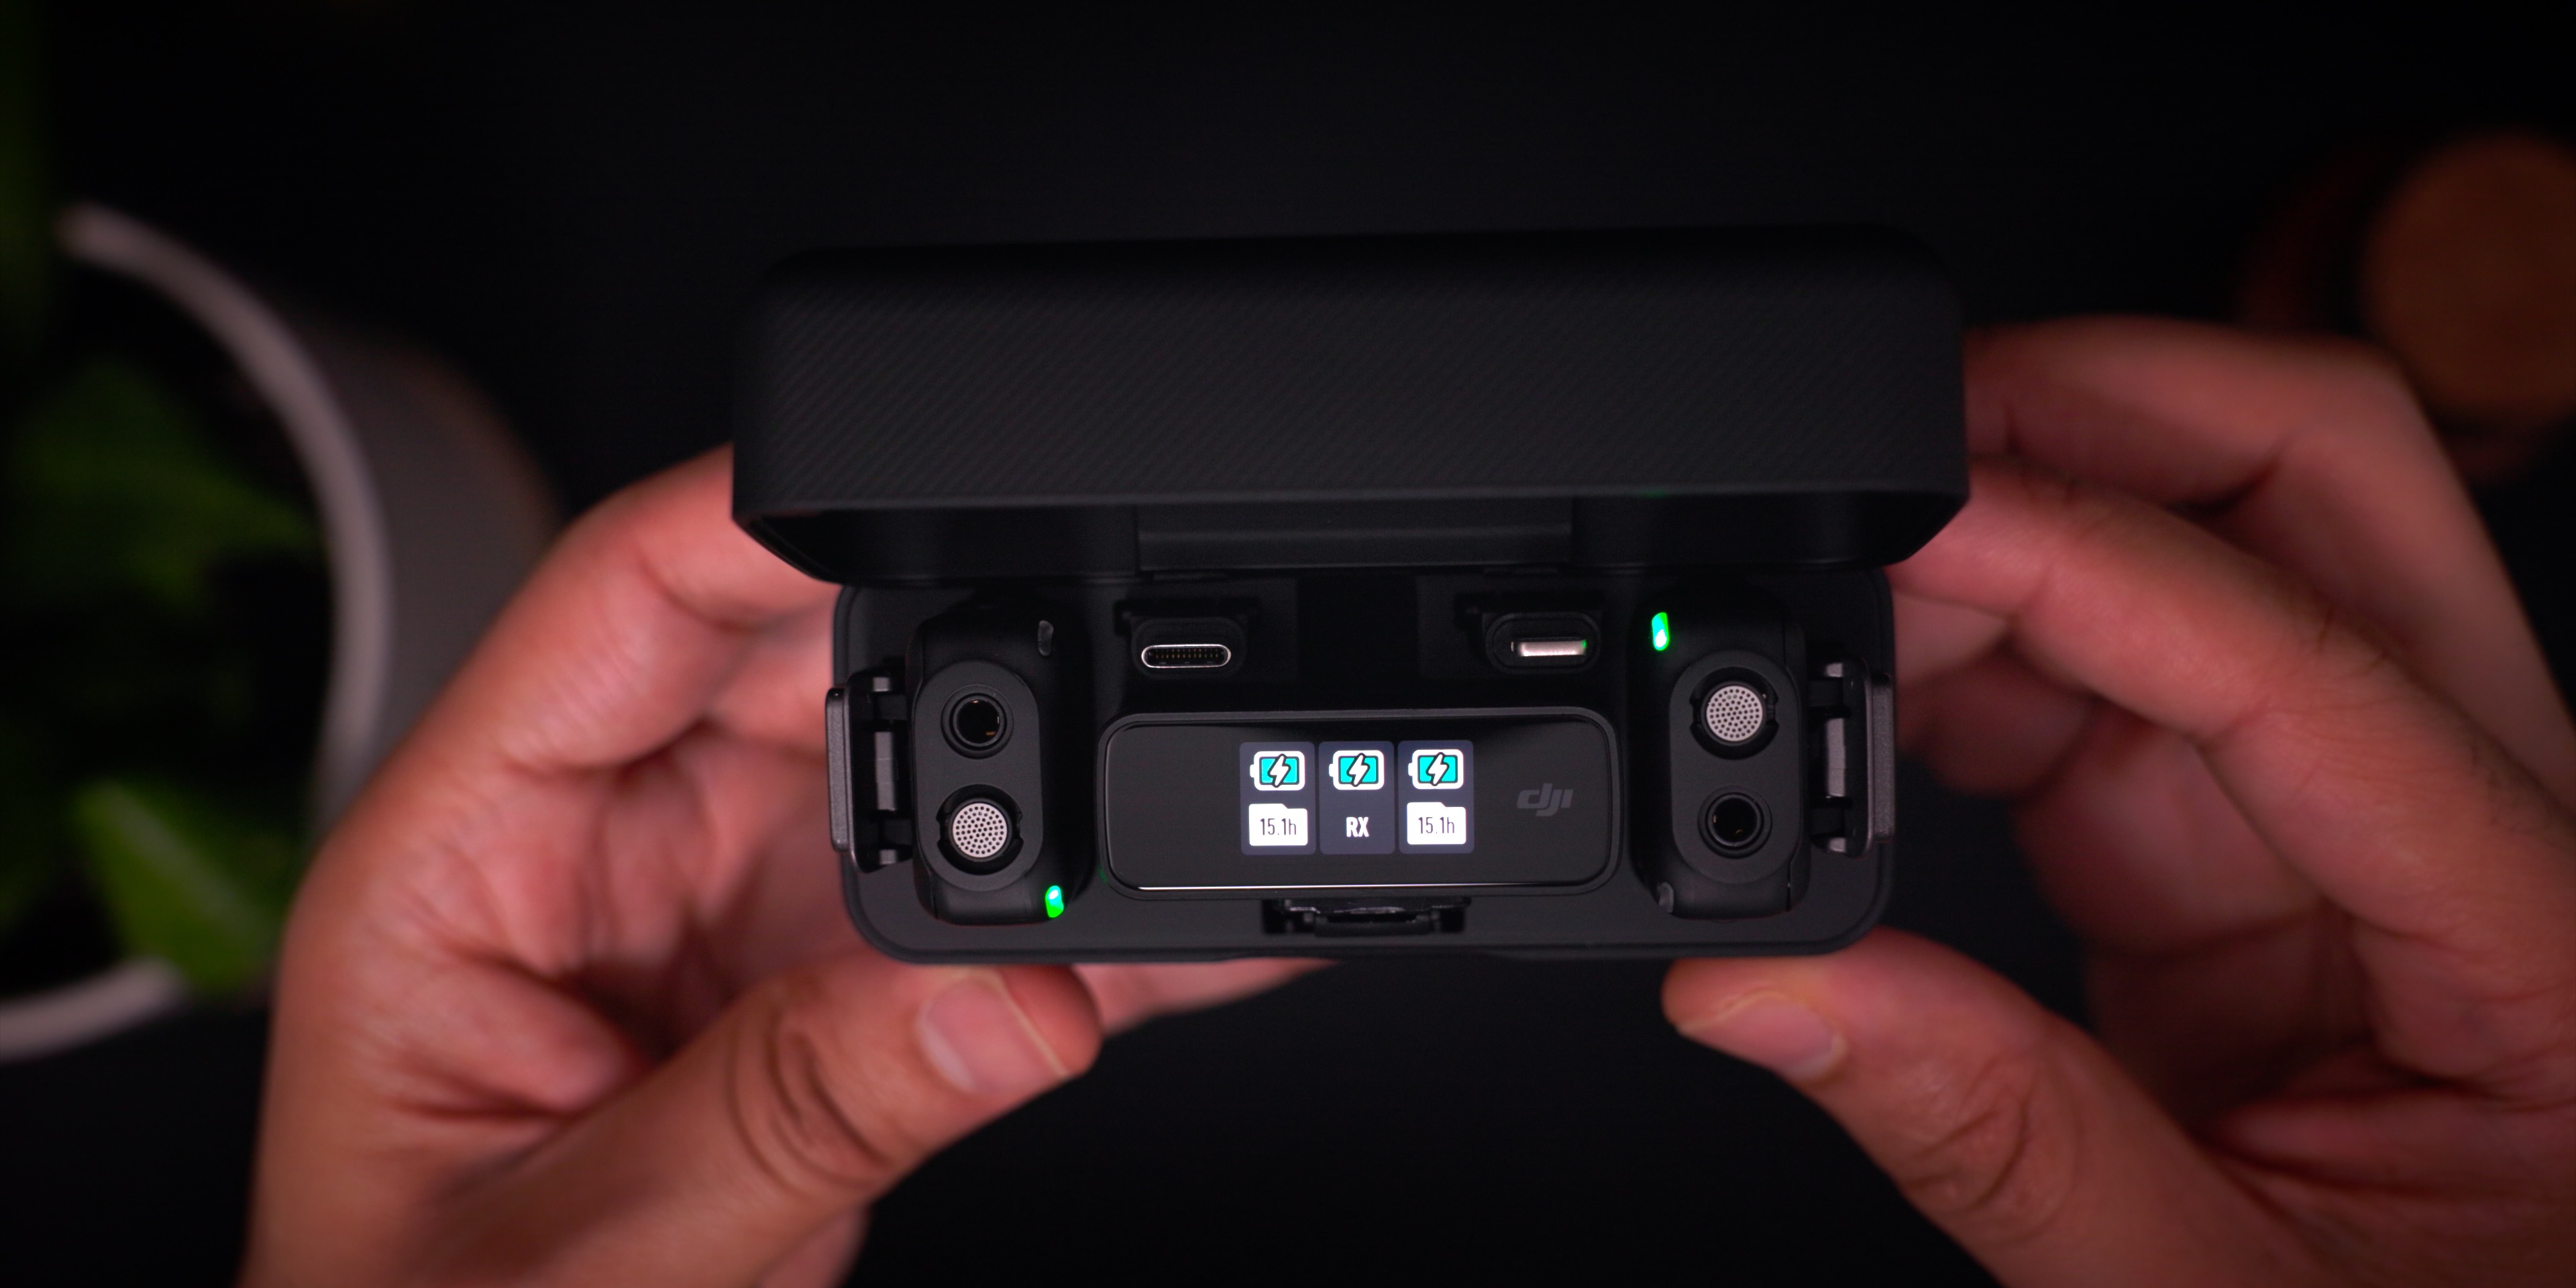
The transmitters and receiver can be fully charged simultaneously via the charging case up to 1.8 times, and each device takes a little over an hour to recharge from 0% to 100%. In total, this provides users with up to 15 hours of recording time. DJI also includes USB-C ports on all devices, providing individual charging capability while separated from the charging case.

As someone who’s owned several wireless audio systems over the years, from Sennheiser’s camera-focused AVX system, to more portable options like Rode’s Wireless Go II, I highly value DJI’s approach. The charging case keeps everything neat and nicely organized in one place, and more importantly, helps to ensure that your microphones are charged and ready to use when you need them most.
Flexibility
Flexibility is the name of the game when putting the DJI Mic to work. Each transmitter features a built-in microphone and can operate solely on its own if desired. Audio is recorded to 8GB of onboard storage for up to 14 hours of recording time. To access recordings, simply connect the transmitter to a Mac or iOS device, no additional apps required.
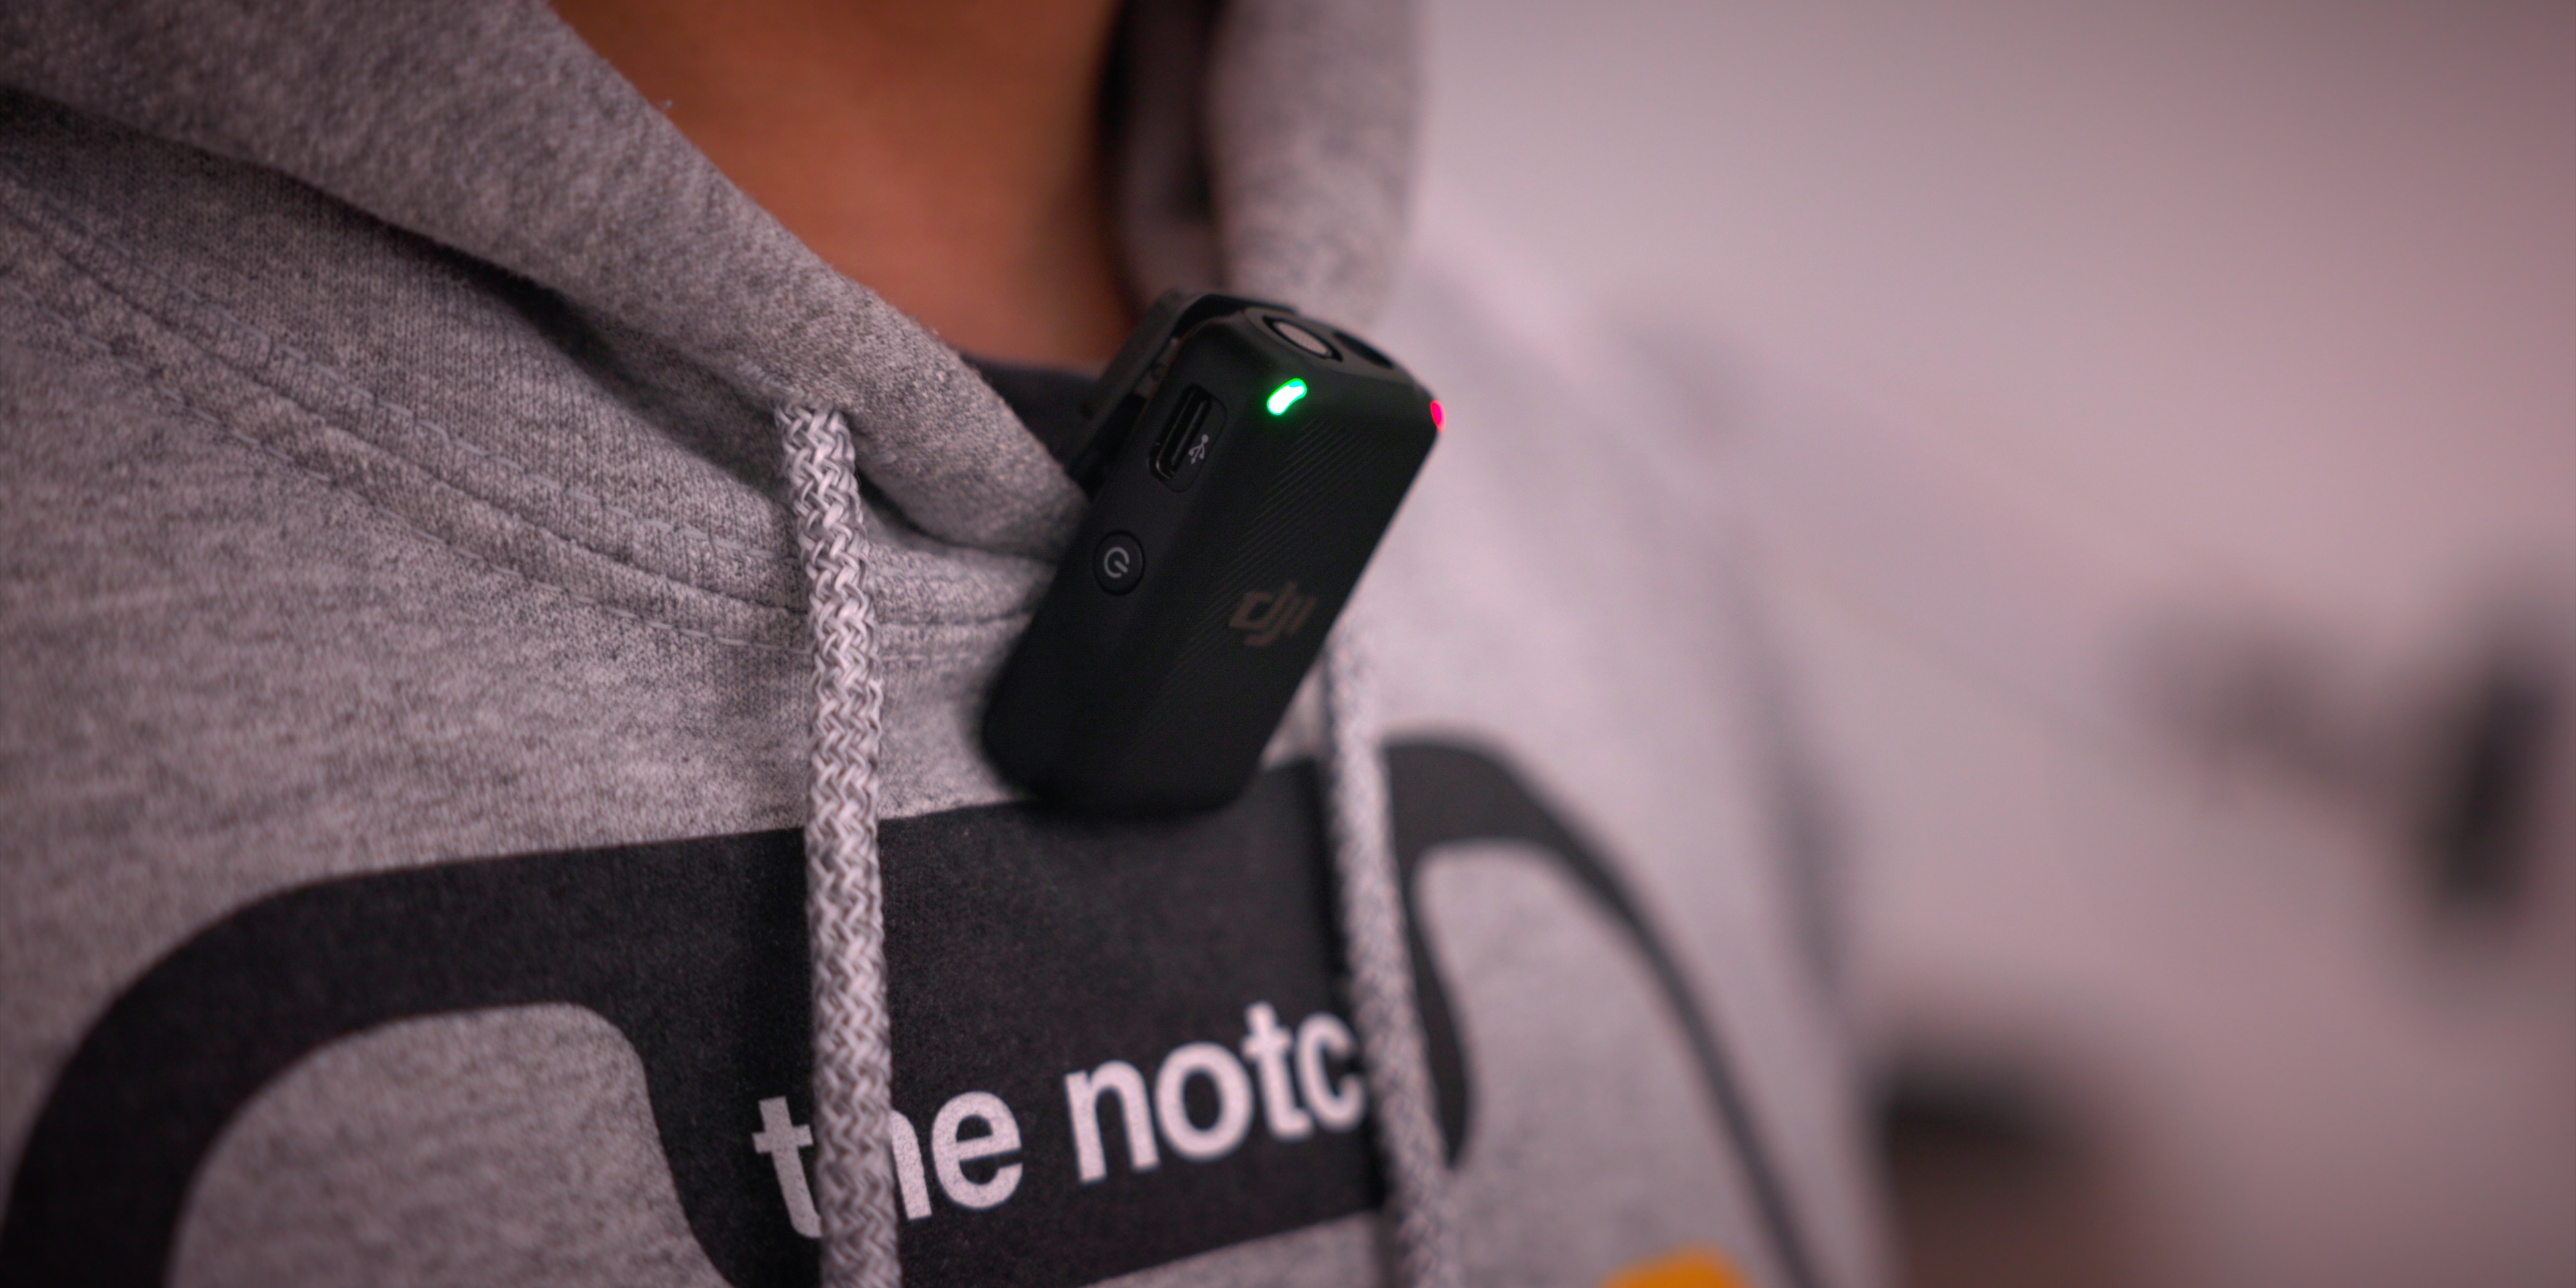
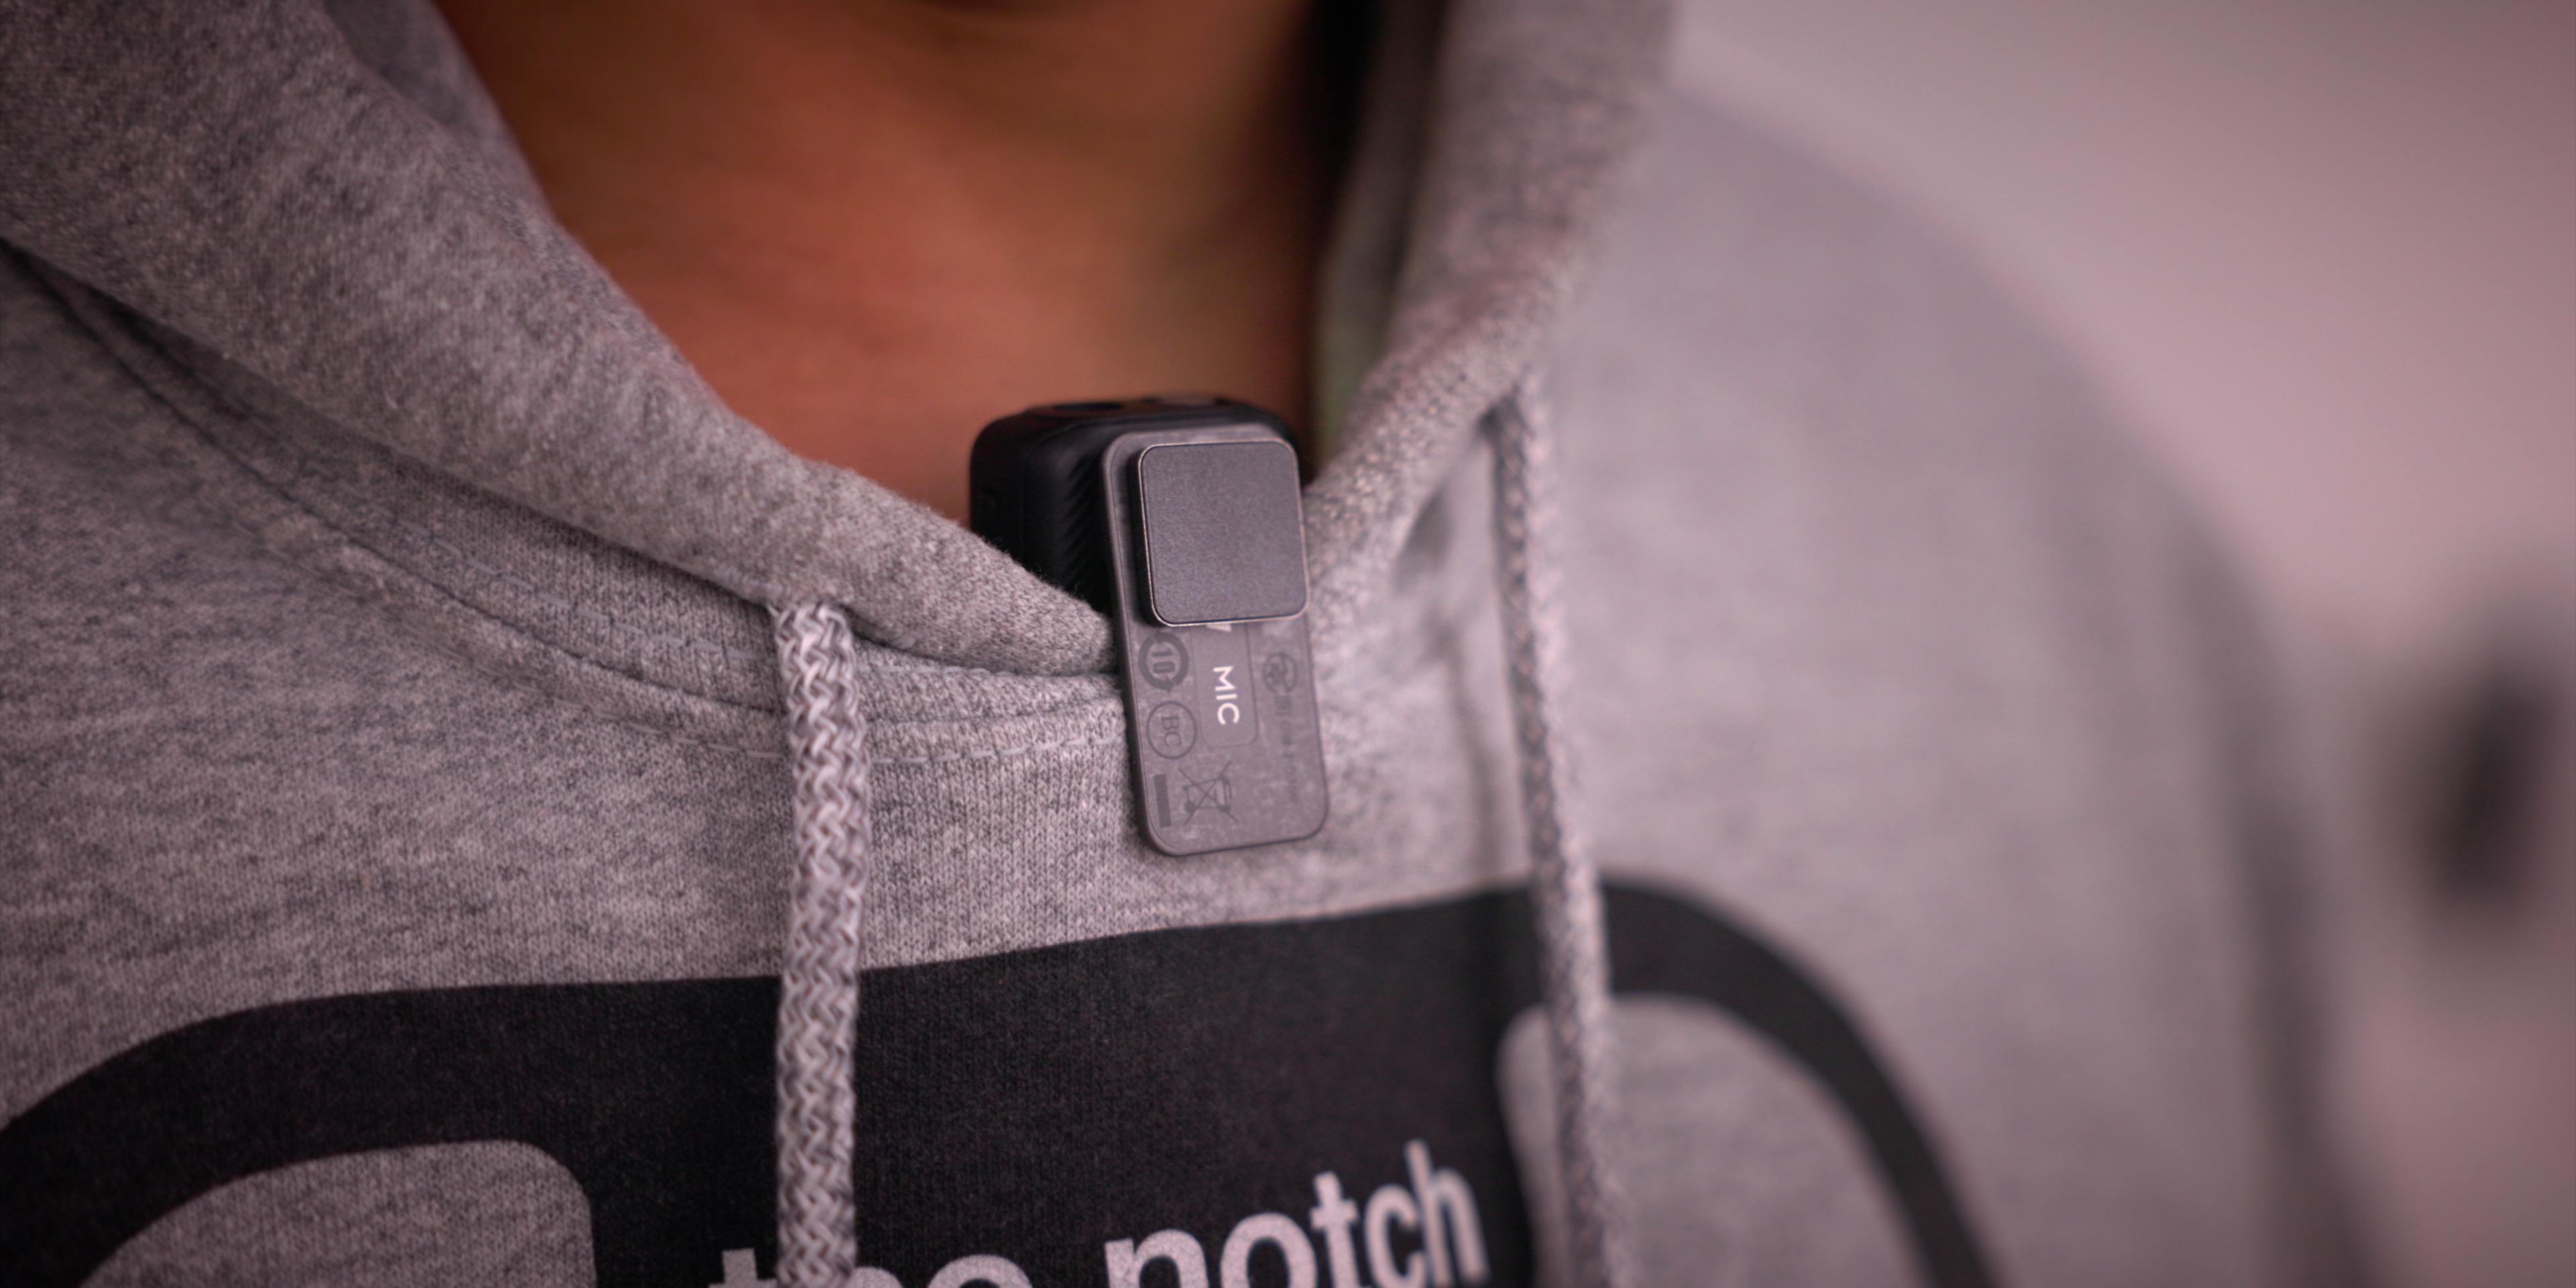
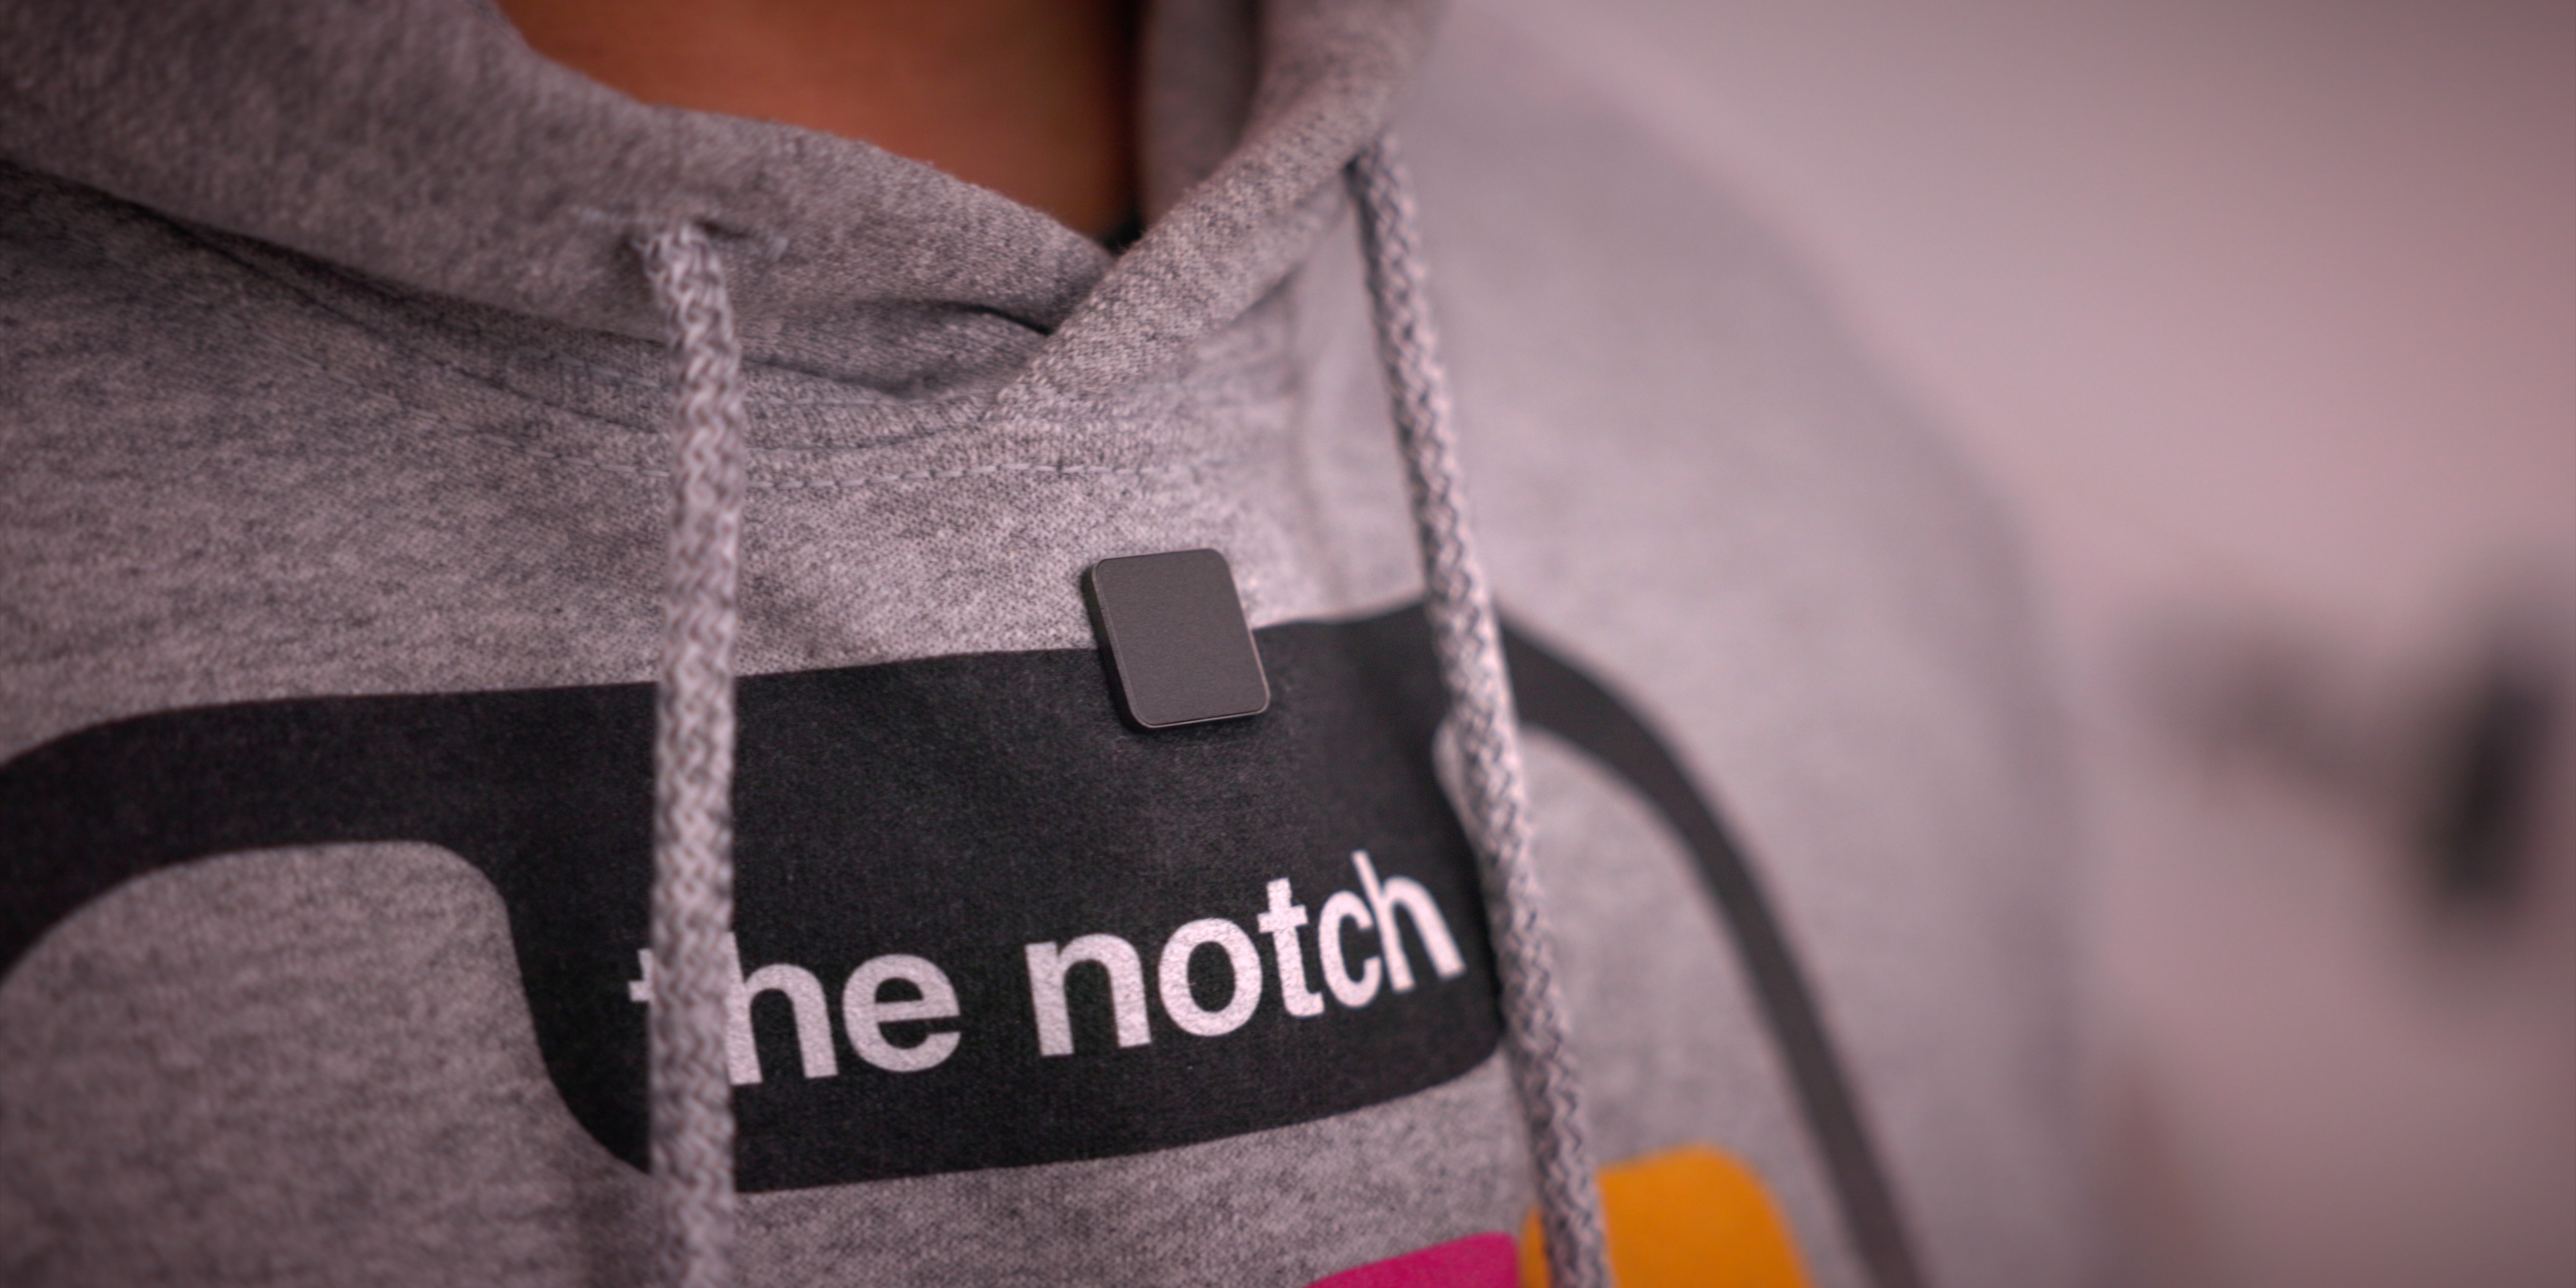
Each transmitter has a built-in clip for attaching to clothes, or you can utilize the included clip magnets for placement on thin articles of clothing. If you’d rather use a traditional lavalier for a more low key look, there is a built-in 3.5mm TRS port that will easily accommodate external microphones.
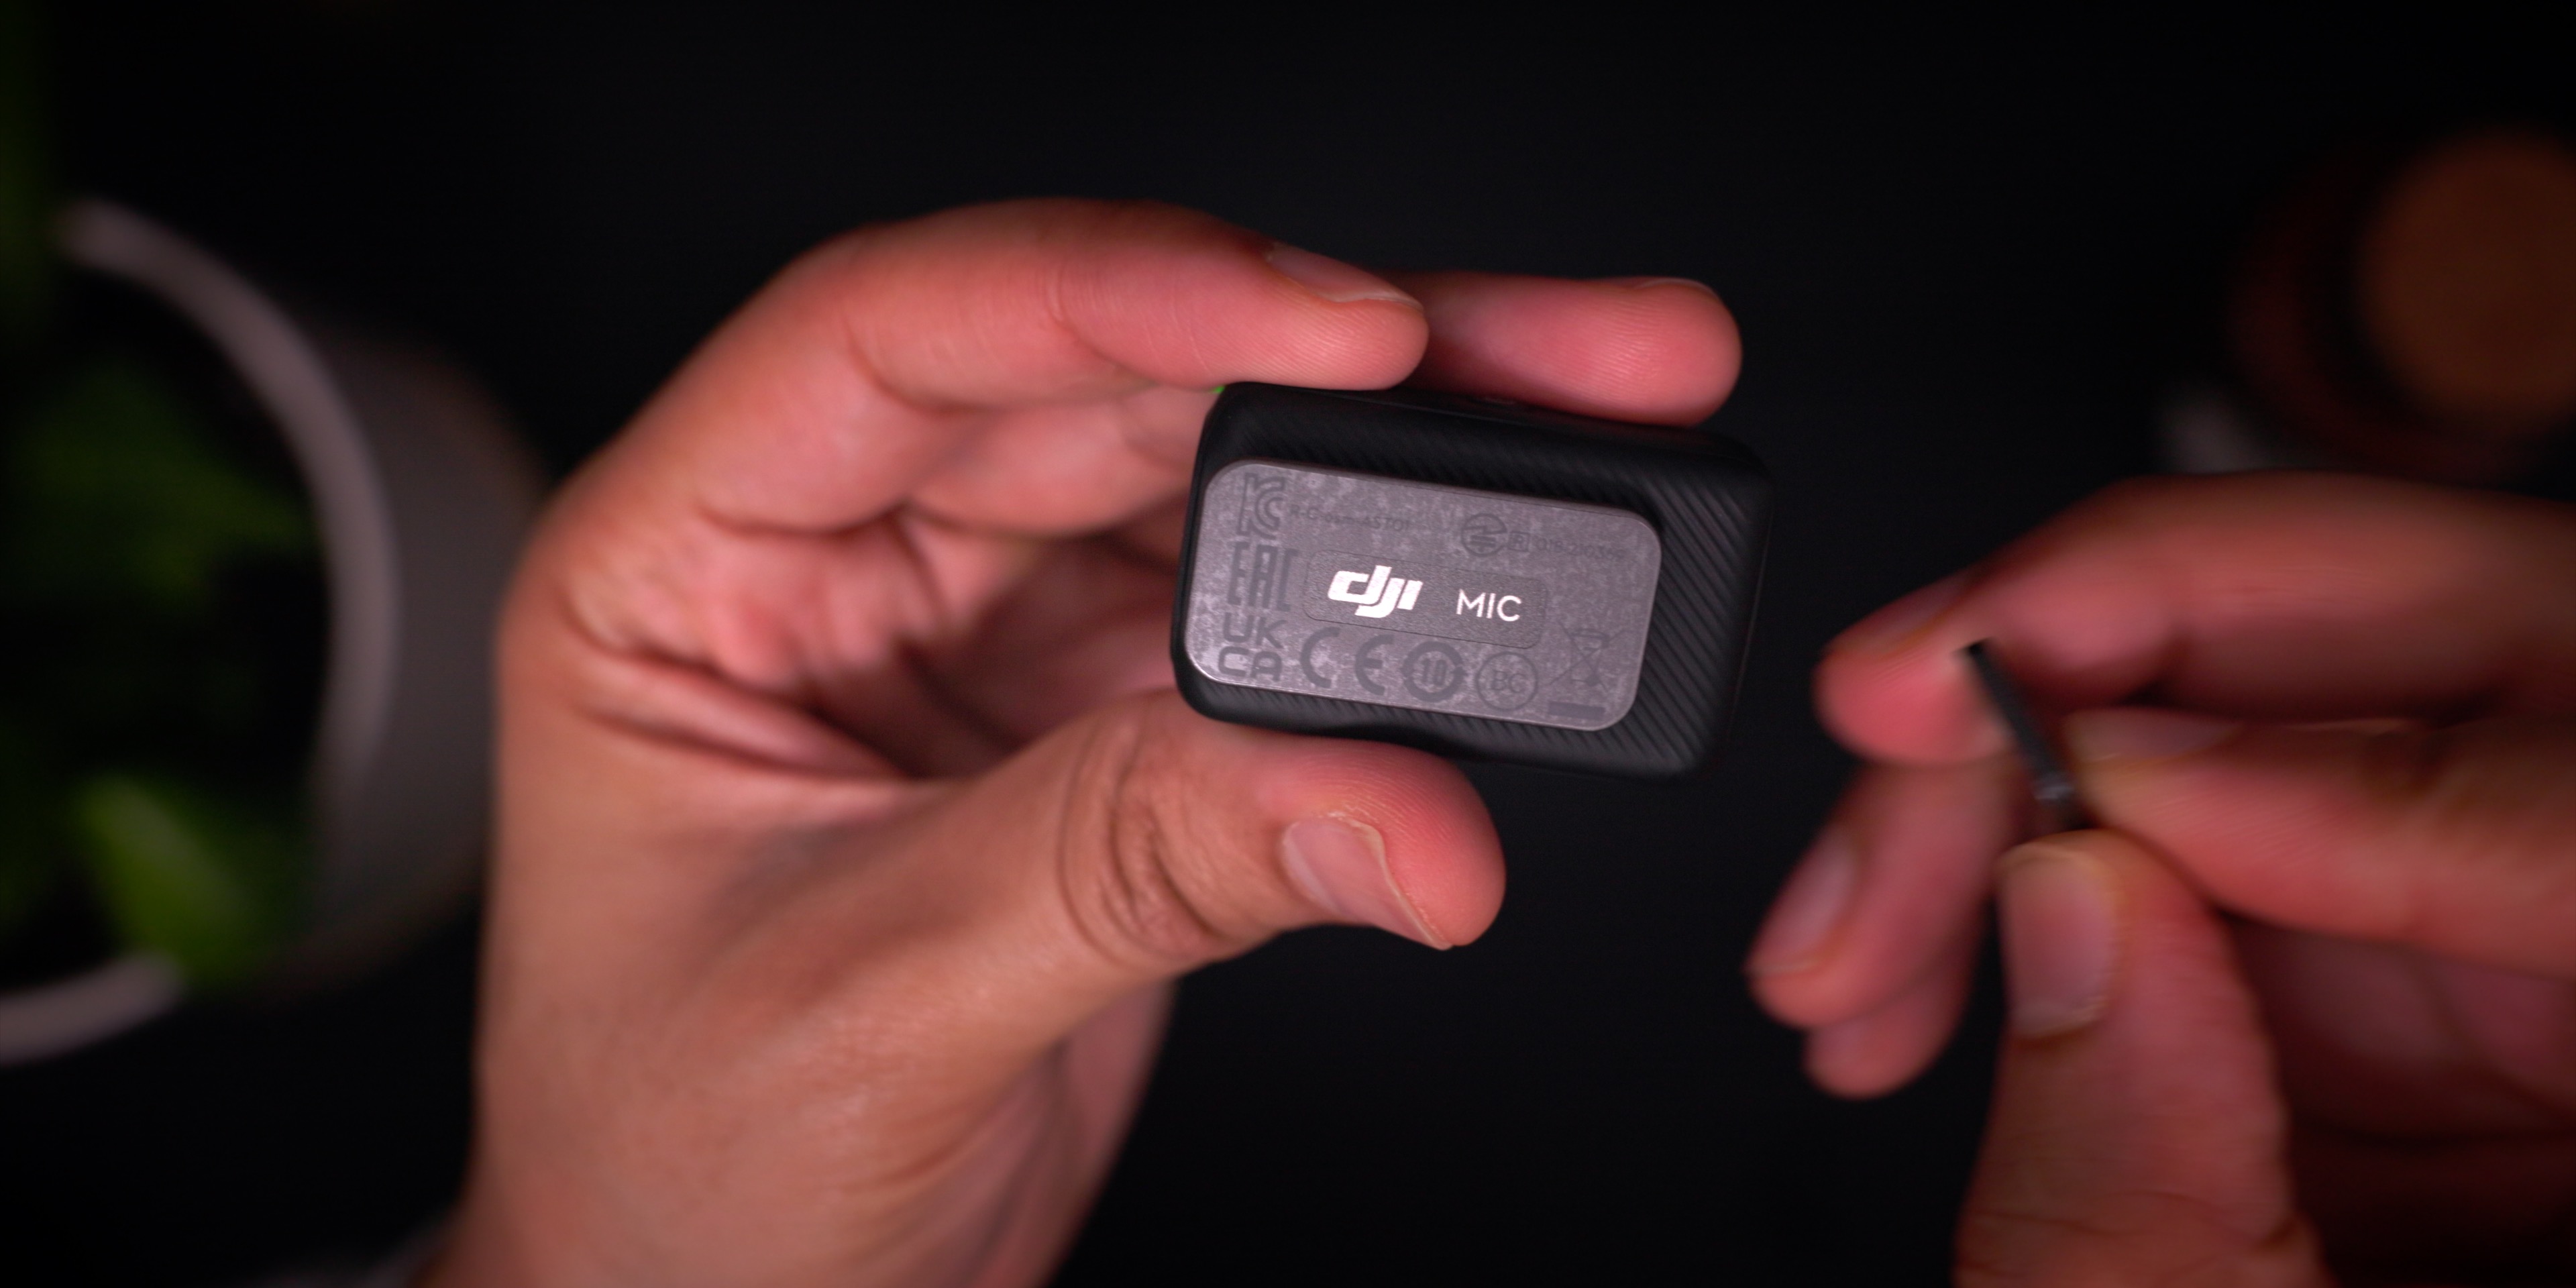
One of the big differences between the DJI Mic’s transmitters and the transmitters found on the popular Rode Wireless Go II system is build quality and size. The DJI Mic is nearly half the size of Rode’s transmitter, and thus a little less conspicuous. It also feels more premium, as it’s roughly the same weight as the Rode mic at 30g, and features a denser, higher-quality build.

Each transmitter has a power, link, and a dedicated record button. A pair of status LEDs indicate when the device is powered on, paired, and recording, while a set of pogo pins on the bottom of the unit facilitate charging when placed in the charging case.
In addition to the standalone functionality of the transmitters, when paired with the wireless receiver, you gain even more flexibility. The receiver can be connected directly to a camera’s microphone input for dual channel wireless recording from both transmitters into the camera. It can also be connected to an iPhone or iPad, Mac, or Android device via the included Lightning or USB-C connection options.

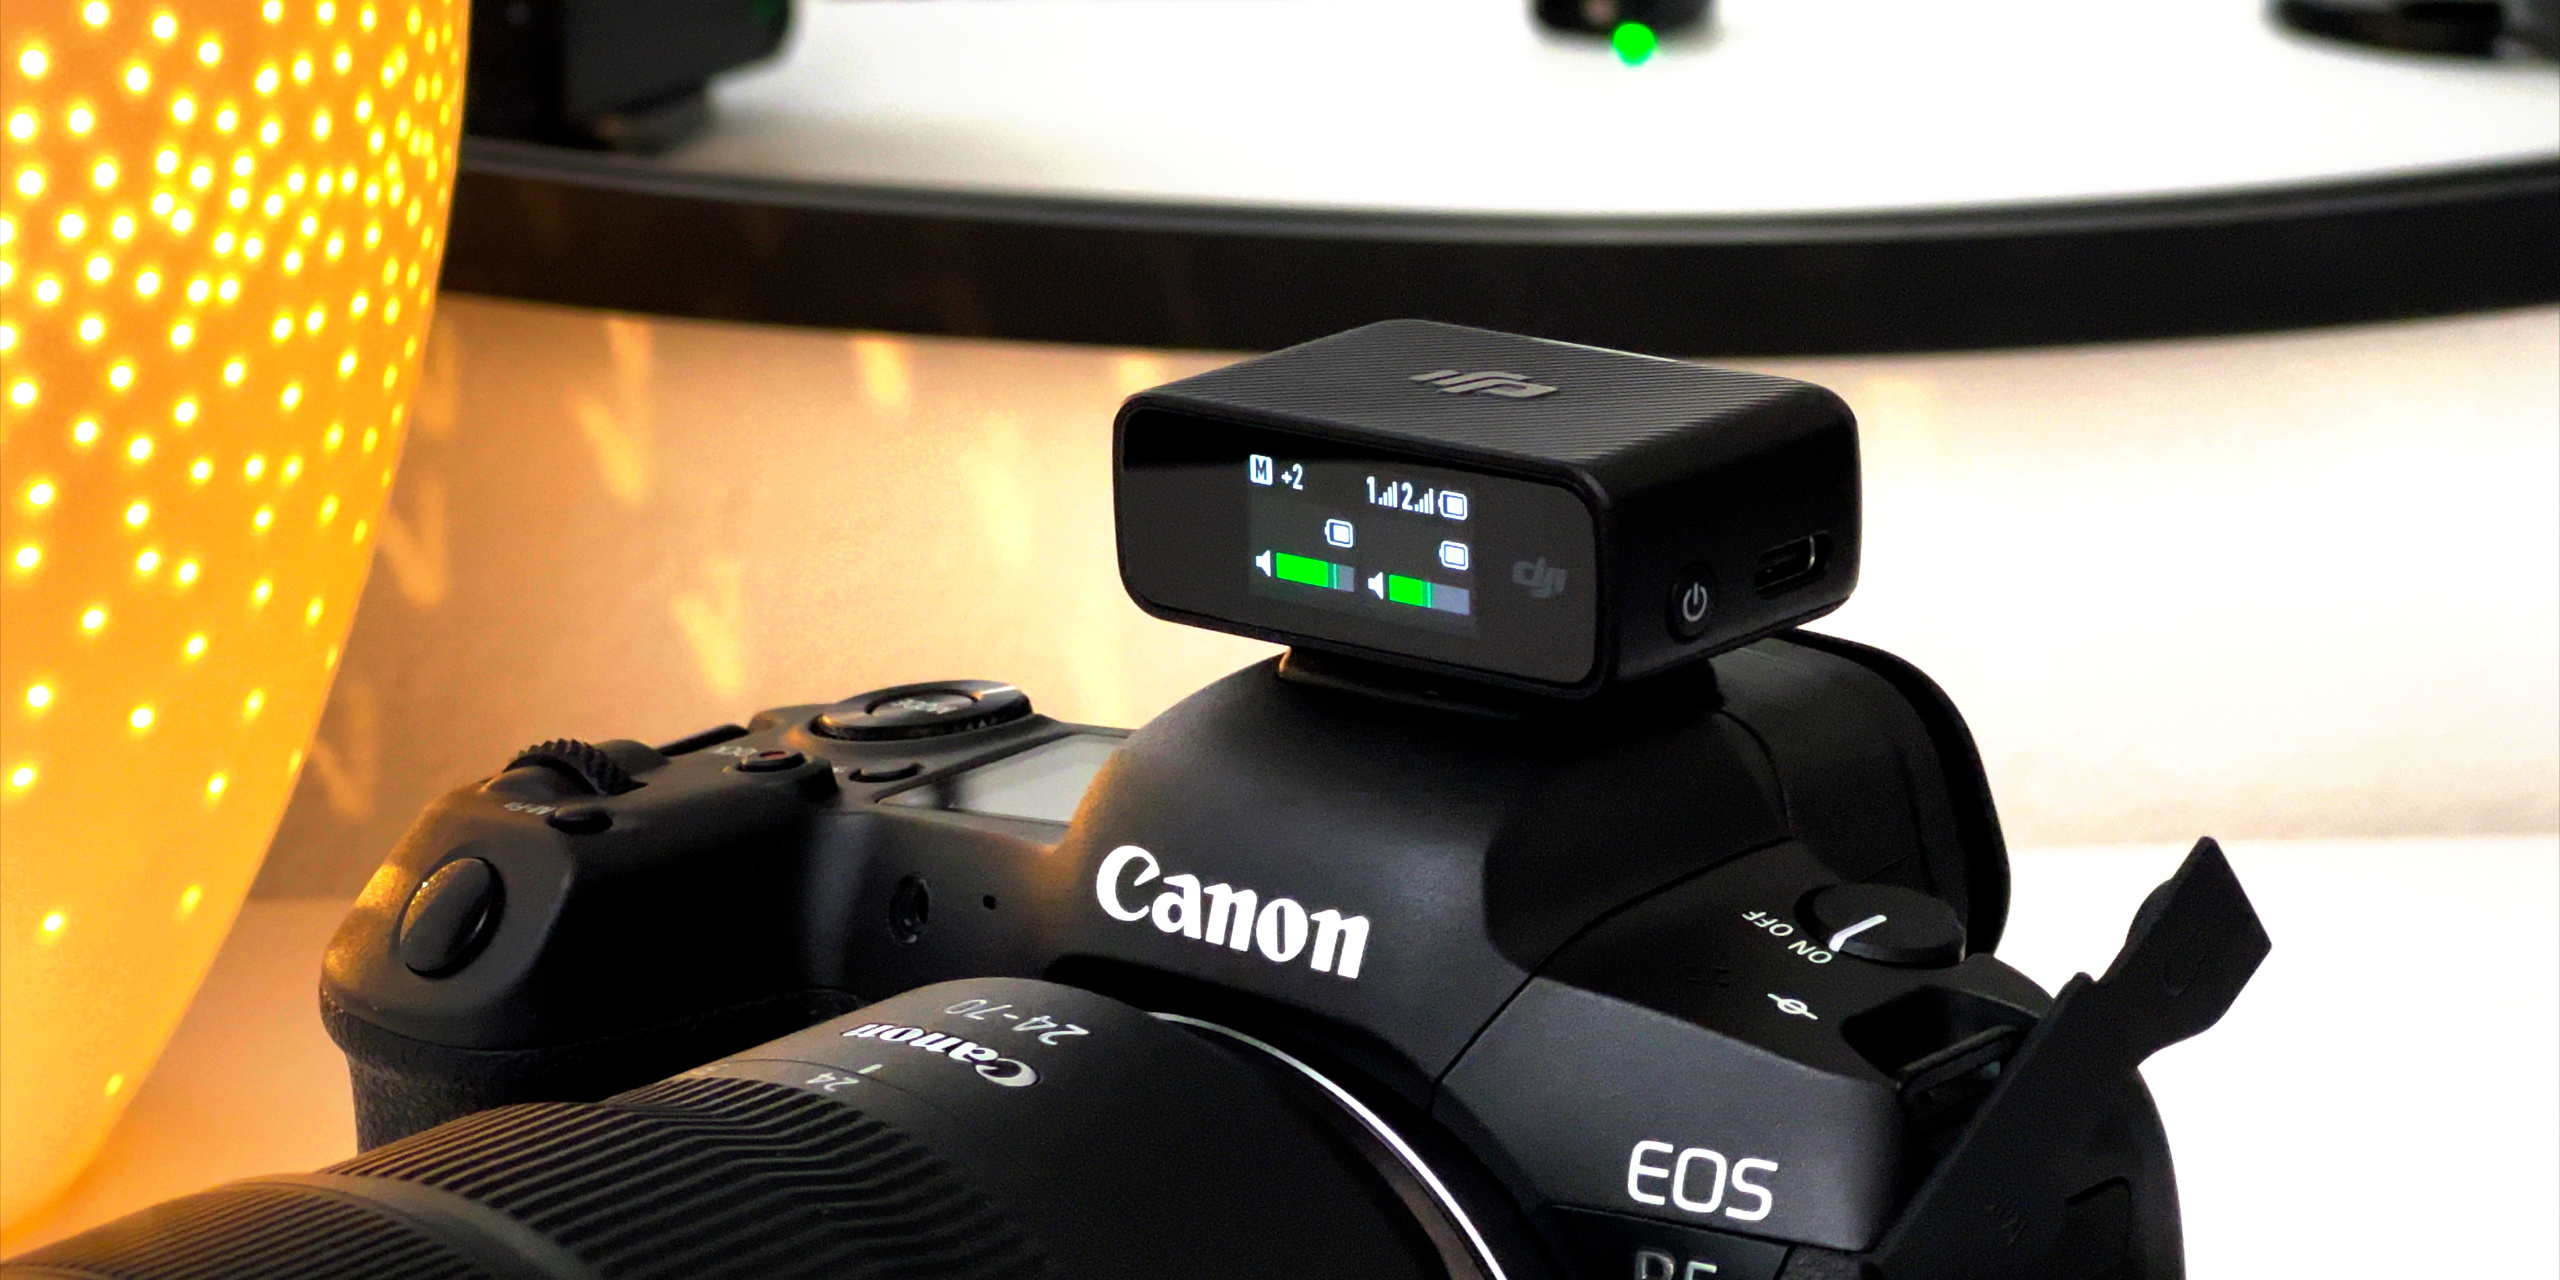
The receiver includes a high quality touch screen that can be used to configure the transmitter settings without having to interface with a computer or app. The touch screen interface is surprisingly responsive given how small it is, and the gestures used for navigating around the interface are largely intuitive.
In addition to viewing and adjusting gain levels, battery life, recording status, and wireless signal strength, the touch screen interface can be used to mute a transmitter’s microphone, start or stop recording, switch between stereo, mono, or -6db safety track, adjust headphone volume, and more.
Using the DJI Mic with iPhone & iPad
Today’s iPhone cameras are great for video and feature fast, stabilized sensors, high frame rate options, and ProRes functionally on some models. Apple’s even incorporated a new Cinematic mode for native rack focus capability that you can alter in post. For users who need even more, there are powerful third-party apps like Filmic Pro, and post-processing tools like LumaFusion. Needless to say, iOS proves to be a powerful ecosystem for creatives.
But one of the areas that benefits heavily from third-party hardware is sound. The iPhone’s built-in microphones are actually pretty good, but like almost all cameras, you’ll be able to capture far better sound with dedicated microphones.
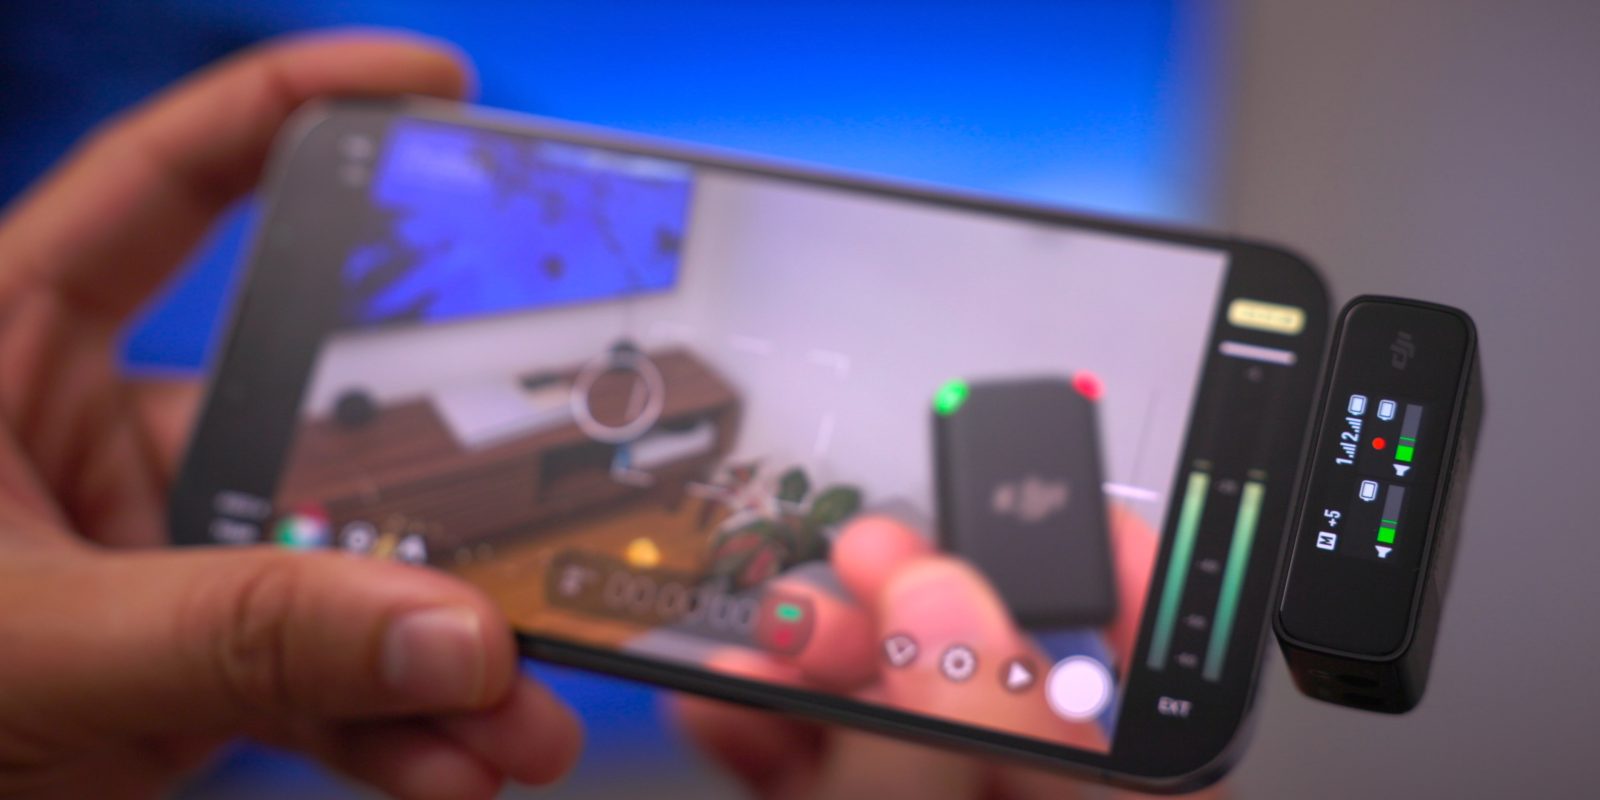
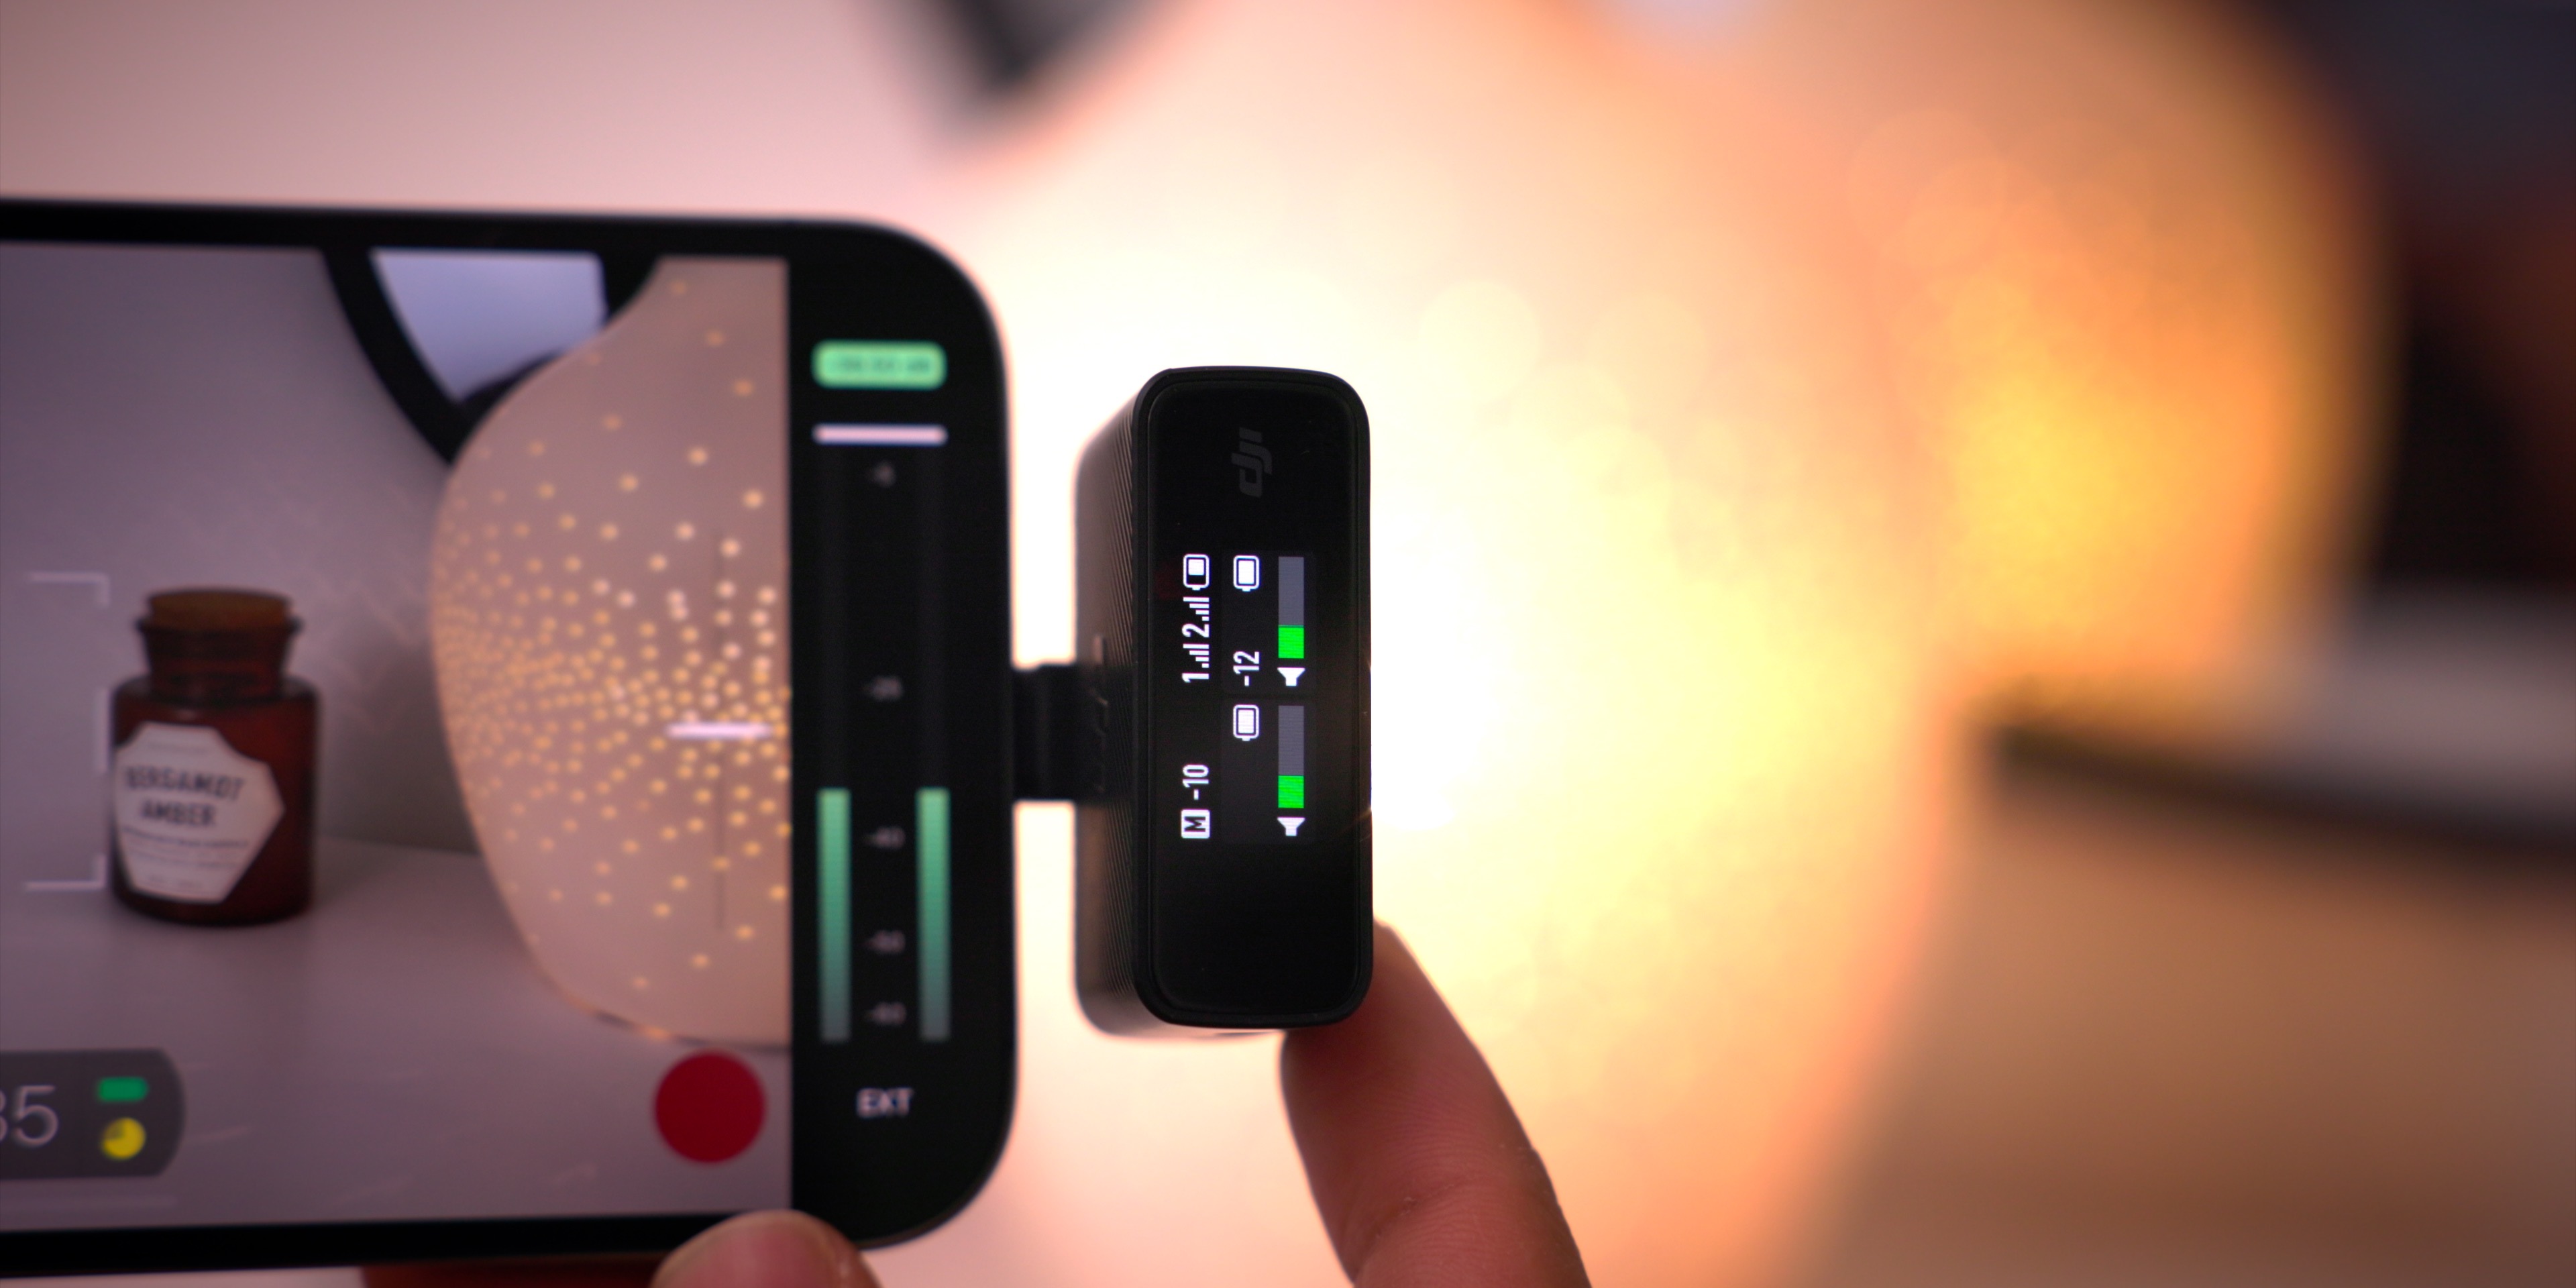
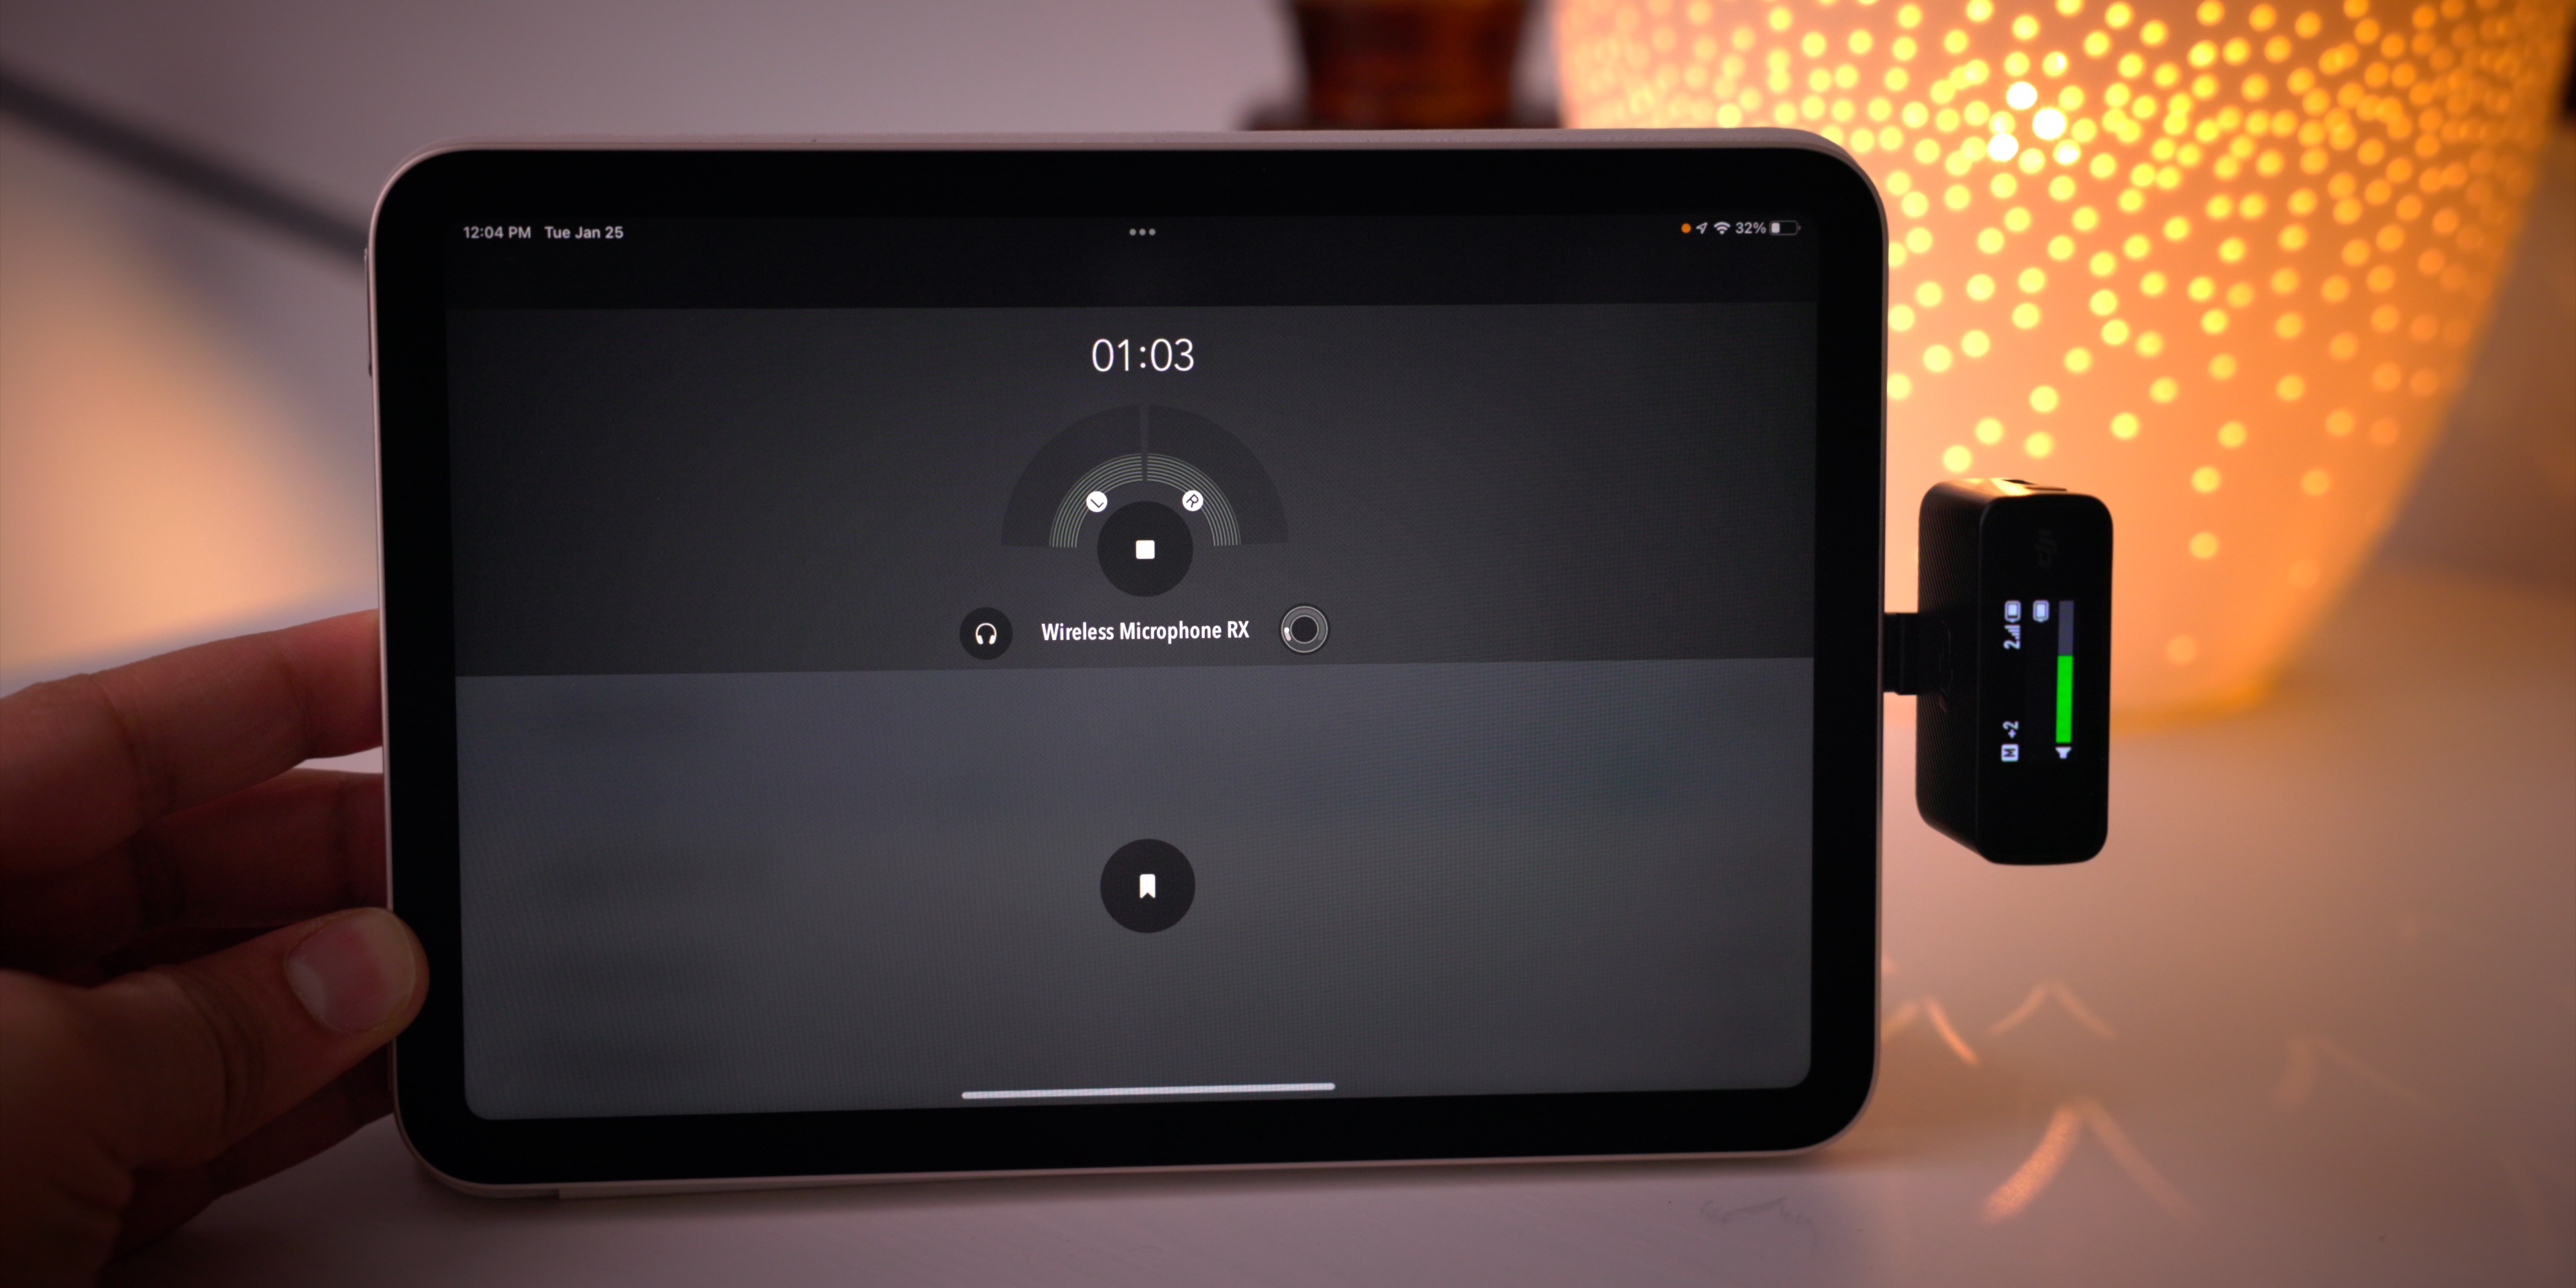
For iPhone users, the DJI Mic features a Lightning adapter that can be connected directly to the bottom of the receiver using its expansion port. The receiver can then be attached to an iPhone, providing users with a higher quality wireless microphone.
You can use the DJI Mic with the stock Camera app, but also select it as an input option for Filmic Pro. Other applications, like Ferrite for podcasting, or LumaFusion for voiceover work, also benefit from the bump in audio quality.

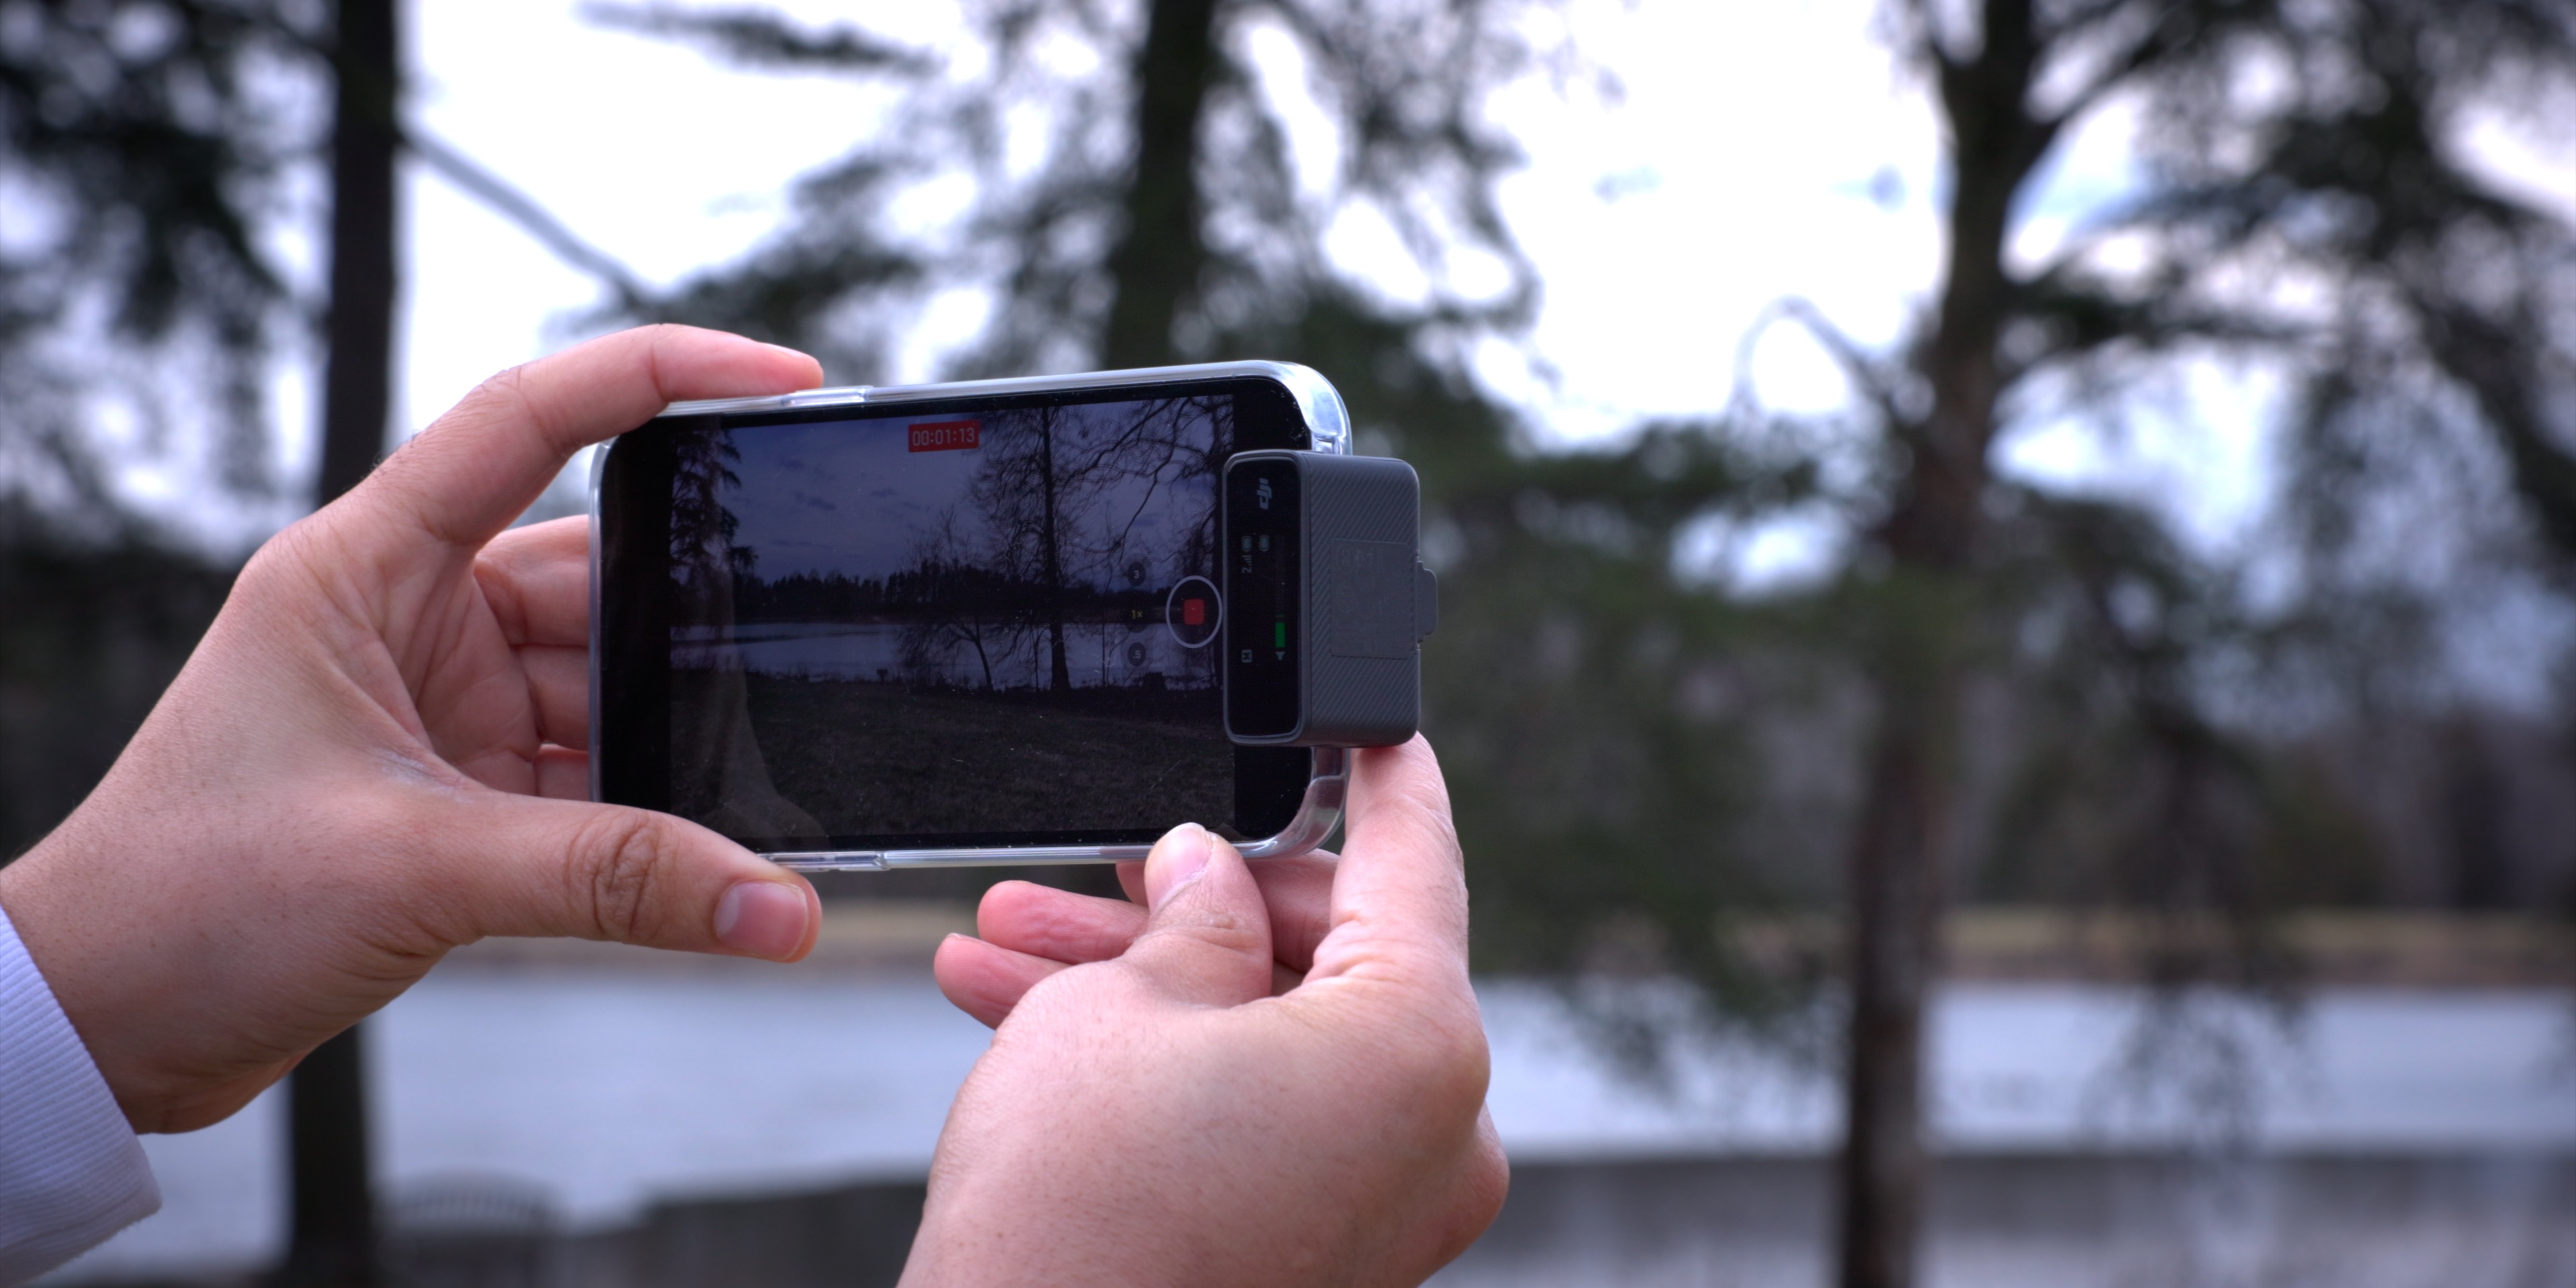
As expected, the DJI Mic really shines when recording audio from a distance. DJI says it can record audio up to 250m away, although I wasn’t able to test it to that extreme. I didn’t get out a tape measurer to calculate my distance, but I was able to get what I estimate to be several hundred feet away from the receiver, and it picked up the audio without any drop-outs. Granted, I tested the microphone in the middle of a sparse forest devoid of people or buildings, but the DJI Mic performed admirably in my unscientific tests.
By the way, DJI includes a pair of wind screens that you’ll definitely want to utilize when filming outdoors in blustery conditions. I made a rookie mistake and forgot to bring the windscreens with me, so it picked up a little bit of wind noise in my tests. Be sure to watch the video embedded above to hear it in action.
Sound quality
Most purpose-built dedicated microphones will make you sound better than the built-in iPhone microphones. A wireless setup gives you the additional advantage of being able to capture good-sounding audio even when your subject is a considerable distance away.
Here’s a sound test comparing the built-in iPhone microphone (close up and from a distance) with the DJI Mic:
Both the DJI Mic and the Rode Wireless Go II systems are great options, but, at least to my ears, the DJI Mic sounds a little bit better. Here’s a sound comparison, with no additional processing or effects added:
9to5Mac’s Take
The DJI Mic is a great accessory for iPhone users or anyone else who wants better audio for their videos, audio-only recordings, etc. That being said, it’s not a perfect device. I found several things that I’d like to see addressed in future hardware/software revisions:
- The hot shoe mount is very difficult to remove once placed on the receiver. I felt like I came close to breaking it several times.
- There is no stereo audio dual channel recording from both transmitters when connected to the iPhone via Lightning. Other Lightning-enabled microphones feature stereo support, like the Shure MV88. DJI tells me that while the current generation of DJI Mic is not compatible with full stereo recording on an iPhone, it is continuing to evaluate whether compatibility could be possible in the future.
- You can monitor audio via headphones when the receiver is connected to an iPhone or iPad, but you can’t review audio playing back in an app via the headphones; you’ll need to unplug or disable the receiver first. In other words, you cannot use the DJI Mic receiver like an expensive Lightning (or USB-C) to 3.5 mm Headphone Jack Adapter. This is probably the most inconvenient thing about using the DJI Mic with an iPhone or iPad.
- I wish you could dim the LED lights on the transmitters. As you can see in the video, they are very bright and can serve as a distraction.
A few of these items could possibly be addressed via future software/firmware updates, but none of them are outright deal-breakers in my opinion.
When you combine the sound quality, charging case, compact and durable transmitters, and intuitive touch screen interface on the receiver, the DJI Mic is worth considering. It’s not the first microphone system with such features, but it’s the first to package them together in such a cohesive and easy-to-use manner.
Do you use an external microphone when recording videos with your iPhone? What do you think about the DJI Mic? Sound off down below in the comments with your thoughts.
FTC: We use income earning auto affiliate links. More.


Comments