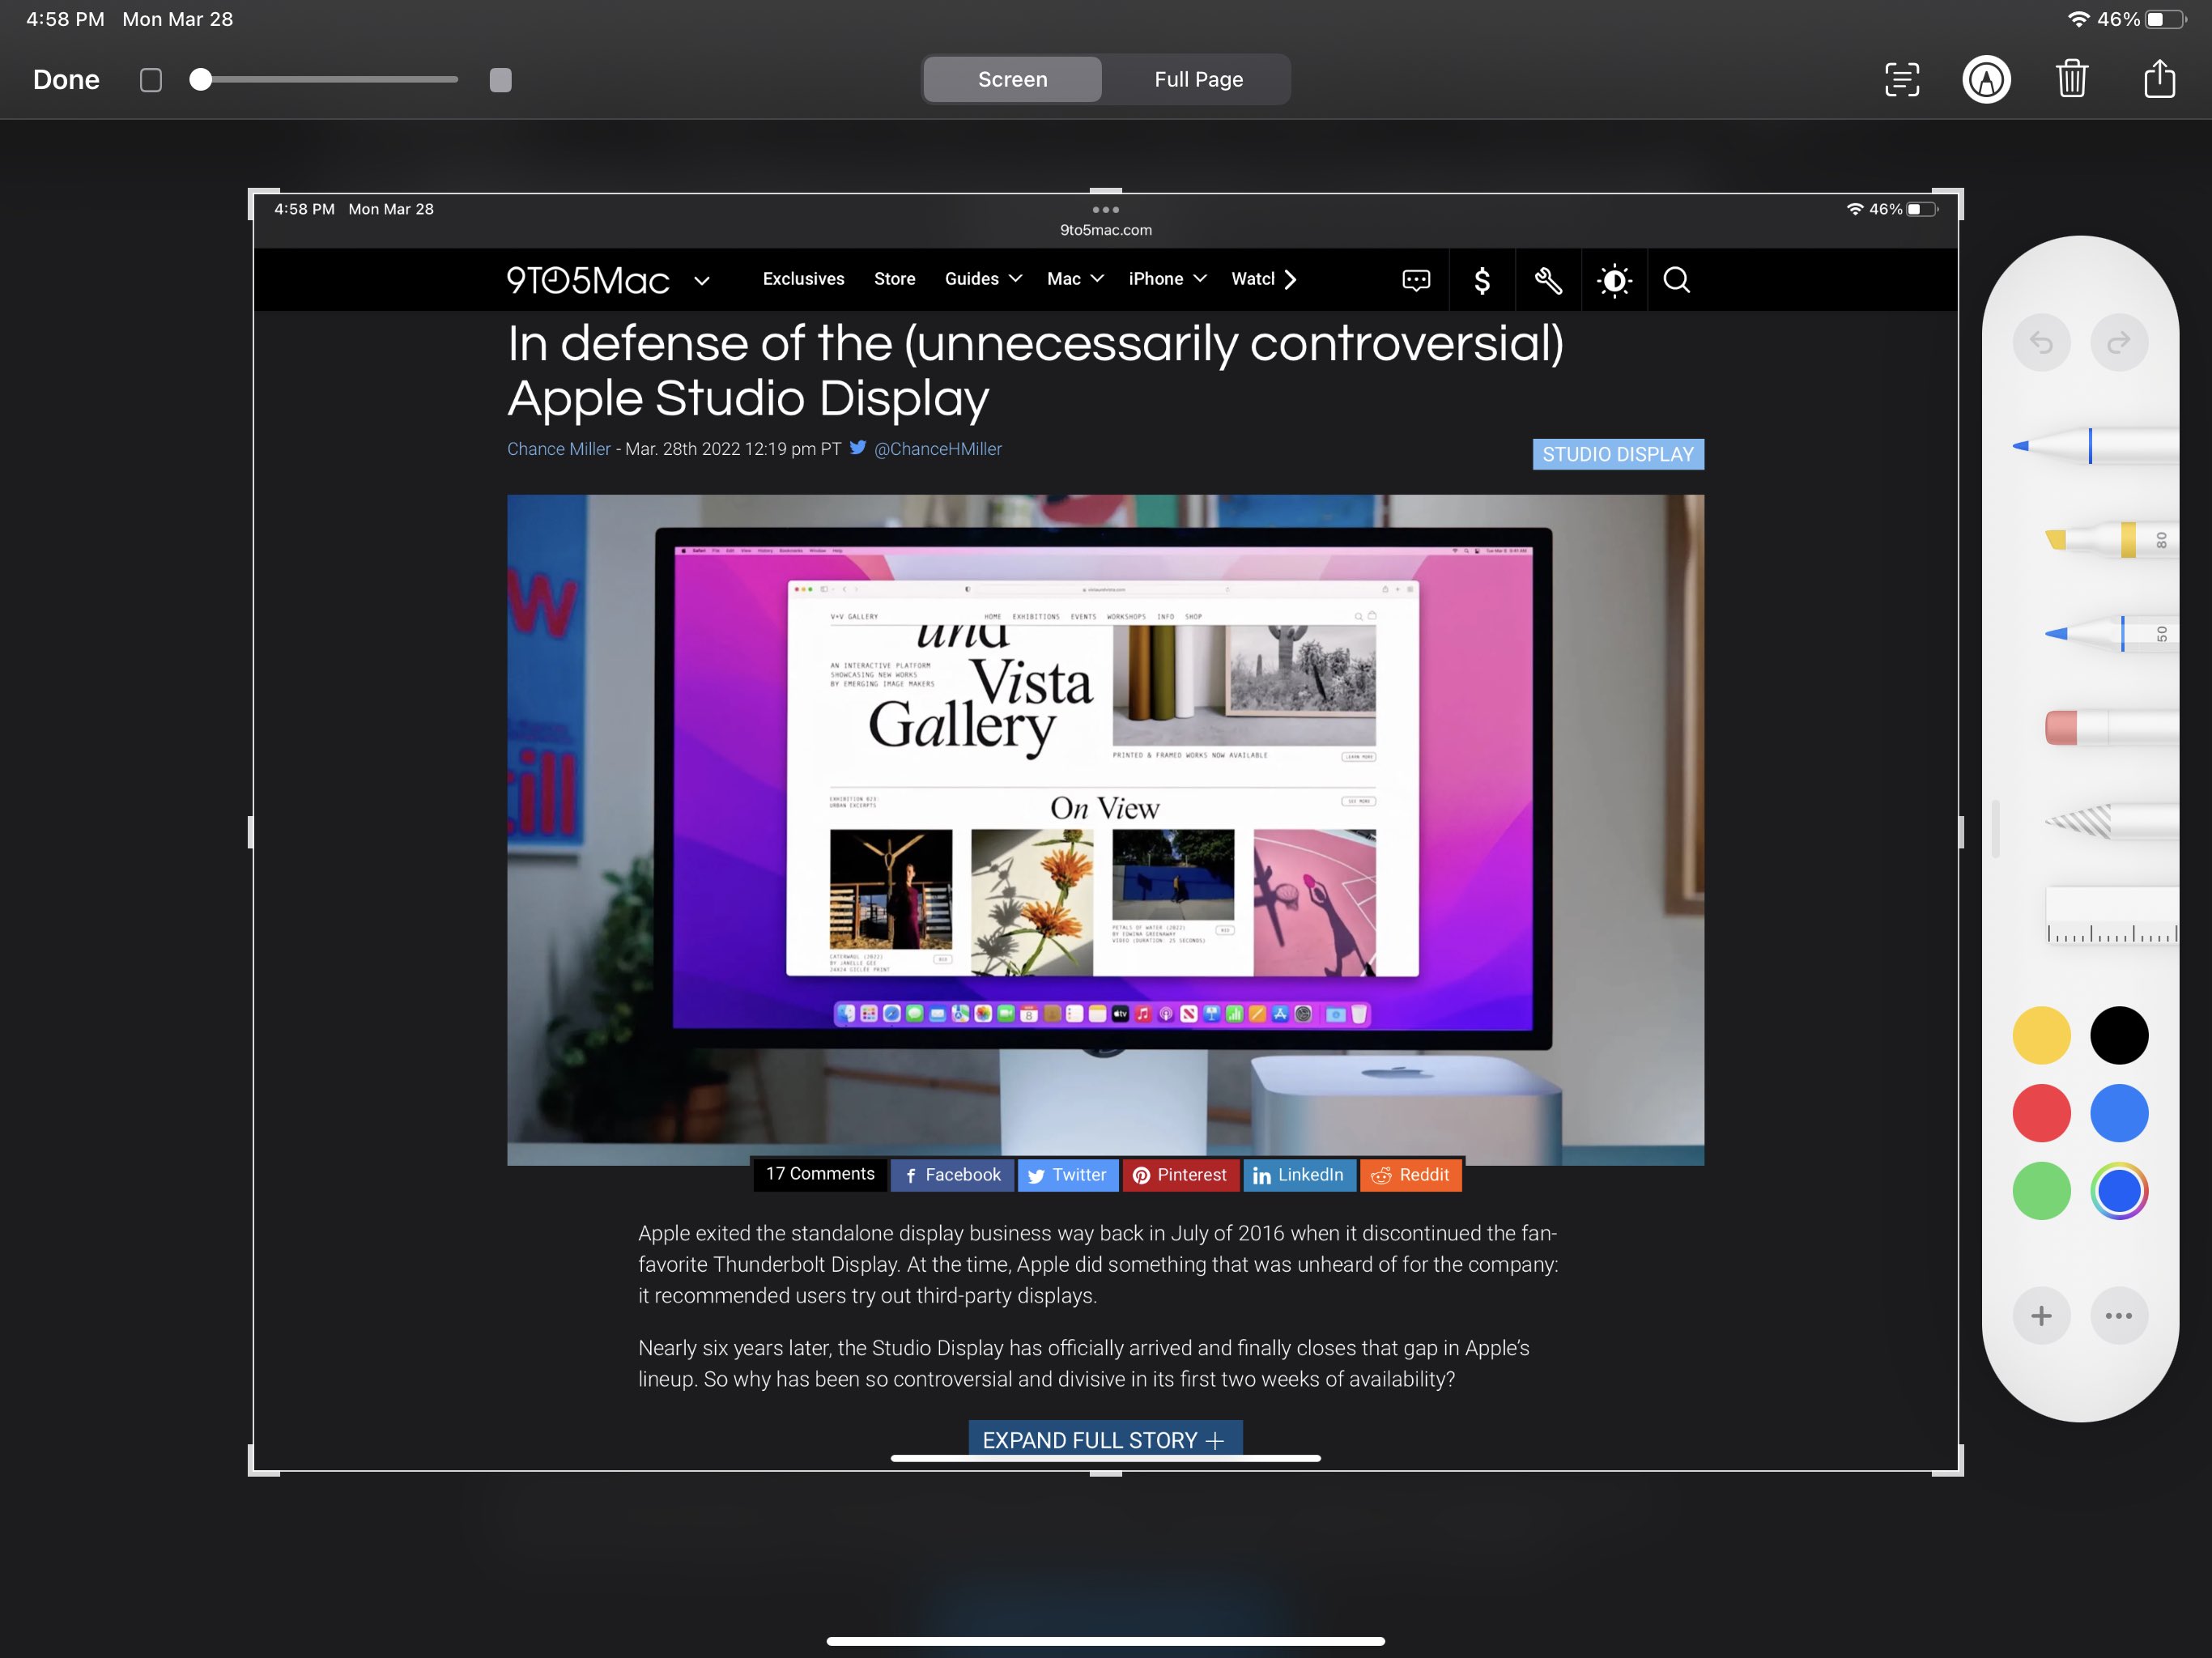
No matter if you’re new to the iPad Pro, Air, or mini or need a refresher with your specific model, follow along for a couple of ways to take iPad screenshots including the Apple Pencil shortcut.
Along with all the changes that the modern models bring, the process to take iPad screenshots is different between those with and without a Home button.
And with more models working with the Apple Pencil, there’s also a handy shortcut to take iPad screenshots without having to reach for your tablet’s buttons.
How to take iPad screenshots on any model
On the iPad Pro, Air (4/5th gen), and mini (6th gen):
- Press the Top button and a volume button at the same time
- Tap the screenshot preview in the bottom left corner to make edits and markup, or long-press on it to share it right away
- You can find your screenshot in the Photos app
You can also use the Apple Pencil screenshot shortcut:
- Place your Apple Pencil in the bottom left corner of your screen
- Swipe up at a diagonal a few inches
- Let go to take the screenshot
On iPads with a Home button:
- Press the Top button (previously called sleep/wake button) and the Home button at the same time
- Tap the screenshot preview to make edits and markup, or long-press for quick share options
- You can find your screenshot in the Photos app
If you accidentally take a screenshot or would like to delete one immediately, tap the preview in the bottom left corner, tap Done in the top left corner, then choose Delete Screenshot.

Read more 9to5Mac tutorials:
- Should you buy the new iPad Air or the 11-inch iPad Pro? Here’s how they compare
- iPadOS now lets any iPad match the new iPad mini volume button orientation feature
- iPhone & iPad: How to clear cache, history, and cookies
- How to use your iPhone, iPad, or Mac as a teleprompter
FTC: We use income earning auto affiliate links. More.


Comments