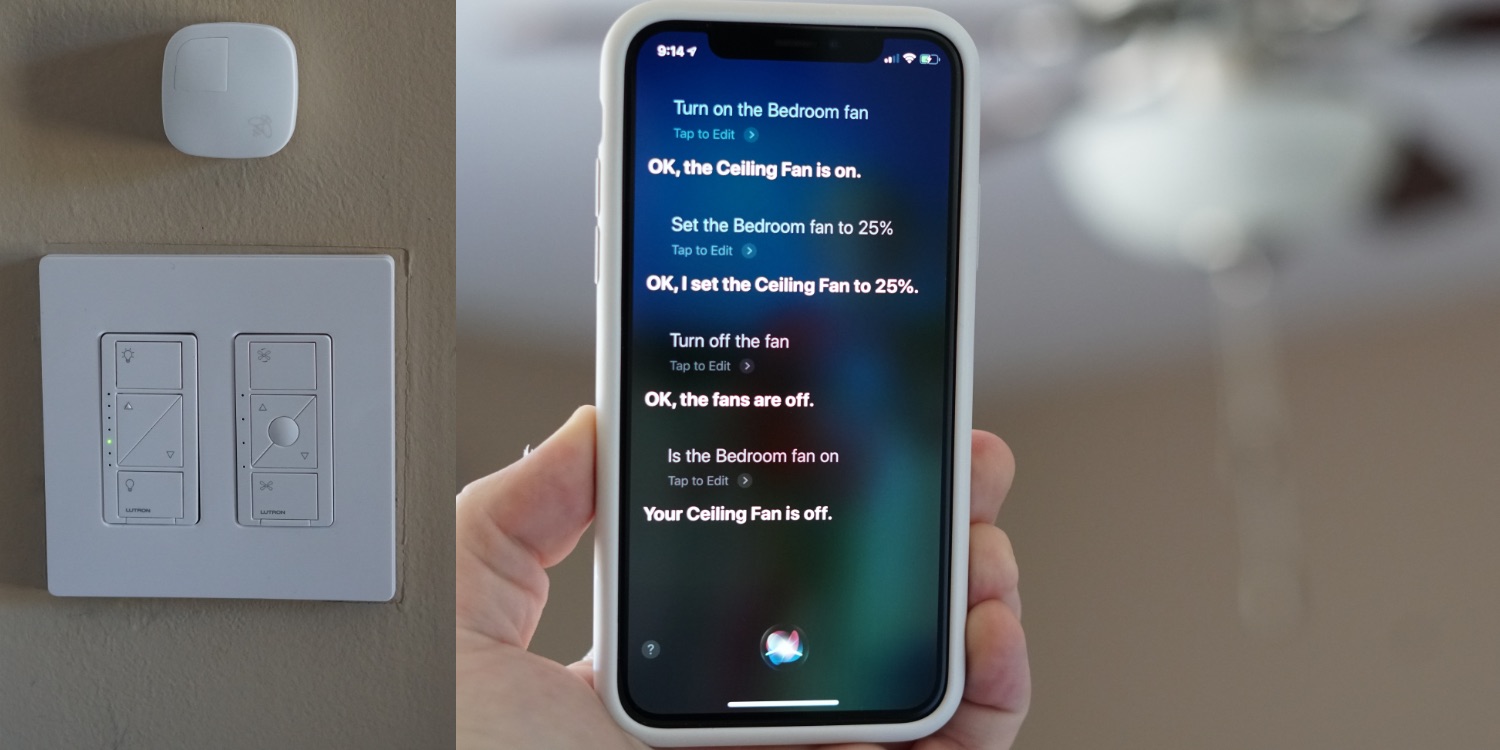
I’ve long considered Lutron Caseta the most elegant and user-friendly HomeKit lighting solution. Lutron makes the wall switch smart and works with standard dimmable bulbs; other solutions put the smarts in the bulbs then require remotes on the walls and never turning off the wall switch.
Lutron’s Fan Speed Control is the perfect complement to the existing line of dimmer light switches. Fan Speed Control works with the same Lutron bridge which supports Apple HomeKit smart home control, making the new wall switches the best way to retrofit existing ceiling fans with Home app and Siri control.
Smart ceiling fans with built-in HomeKit support have existed for years. I reviewed the Hunter SimpleConnect, a ceiling fan replacement with a built-in LED light, in 2017. My primary complaint was how it affected wall control, replacing functional light and fan switches with a wall mountable remote.
Others balked about the $299 starting price, fan design, or idea of replacing a perfectly fine ceiling fan. (Personally, I’m comfortable with changing a wall light or fan switch on my own, but I recruited a friend to tackle the ceiling fan installation.)
Caseta by Lutron Fan Speed Control works with your existing ceiling fan, and each wall switch is priced from $59. You can opt for a version that includes a second remote for $89, but my bases are covered between the wall switch, voice control, app control, and automation.
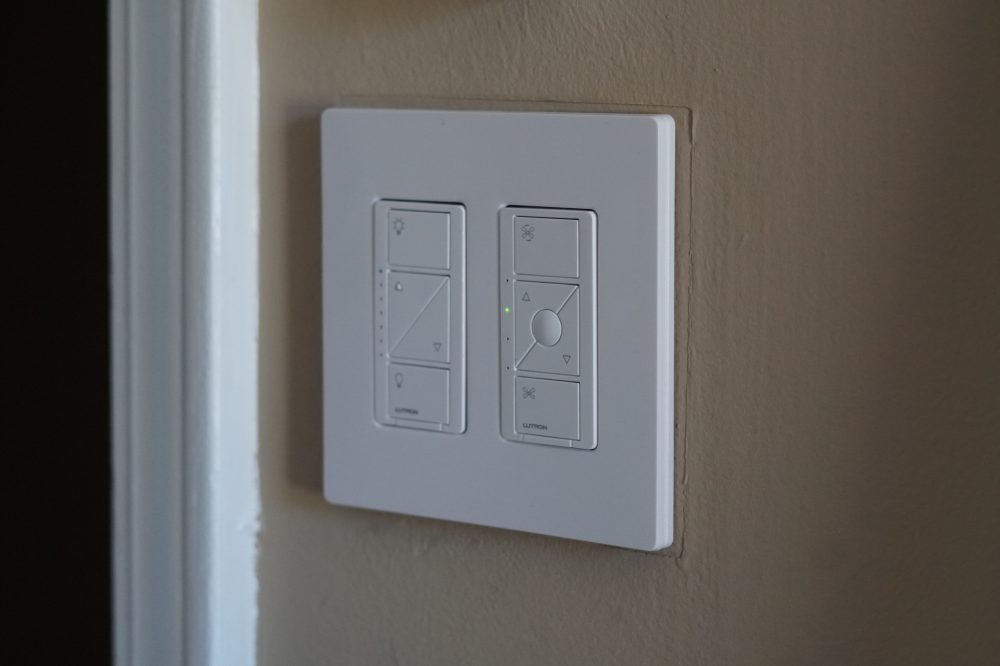
Fan Speed Control also maintains wall switch control since it’s actually a replacement wall switch. No need to mount a separate remote to the wall or give up wall control.
As its name suggests, Fan Speed Control includes the ability to set how fast your ceiling fan spins too. Switch buttons let you turn the fan on or off with one click, increase or decrease fan speed by 25% intervals, or assign a favorite fan speed to the center button on the switch. Green LED lights indicate fan speed status.
Controlling fan direction is the only feature that dedicated HomeKit ceiling fans have over ceiling fans that retroactively add smart control with Lutron. You still need to change fan direction with a manual switch on existing ceiling fans, but that’s hardly a deal breaker. (When are you supposed to change fan direction anyway? I keep a note on this to remember: clockwise at a low-speed in the winter to draw up room air and force down warm air, and counter-clockwise in the summer for a chill effect.)
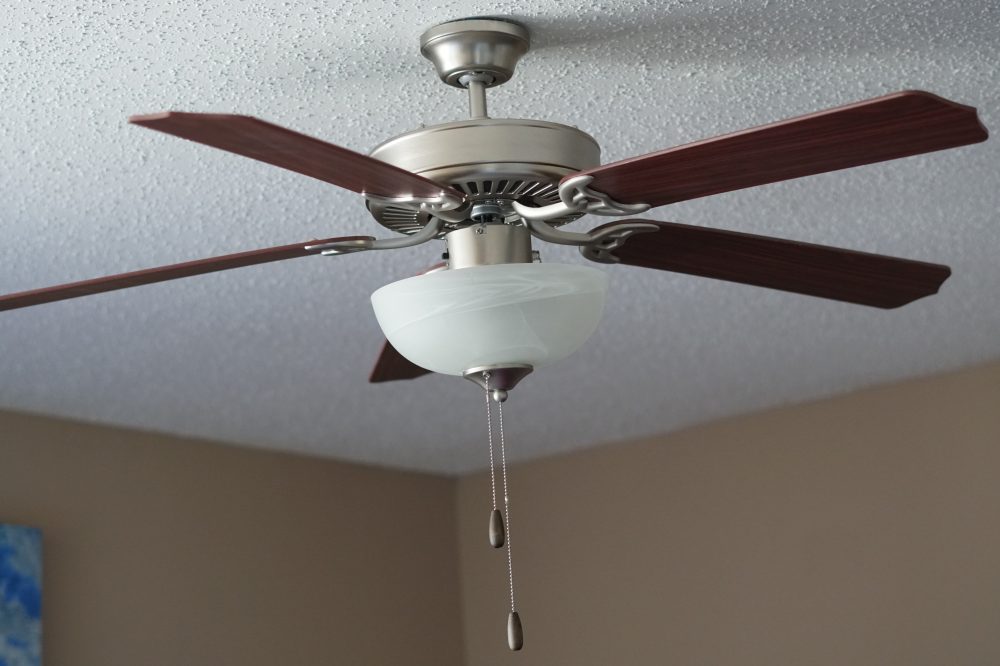
The other adjustment is that fan speed is controlled from the switch or smart home control, but not the pull string on the ceiling fan. For the speed control to work, the pull string needs to be set to the highest speed (then the speed control adjusts down from there). Ignoring the fan pull string is a minor adjustment for me, especially since the wall switch is approachable and easy for guests to understand.
Lutron provides documentation for installing the fan speed control, although you may need to consult with an electrician or someone with more experience if the job is out of your comfort zone. Once installed, the Fan Speed Control is assigned to a room in the Lutron app.
If you have your Lutron bridge connected to Apple HomeKit, you can then assign the HomeKit fan to a room in Apple’s Home app as well. This is how Siri knows which fans are in which rooms when using voice control. If you have a HomePod in the same room as the HomeKit fan, you can just reference the fan without specifying a room now.
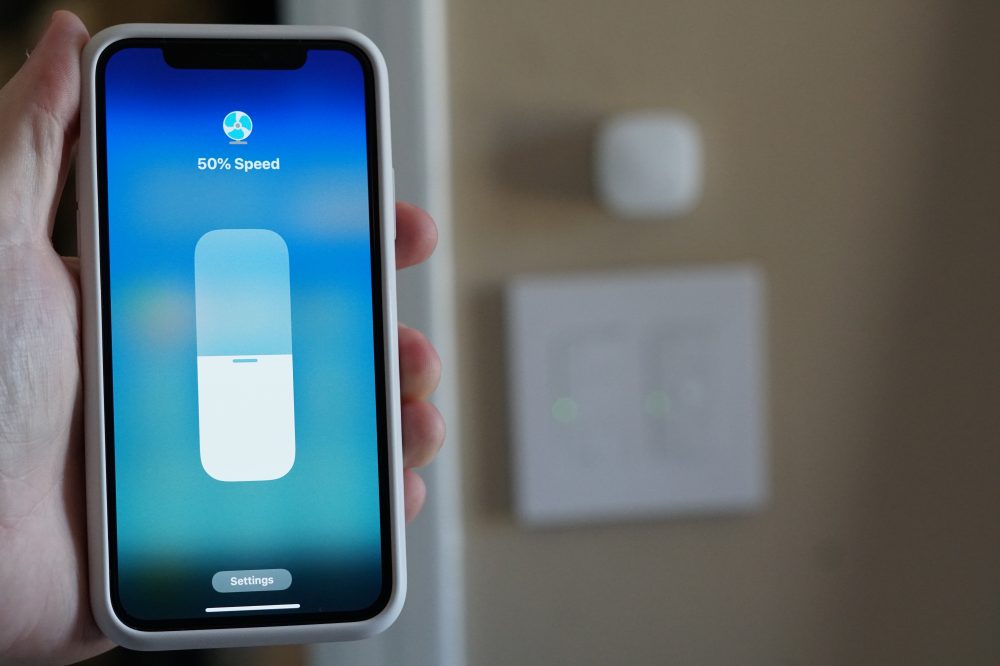
Fans made smart through Lutron’s Fan Speed Control operate exactly like dedicated HomeKit fans inside Apple’s Home app — sans fan direction control. That means you can tap the fan tile to toggle between on and off, invoke the speed control slider for moving between 0/25/50/75/100 speed settings, include fan control in HomeKit scenes with other accessories, or include fan control in HomeKit automations.
With scenes, you can assign turning the bedroom fan on and the living room fan and all lights off with a single ‘Good night’ command, then turn the bedroom fan off with a ‘Good morning’ command when you wake up.
I love the ability to control ceiling fans with voice control through Siri (Alexa and Google Assistant are also supported) and the Home app, and HomeKit automation is the icing on the cake. For example, you can automatically turn off the ceiling fan when you or everyone in your family leaves home so you never waste power. Automation lets HomeKit do the work for you with no voice or app input required each time.
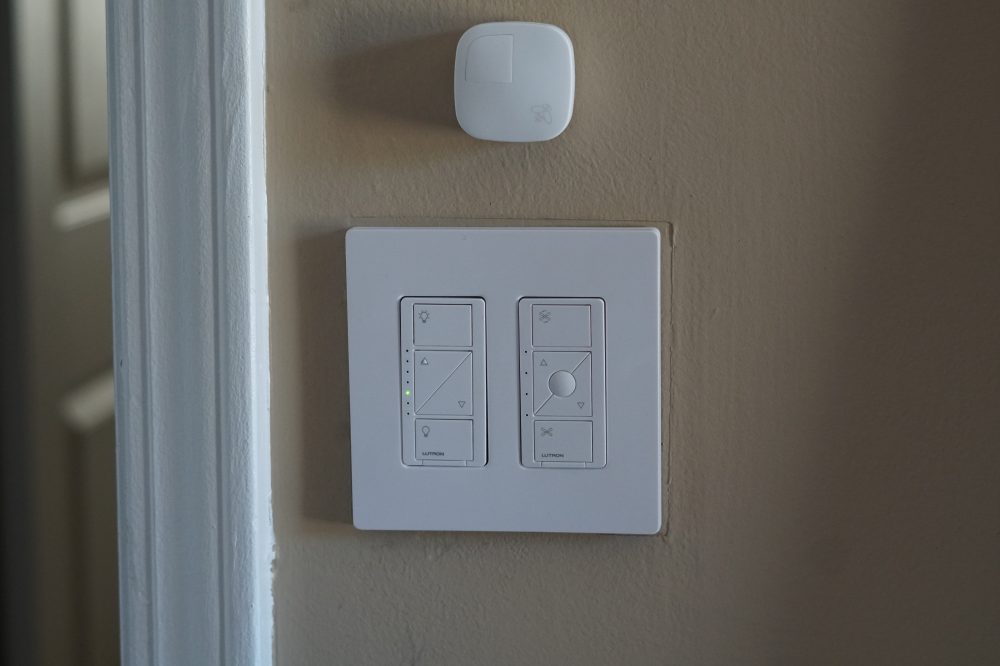
I’ve been testing Caseta by Lutron Fan Speed Control on two ceiling fans. Functionally, both fans operate perfectly without issue: no buzzing, delays, or hiccups.
The only catch I’ve experienced is that Fan Speed Control works with light and ceiling fan combos that have their own dedicated wall switches, but two of my ceiling fans have a single wall switch — light and fan control is then delegated to pull strings on the ceiling fan once the switch is turned on. In these instances, I use a Lutron dimmer switch to control the light, occasionally use the pull string to control the fan, but generally don’t use those fans.
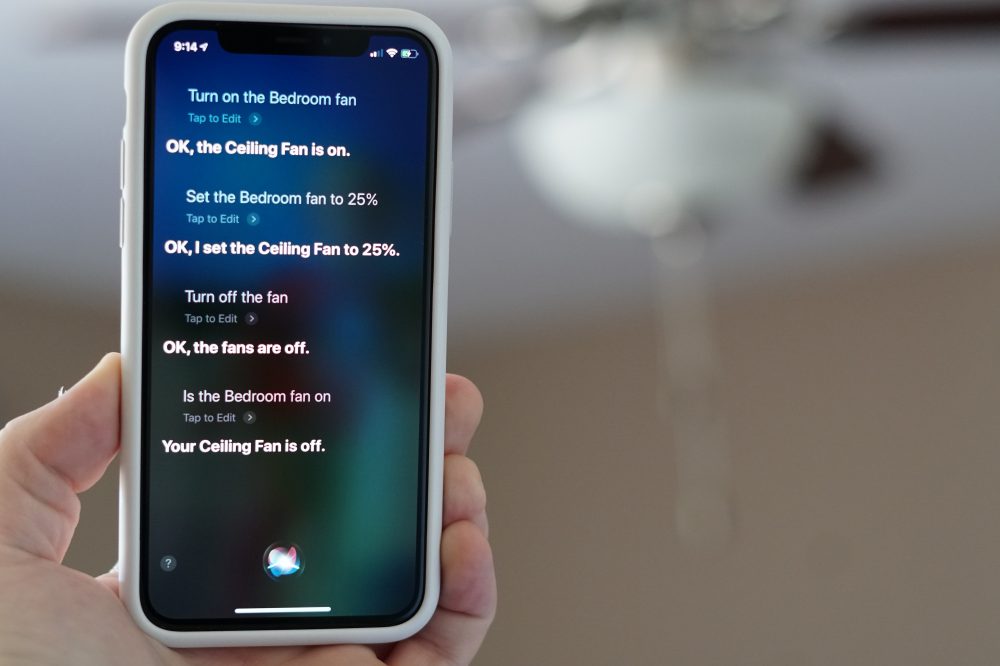
You do need Lutron’s smart bridge to operate Fan Speed Control, which adds at least $79 to the initial cost in addition to each $59 switch, but you can buy a starter kit bundle for $20 more that includes a dimmer switch and remote 3-way kit that would otherwise cost $59 on its own, saving you about $40 if you need the dimmer switch too.
Even at $140-$180 to get started with Lutron, Smart Fan Control is competitive to $300+ HomeKit smart fans if you want to save money and have better wall switch control. I highly recommend Lutron Caseta and Smart Fan Control for HomeKit enthusiasts — set up requires a bit more work, but the user experience is arguably the best on the market.
FTC: We use income earning auto affiliate links. More.


Comments