Apple didn’t spend too much time at the Wonderlust event covering the video improvements coming to the iPhone 15 Pro, but this generation is seeing some major improvements for video professionals. From LOG color and ACES support to increased frame rate while recording in ProRes, these are some big upgrades – but what does this actually mean for the non video-professionals?
Table of contents
Video: LOG video recording on iPhone 15 Pro
Apple ProRes vs H265 recording
Most video captured on the iPhone is HEVC, also referred to as H265. It’s a very efficient video codec (it’s literally in the name – High Efficiency Video Coding). While this has the benefit of small files and high quality, it’s a very compressed format. ProRes is another compressed format, but it’s better suited to professional video production.
Data rate
The first big advantage of ProRes recording on the iPhone is its increased data rate. While shooting 4k30fps video in the iPhone’s standard H265 video will capture take up 190MB of storage, that same minute of 4k30fps ProRes video uses a whopping 6GB of storage. But both of these are dramatically less than the roughly 50GB that a minute of uncompressed 4k video could take up. There are two main methods of compression used to reduce this.
Intraframe compression
Much like a standard JPEG image, or HEIF images you capture on your iPhone, Intraframe compression will take a single frame of video and simplify it. It essentially groups together blocks of similarly colored pixels and uses one color to define all those pixels. When done right, it will look almost unchanged from the uncompressed image but take up a fraction of the storage space.
Interframe compression
While intraframe compression reduces the storage space needed for each picture, the goal of interframe compression is to reduce the number of pictures needed overall. Rather than storing a full picture 24, 30, or 60 times per second, interframe compression records the changes from one frame to the next. This is especially helpful with a more static background, where large portions of the picture stay the exact same throughout the full video.


Most video codecs, such as the H265 you would capture on iPhone, use both of these compression types; every so often it will use a full picture, or keyframe, compressed with intraframe compression. Then it will use interframe compression to show numerous more frames, before eventually providing another keyframe.
ProRes is different in that it only uses the intraframe compression. Each and every frame of video is stored as its own full picture. This makes it much easier for professional editors, as when scrubbing through a video editor the computer just has to show one picture, rather than calculating all the changes between each keyframe.
This comparison is definitely an oversimplification, so if you’re looking for more technical details and numbers, I’d highly recommend taking a look at the ProRes White Paper, which goes into more detail, and this paper on HEVC that gets even more complex.
LOG color
While H265 and ProRes are both ways to compress the images that make up a video, neither of them directly impact the way the colors themselves are recorded.
ProRes records colors using ten bits of data, so it’s able to define over a billion colors. Rec709, and most standard video people shoot, is setup to maximize its use of those ten bits. Dark and shadowed regions of the image are at one end of the data, and highlights and light sections are at the total opposite side. It’s spread out across all ten bits so the colors in the middle are the most accurate to how they should appear to your eye, but as a result there isn’t much information to separate the really dark or really bright sections of the data. Normally, this look is what you’d want, but it’s not ideal if you want to adjust your colors while editing.
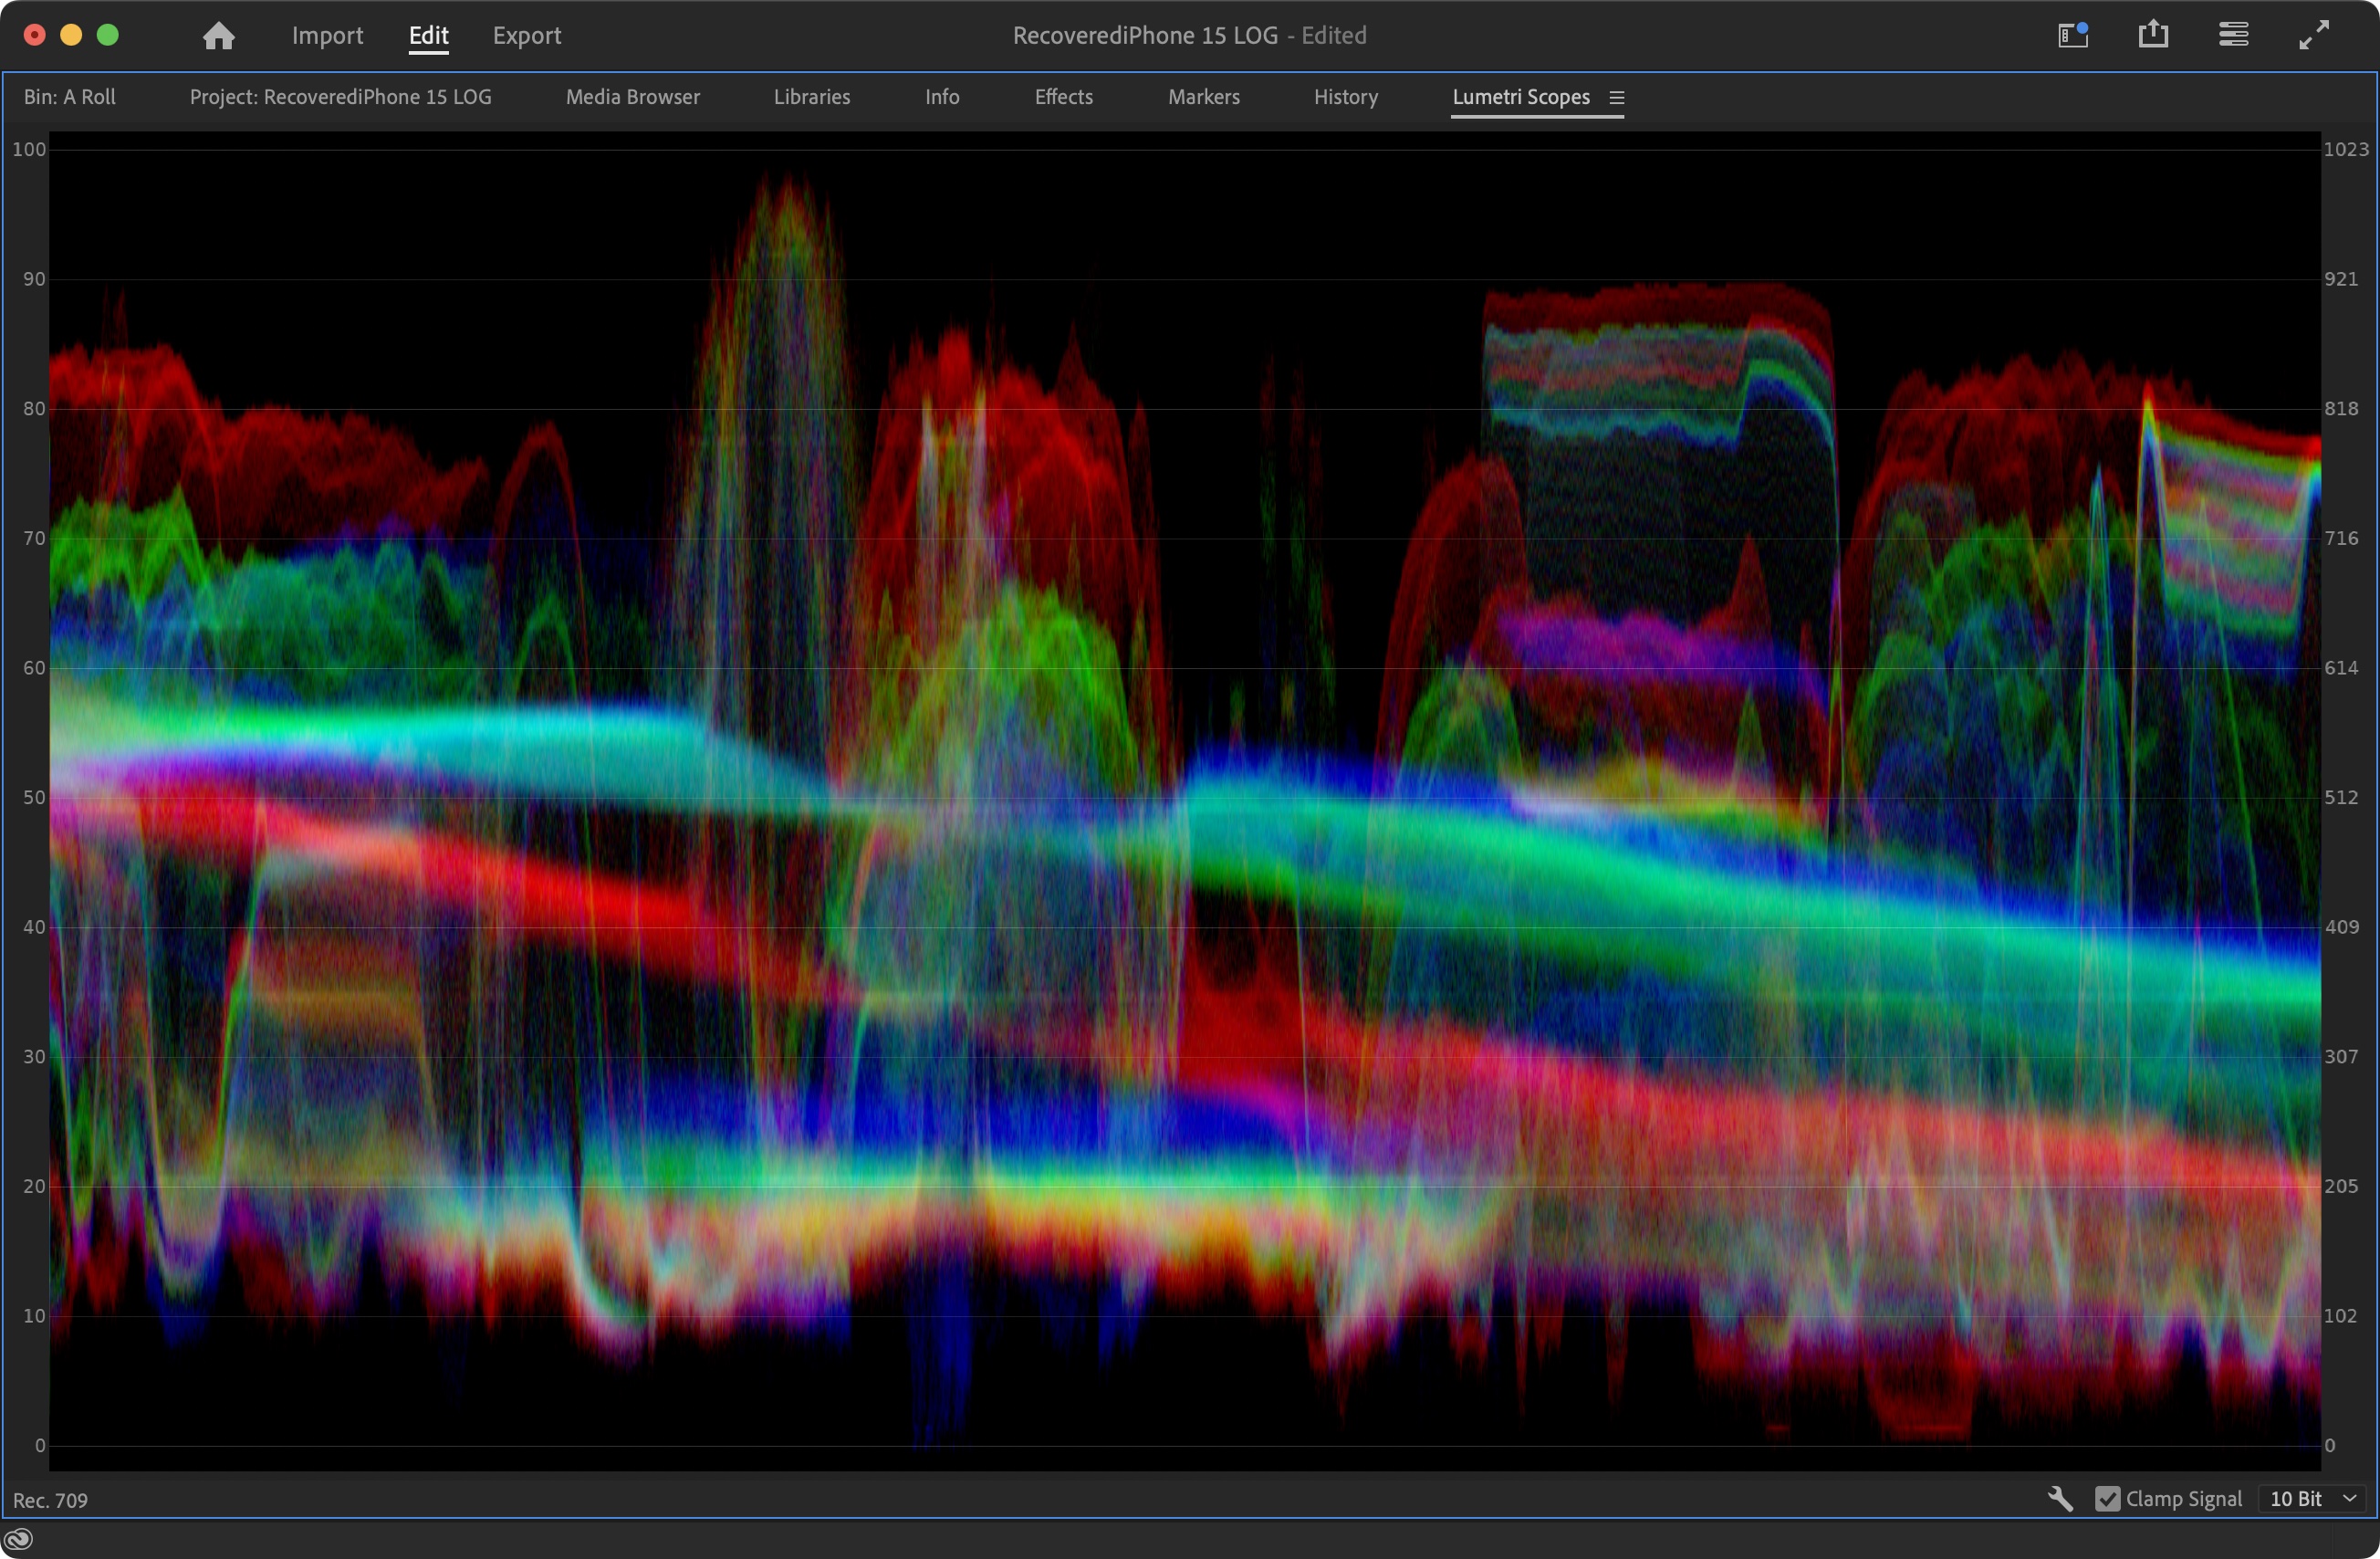
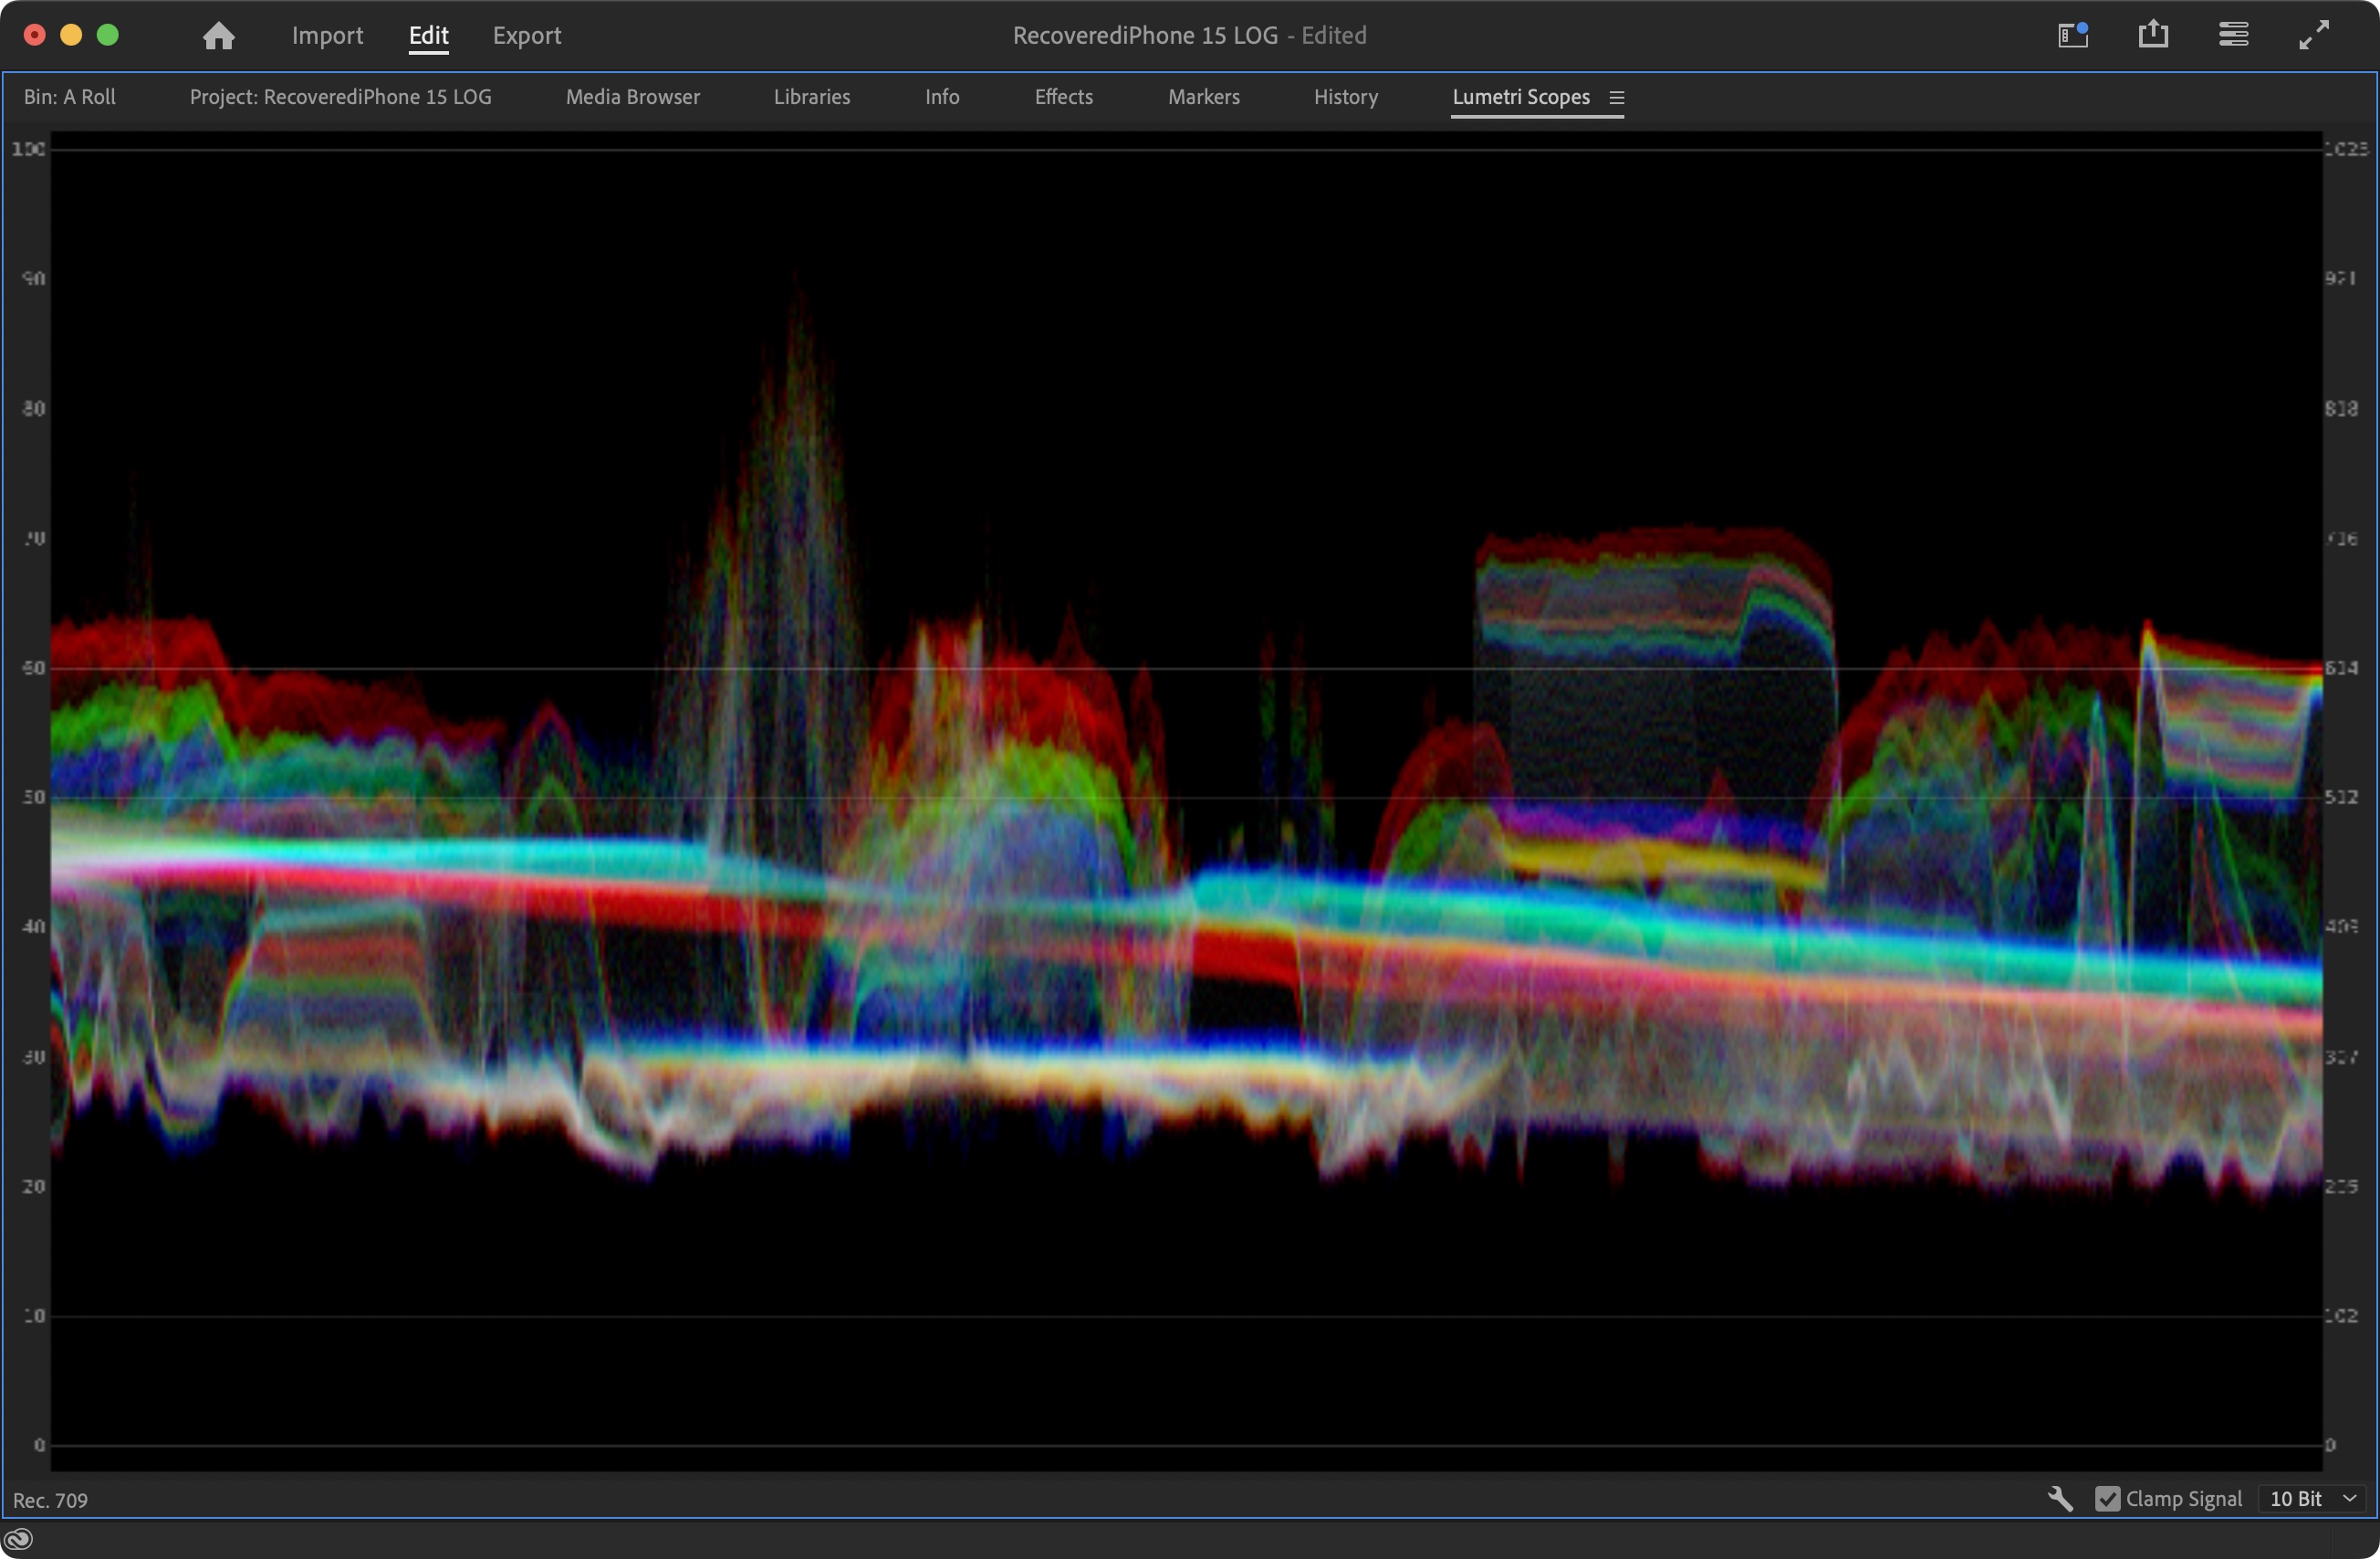
Log shooting is the complete opposite. It essentially applies a logarithmic curve to color information in order to compress that data into smaller portion of the ten bits of data, opening up more room for darker shadows and brighter highlights to be recorded. This difference between the darkest and brightest data that can be recorded is referred to as a camera’s dynamic range.


The downside of this is if you try to watch the log video file as it was recorded, the colors won’t be accurate. There is very little contrast in the image and colors are desaturated; this can be fixed in editing software by applying a LUT to that file. The LUT knows how the curve changed the color from the cameras sensor to the recording and can basically apply the opposite changes to make it look like you’d expect normal video to.
In addition to the higher dynamic range you can get with log, it’s much easier to adjust the video to your liking. If you shot darker than you wanted, or too bright, it’s simple to adjust the exposure a bit. Similarly, you can adjust the colors between different cameras to match each other more easily than if you had the vibrant, saturated colors shooting in Rec709 will provide.
When to shoot log
Shooting in log isn’t always necessary. For most of my A-Roll footage where I’m in front of the camera, since I have control over all the lightning, the normal color profile works just fine. If I were recording in front of a bright window, or outside, where lighting conditions could change, shooting in log would allow more flexibility to get the look that I want once I’m editing.
Whenever I’m shooting rocket launch footage for our sister site SpaceExplored.com, log profiles are essential. Shooting in log allows me to keep detail in engine flames while also capturing the surroundings, so I can create the look that I’m going for, even in changing lighting conditions.
ACES and external recording
The Academy Color Encoding System is an industry standard for managing color during production and post-production. Apple didn’t spend much of the presentation covering it, but it makes it easier to maintain consistent color rendering during editing and then final display.
External recording is an even bigger improvement. With the introduction of USB-C to the iPhone 15 line, the iPhone 15 Pro and iPhone 15 Pro Max will be able to record that 4k60FPS ProRes video directly to an external SSD. It sounds like this external recording will be required for 4k60 ProRes capture. This will make it far easier to transfer footage, while removing the storage limit for higher resolutions, so it might be worth picking up an external drive.
9to5Mac’s Take
For the average user
Most people have no need to shoot ProRes, let alone in a log profile. People always say “the best camera is the one you have on you,” and that’s more true now than ever. The iPhone’s default video recording is incredibly space efficient, with colors that pop, so it’s easy to capture the moment and then share it on social media, or just look back on in at a later date. Unless you’re planning to use your iPhone footage in a larger production, or mixed with other cameras, it won’t be worth it to shoot in these more production-focused modes.
Just making sure you’re recording in 4k, HDR, and at the frame rate you want will do a lot more to improve your video than shooting log and then applying a default LUT.
For the video professional
If you’re used to shooting on mirrorless or cinema cameras, and working in a non-linear editor, then the iPhone’s log shooting unlocks another tool that’s worth understanding. While you might not want to switch to iPhone for all your shooting, if something happens fast and you don’t have time to rig up your camera, or you want to put a camera in a particularly risky place, the ability to shoot with log color and in ProRes on your iPhone will help keep your options open.
FTC: We use income earning auto affiliate links. More.


Comments