I’m one of many eagerly awaiting delivery of my iPhone 16 tomorrow (Pro Max, in my case), and the Camera Control button is the first thing I’m going to try.
If you’re in the same position, then an Apple support document provides an opportunity to familiarize yourself with it before your device arrives …
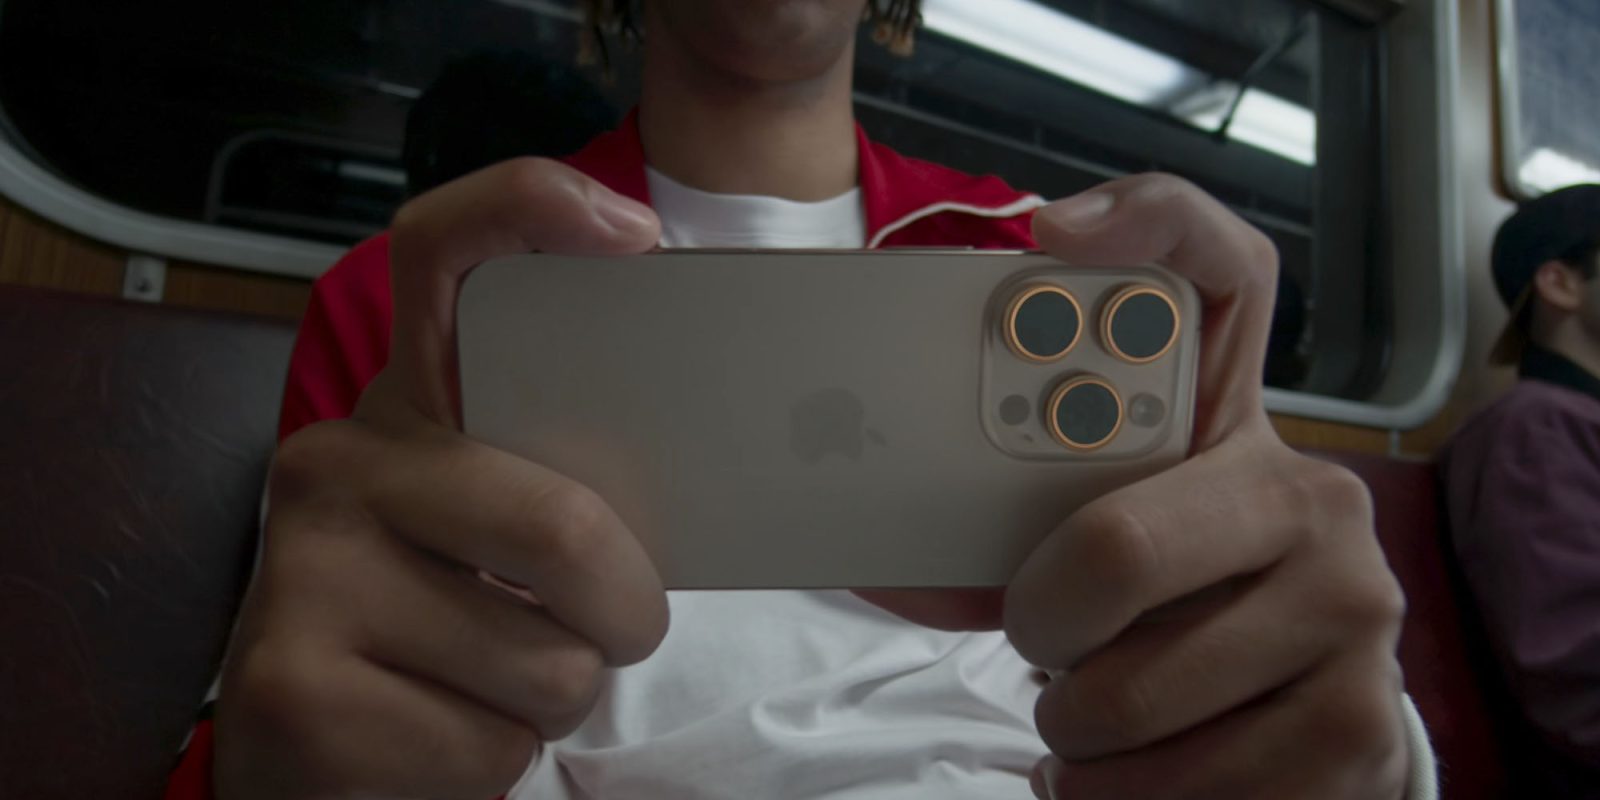
The new Camera Control button is positioned toward the bottom-right of the iPhone, which will put it top-right when the phone is held horizontally. This means it will be operated by your right index finger, just like the shutter release on a standalone camera.
Here’s how to use it, according to Apple’s instructions …
Taking a photo or shooting video
- Click the Camera Control to open Camera
 .
. - Click again to take a photo, or click and hold to record a video.
Selecting the camera mode
While you can choose between standard photo and video modes by simply clicking or clicking and holding, you can slide the tip of your finger left or right to access the full range of modes:
- Video: Record a video; see Record a video.
- Time-lapse: Create a time‑lapse video of motion over a period of time; see Record a time-lapse video.
- Slo-mo: Record a video with a slow-motion effect; see Record a slow-motion video.
- Pano: Capture a panoramic landscape or other scene; see Take a panoramic photo.
- Portrait: Apply a depth-of-field effect to your photos; see Take a portrait in Portrait mode.
- Cinematic: Apply a depth-of-field effect to your videos (on supported models); see Record Cinematic videos.
- Spatial: Take spatial photos and videos to relive in 3D on Apple Vision Pro; see Take spatial photos and record spatial videos for Apple Vision Pro.
- Square: Take photos with a square ratio.
Adjusting settings
Apple says there are six settings you can adjust using a light touch of the button once you’re in the Camera app:
- Exposure: Brighten or darken the scene by increasing or decreasing the exposure.
- Depth: Increase or decrease the background depth-of-field effect (this setting turns on Portrait mode if it wasn’t already selected).
- Zoom: Zoom in or out.
- Cameras: Adjust the field of view by changing the camera.
- Style: Change the Photographic Style.
- Tone: Lighten or deepen the mood by increasing or decreasing the tone.
Slide the tip of your finger left or right to select the setting you want to change, then use a second light touch to activate it. You can then slide left or right again to select the desired value.
Once you have everything set the way you want it, a full press takes the photo.
Accessibility controls offer a lot of adjustability
If you find yourself struggling to get the light touch pressure right, Apple says this is adjustable within the Accessibility settings:
- Go to Settings
 > Accessibility > Camera Control.
 - Do any of the following:
- Adjust the pressure required to lightly press the Camera Control: Choose a firmness option below Light Press. You can practice the gesture to try out the pressure you set.
- Adjust the speed required to lightly double-press the Camera Control: Below Double Light-Press Speed, choose how fast you need to press for iPhone to recognize a light double press.
This is another great example of how many accessibility features benefit many more people than just those with disabilities.
I’ll of course be sharing my first impressions as soon as I’ve had a chance to play.
Image: Apple
FTC: We use income earning auto affiliate links. More.


Comments