I’ve used a handful of NLEs on macOS, and each has their strength, but Final Cut Pro X gets so many of the little things right that my appreciation for the app grows a little bit each time I use it.
Final Cut Pro X may not be the most powerful way to edit videos, but it blends ease-of-use with power user features like no other app in its class. One such example of this graceful balance can be seen by observing the app’s many media management functions. Have a look at our hands-on video walkthrough for more details.
Viewing camera media
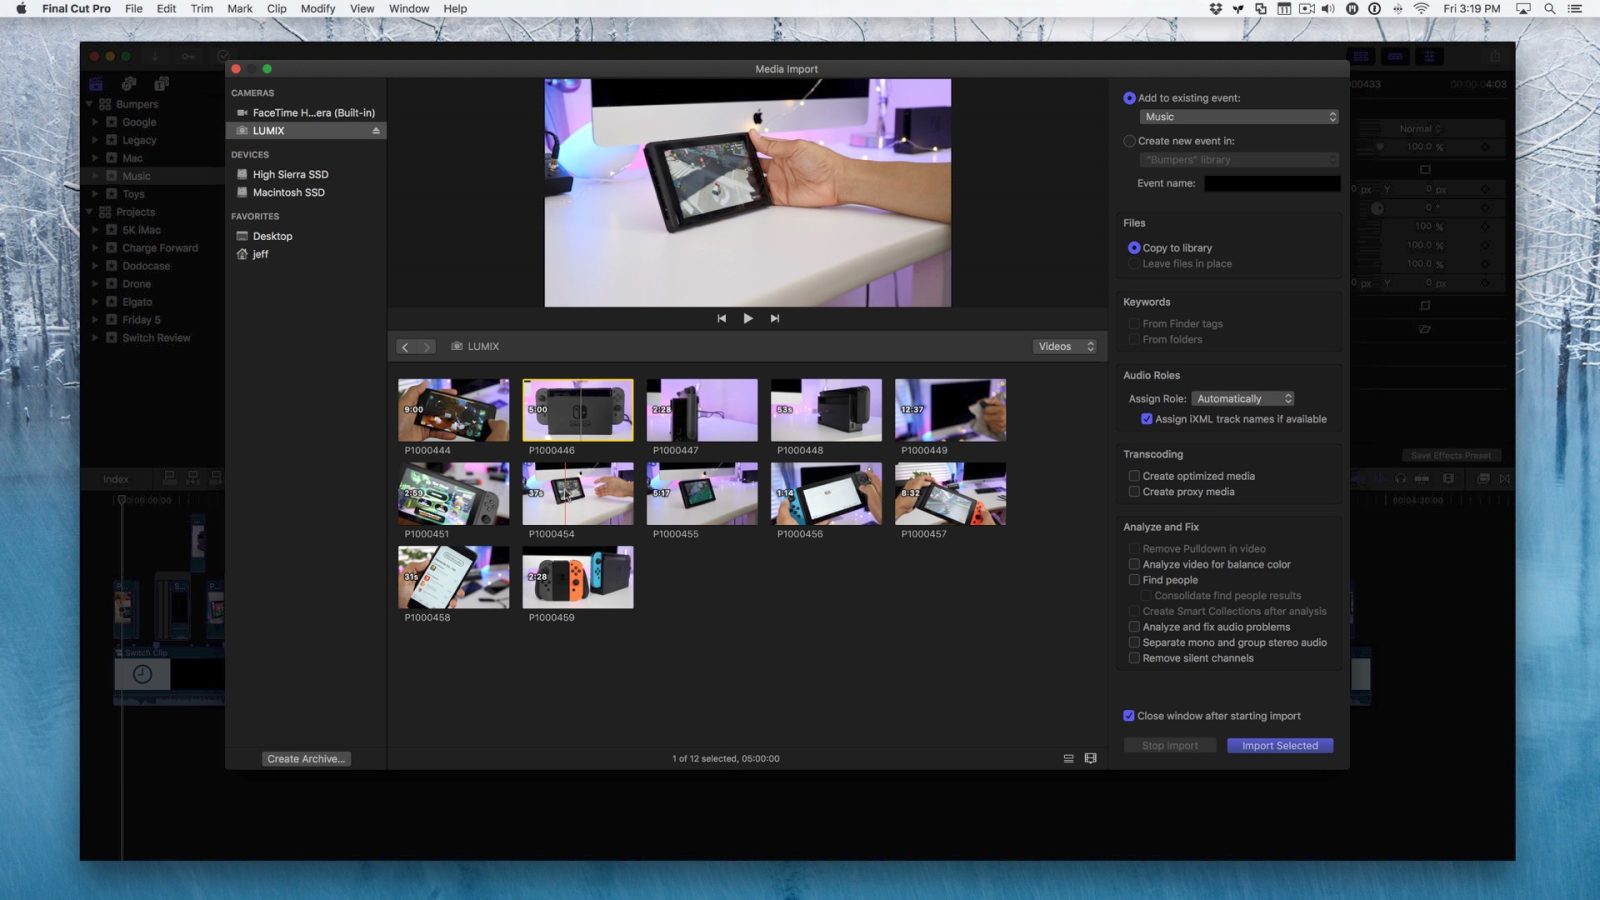
One of the great things about Final Cut Pro X is the way it displays supported camera media right from the camera or from an associated SD Card. Media is presented in such a way that directly displays relevant media files that are ready to use in a project. In other words, you needn’t worry about wading through complex file structures, or viewing files that have no use in the project timeline.
Importing clips from external media
Importing clips is just as easy, and features a bevy of actions that can be performed in concert with media import. One of the best things about importing media using Final Cut Pro X is the ability to scrub through clips stored on external media like an SD Card, and even being able to set in and out points to import just the portions of a clip that you plan on using.
Video walkthrough
Subscribe to 9to5Mac on YouTube for more videos
Optimizing media upon import
If your computer doesn’t handle H.264 playback very well, then Final Cut Pro X lends the option of creating optimized or even proxy media. Users can perform these transcoding optimizations at a later time, but can also force the app to automatically perform media optimizations as soon as files finish importing from an external source.

Viewing media metadata
Metadata plays a big role in Final Cut Pro X, so it’s no surprise that you can easily view associated metadata right from the import interface, or for already-imported media inside of an event. Metadata allows you to quickly see the components that make up the media in a project, and is a great way to quickly identify clips that you wish to add to the timeline.

Filtering media
You can also filter media by means of metadata, or by tagging portions of selected clips. You can then set the browser to only display tagged clips, which is a great way to view relevant media.

You can take it a step further by using Final Cut Pro X’ built in search, and even save those searches using the app’s Smart Collections feature. Smart Collections allow you to filter clips on one or more pieces of data, which is a powerful tool for projects with lots of media.
Conclusion
Final Cut Pro X ($299 on the Mac App Store) is not my favorite NLE just because of its easy-to-use interface, it’s my favorite way to edit videos because it combines ease-of-use with surprisingly powerful features. Stay tuned to future editions of Friday 5, as I explore more areas of Final Cut Pro X that make it one of my staple pieces of software for macOS.
If you missed last week’s edition of Friday 5, where we discussed new ScreenFlow 7 features, be sure to catch up by watching the video embedded below.
FTC: We use income earning auto affiliate links. More.


Comments