
Apple introduced its Memoji custom avatars with the iPhone X and iOS 12 in 2018. Now with macOS Big Sur, you can take advantage of them with your Mac and enjoy all the Memoji stickers that are available. Read along for how to make Memoji on Mac with Big Sur as well as how to edit, duplicate, delete, and use them.
Whether you’re new to Memoji, haven’t used them in a while, or use them often on iPhone and iPad, having access to both make, edit, and use them easily on Mac is a nice option. For one thing, it makes it easier to see all of the detail of your Memoji when making them on a Mac.
Along with being able to make and use Memoji on Mac, Messages in Big Sur syncs all your Memoji with iCloud so you can use them on iPhone, iPad, iPod touch, and Mac.
How to make Memoji on Mac with Big Sur
- Open Messages on your Mac (make sure you’ve updated to macOS Big Sur)
- Pick a convo and next to the text field at the bottom, click the Apps button (“A” icon)
- Choose Memoji stickers
- If you’ve previously made Memoji, you’ll see them at the front of the list (if signed in to your Mac with the same iCloud account as your iPhone/iPad/iPod
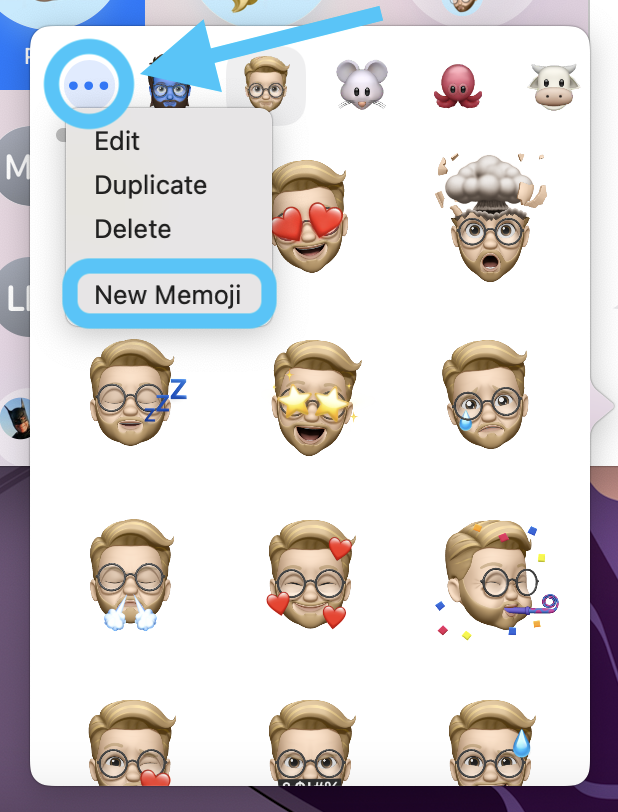
- Click the blue… icon next to a Memoji to edit, duplicate, delete, or create a new one
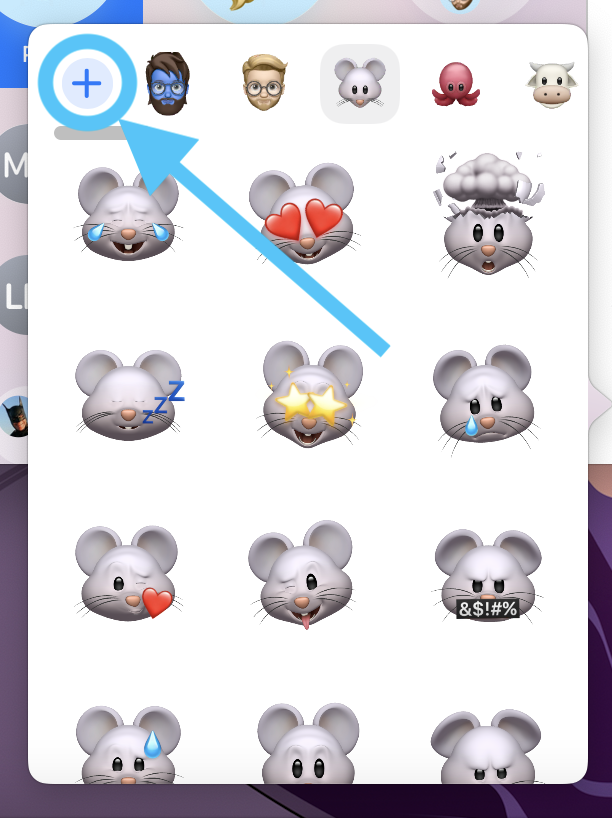
- If you don’t have any existing Memoji, select an Animoji
- Now click the blue + icon in the left corner to make a new Memoji
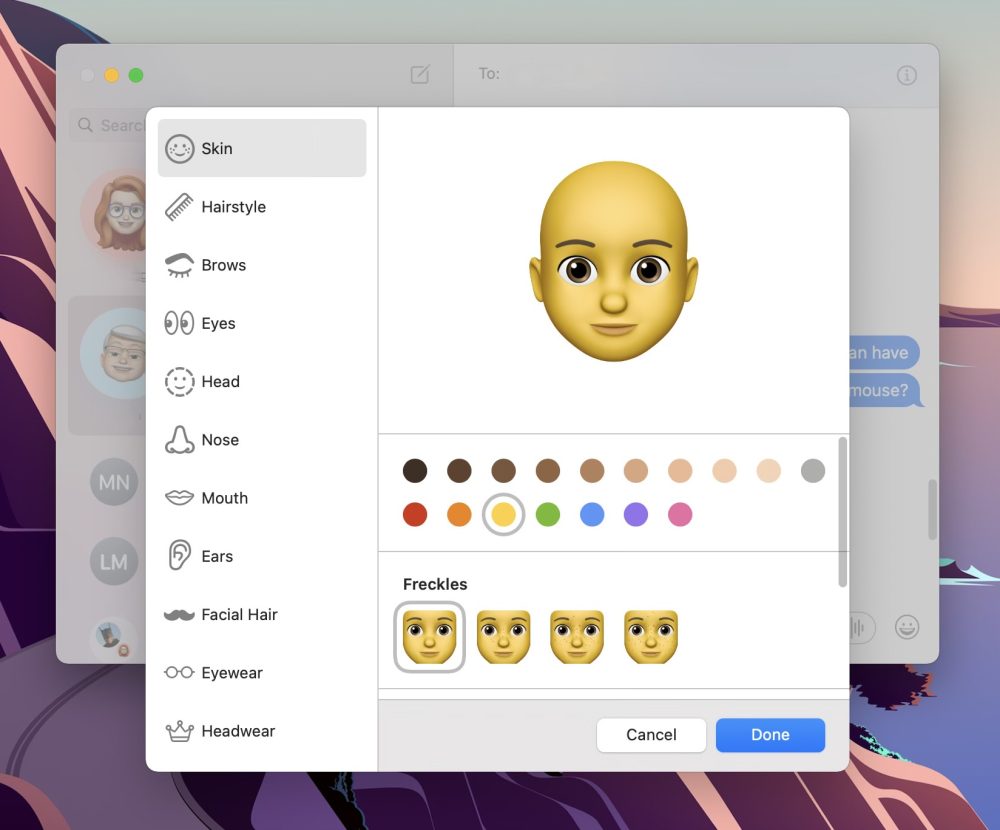
- When you’re done making your new Memoji, click “Done” in the bottom right corner
Using Memoji stickers with macOS Big Sur
- Click a Memoji Sticker to send it to someone by pressing enter just like a normal text/image/etc.
- To get back to Memoji on Mac in the future, just click the Apps button next to the text field > Memoji Stickers
Here’s how the process looks:

Now choose Memoji Stickers:

Now you can create a new Memoji from either an existing Memoji or an Animoji:
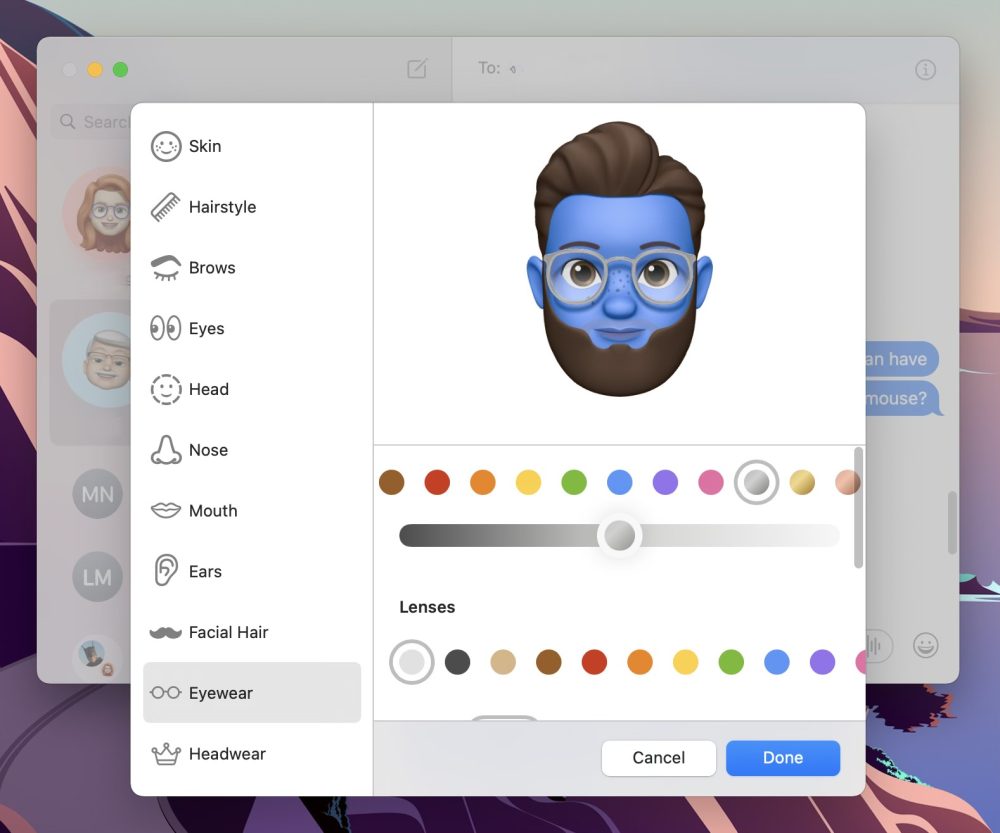
Check out all the customization options on the left hand sidebar to dial in your Memoji and click “Done” in the bottom right corner when you’re finished.
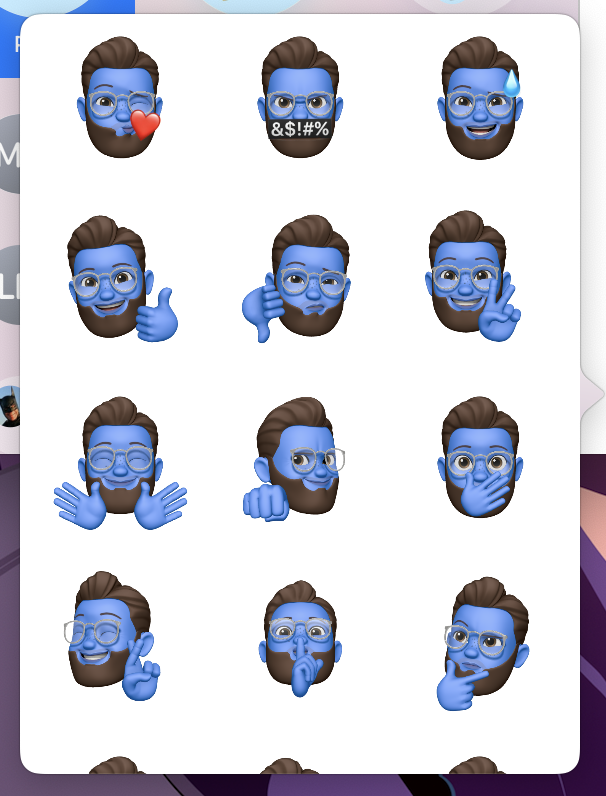
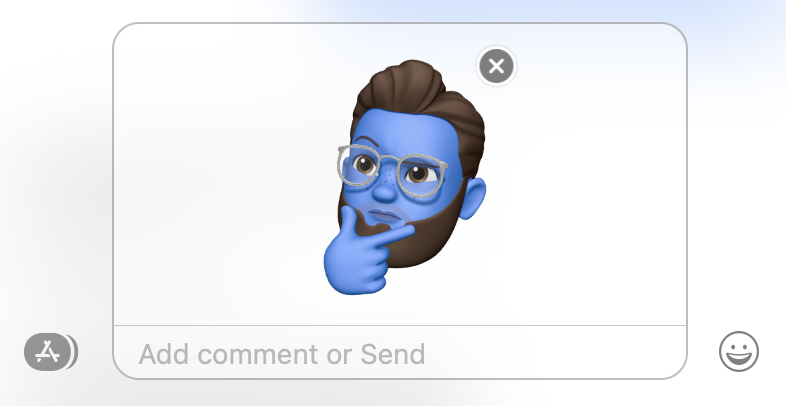
There are currently 36 Memoji Stickers to choose from, so don’t forget to scroll to see them all. When you’re ready to share, click one, and then press enter on your Mac’s keyboard:
Read more 9to5Mac tutorials:
- How to revive and restore M1 Macs, what the difference is, and when to use them
- Should I upgrade to macOS Big Sur?
- Five ways to check if apps are optimized for M1 Macs
- macOS Big Sur: How to translate websites with Safari
- macOS Big Sur: Customize the menu bar with Control Center
FTC: We use income earning auto affiliate links. More.


Comments