
Want to find a solution to back up multiple Macs in your home or office without buying dedicated hardware like network-attached storage, paying for a backup service, or needing multiple external drives? As it turns out you can set up a shared network folder on Mac to allow other machines to save their Time Machine backups. Follow along for how it works.
This story is supported by Mosyle, the only Apple Unified Platform. Mosyle is the only solution that fully integrates five different applications on a single Apple-only platform, allowing businesses and schools to easily and automatically deploy, manage, and protect all their Apple devices. Over 38,000 organizations leverage Mosyle solutions to automate the deployment, management, and security of millions of Apple devices daily. Request a FREE account today and discover how you can put your Apple fleet on auto-pilot at a price point that is hard to believe.

The handy feature to set up a shared network folder for backups with macOS is like a built-in virtual NAS – or a time machine to back when Apple offered its Time Capsule router/storage combo!
Below we’ll cover both how to set it up and how to configure multiple Macs to save their Time Machine backups to it. There is also the capability to share the folder with Windows machines.
Something to keep in mind, you’ll want to make sure the Mac you’re setting up the shared folder on has enough storage to handle backups from however many Macs you’ll be using it with. You can also limit backups to a specific size.
And don’t forget to regularly back up the Mac you’re using as the shared folder host 😁 with an external drive or other option.
How to set up a shared Time Machine backup folder on Mac
On the Mac you’d like to set up as the Time Machine backup destination:
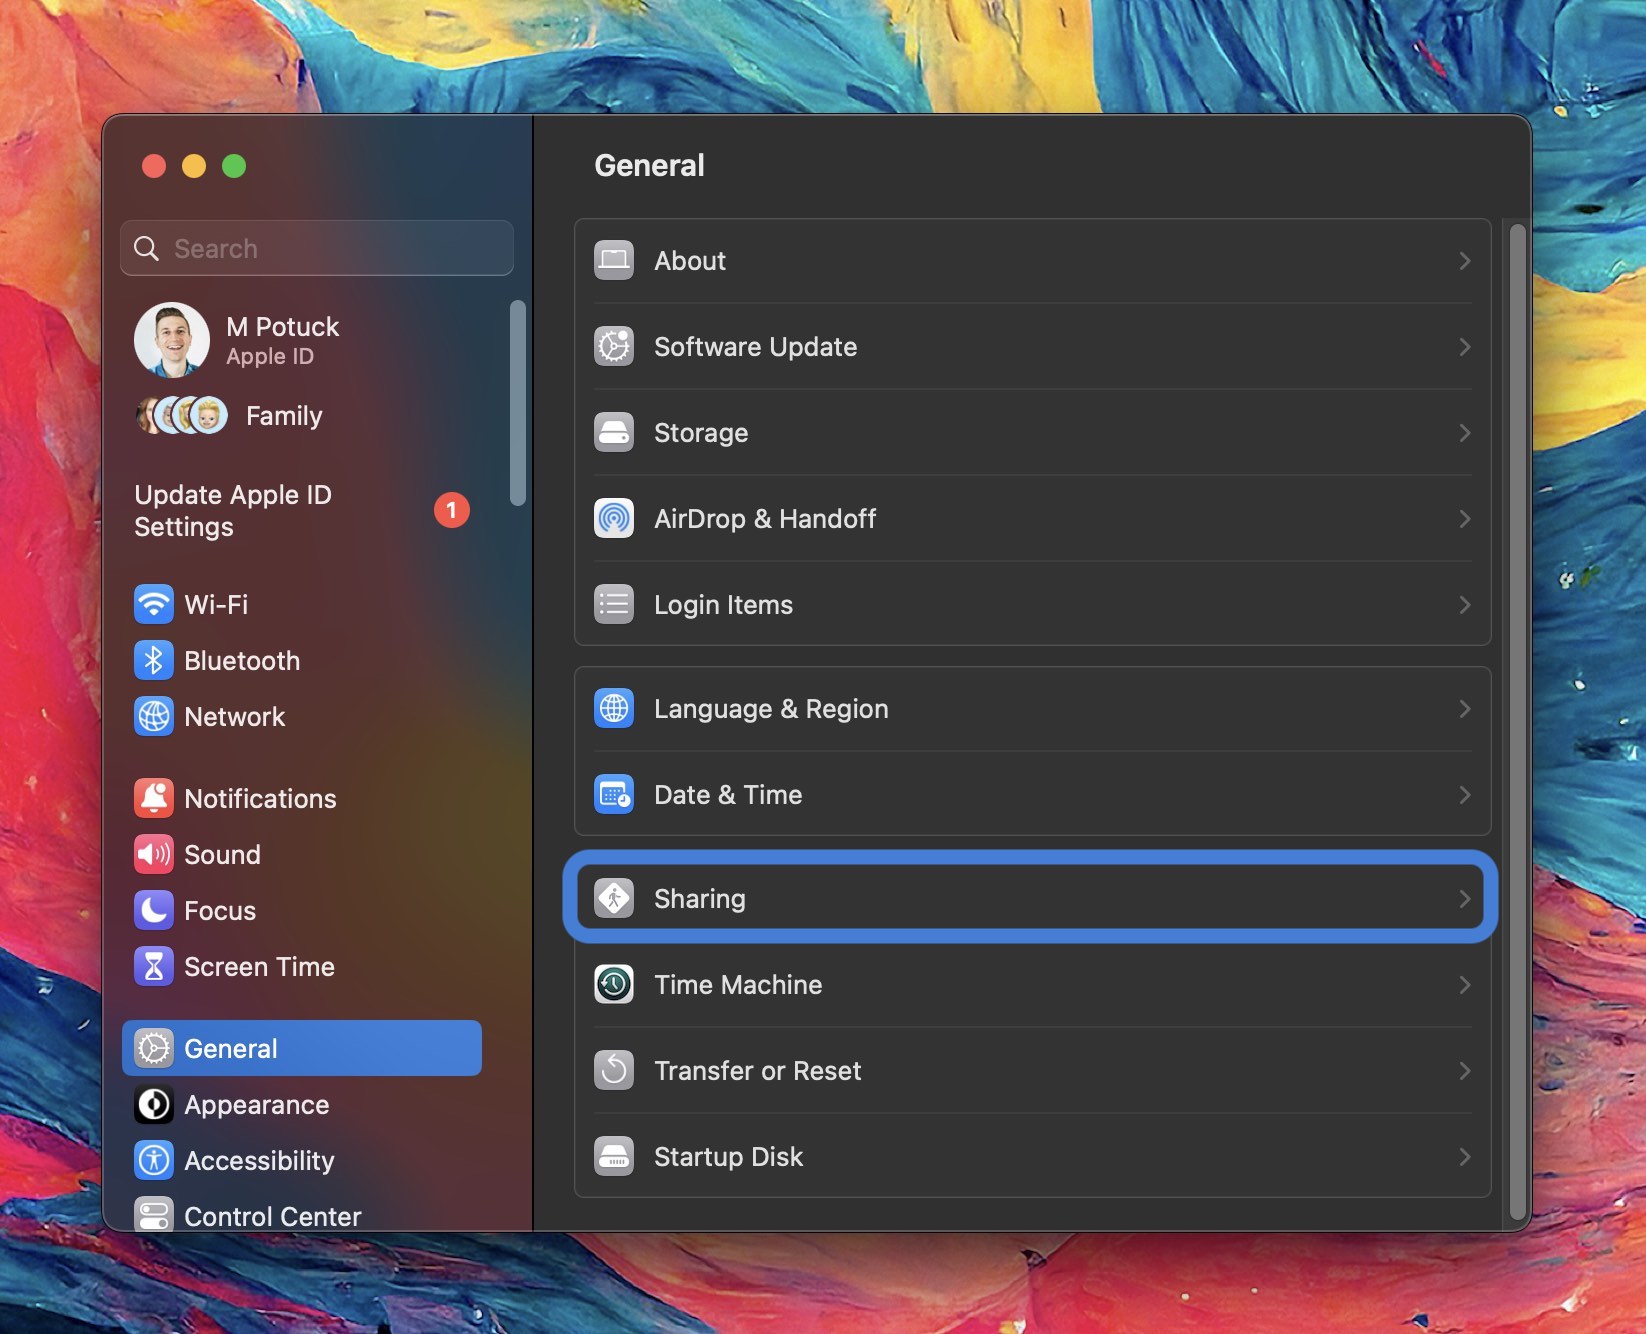
- In macOS Ventura, open System Settings > General
- Now choose Sharing and turn on File Sharing – the second option from the top
- Click the “i” information button
- Now choose Options and make sure “Share files and folders using SMB” is checked, click Done
- Click the + button at the bottom of the Shared Folders list
- Select the folder you want to use (or create a new one) for sharing, then click Add
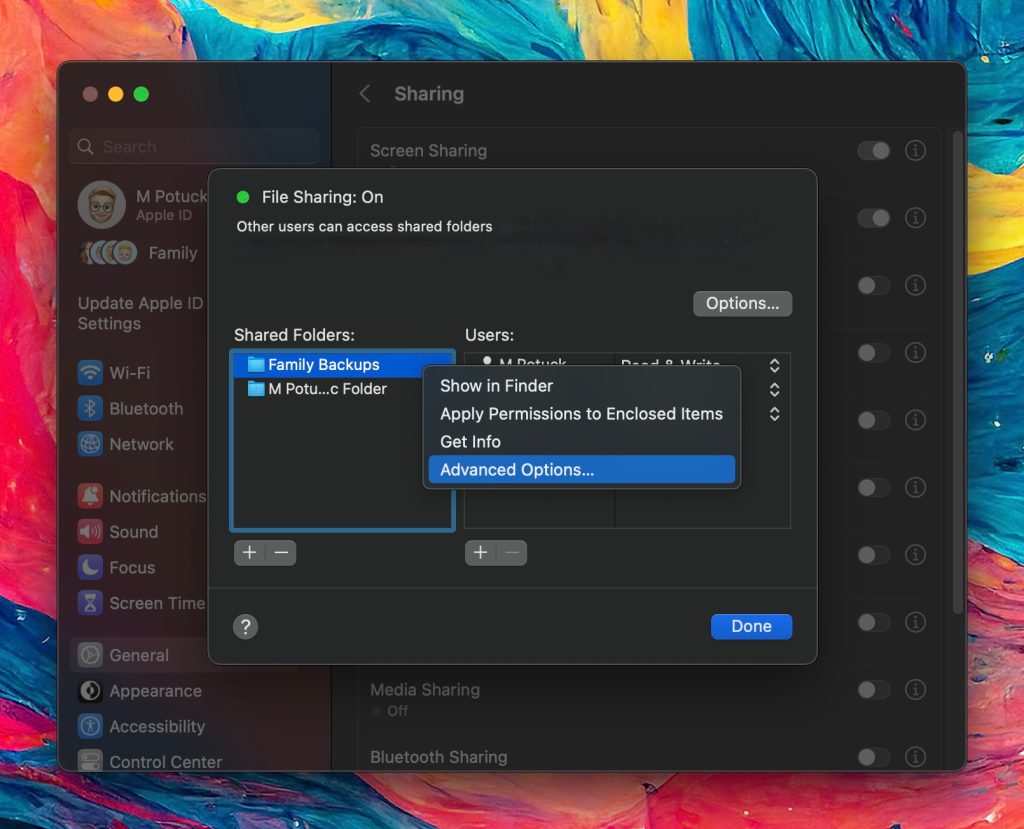
- Control-click the folder name, then choose Advanced Options
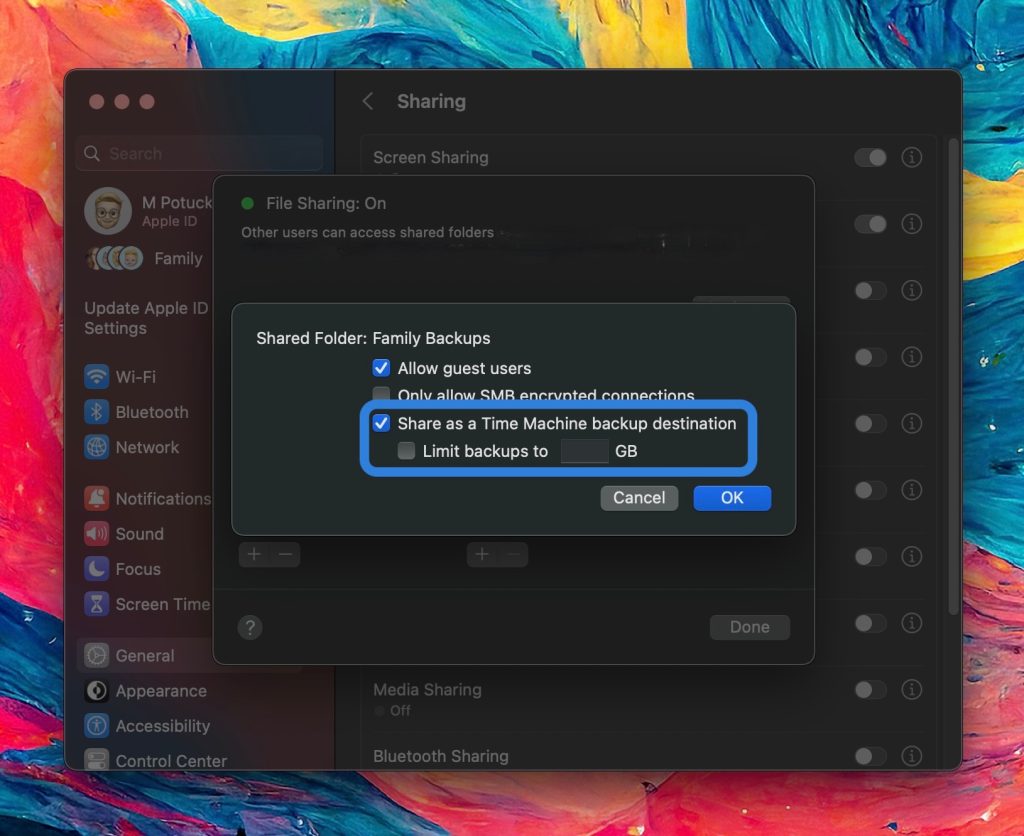
- Pick Share as a Time Machine backup destination
- You can also limit backups to a certain GB threshold
- When done, choose OK

How to back up a Mac to a shared network folder
For the Macs you want to save Time Machine backups to the shared folder:
- Open System Settings
- Choose General > Time Machine
- Click the + button in the bottom left corner
- Choose the shared folder
Thanks for checking out our guide on setting up a shared Time Machine backup folder on Mac!
Read more tutorials from 9to5Mac:
- Best USB-C and Thunderbolt displays for Mac
- Here’s how to automate iPhone’s always-on display with iOS 16.4
- How to see iPhone battery health and when is it time for a replacement?
- 5 tips and tricks to fix Bluetooth connection issues on Mac
FTC: We use income earning auto affiliate links. More.


Comments