It’s never been more important to protect yourself and your family online. Fortunately, Surfshark makes that effortless with an all-in-one app that delivers a secure and fast VPN as well as protection for your devices and identity. Read along for how to change your location on iPhone and get Surfshark VPN free for two months.
Table of contents
How to change location on iPhone
You can easily change your location on iPhone with a virtual private network (VPN). Surfshark makes it seamless to quickly and securely do that and much more.
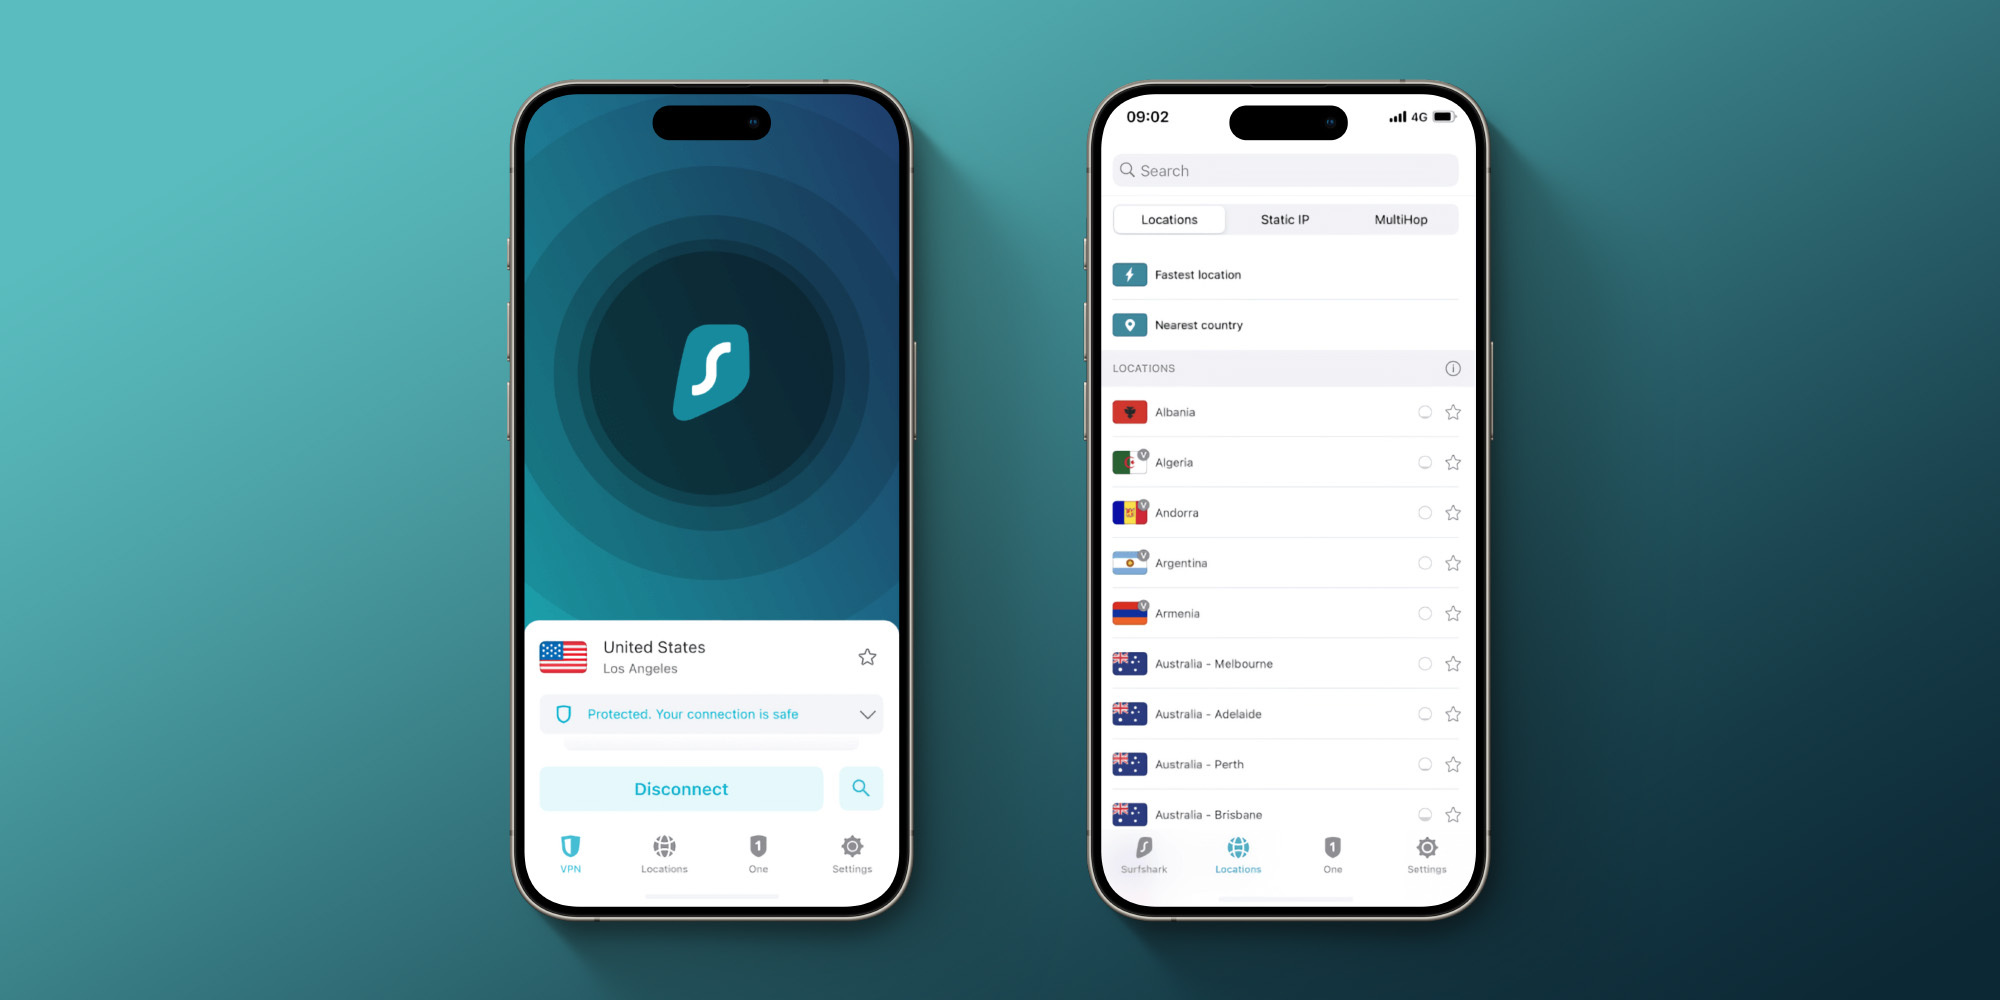
Here’s how easy it is to change your iPhone location with Surfshark VPN:
- Choose a Surfshark plan and download the iPhone app
- Simply tap the Locations tab at the bottom to manually choose a location or you can quickly filter by Fastest Location or Nearest Country.
- From the main VPN tab in Surfshark, you can verify you’re connected and protected. And read more details below on how to verify your IP location manually.
Along with letting you route your iPhone internet activity through a different location, Surfshark offers its “MultiHop” feature to send traffic through multiple encrypted servers.
Surfshark VPN encrypts your data before it even gets to your internet service provider.
How to test if your VPN for iPhone is working
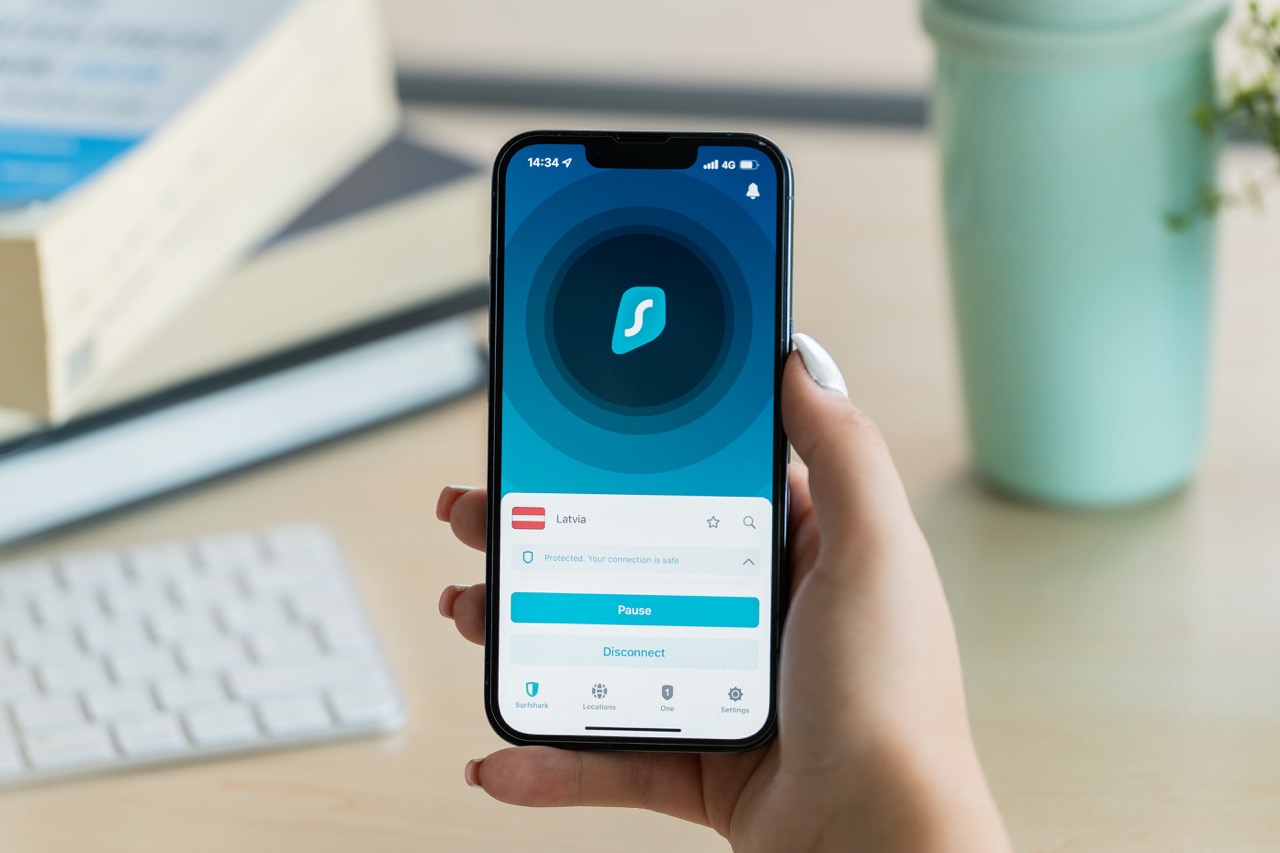
Surfshark clearly shows if you’re connected and protected through a VPN. Here are two ways to verify it:
- Tap the VPN tab in the bottom left corner of the Surfshark app.
- When connected, you’ll see “Protected. Your connection is safe” just below the location of your VPN connection.
You can also manually check if your VPN for iPhone is working by entering your current IP on Surfshark’s free tool here.
To find your current IP address in iPhone Settings:
- Open the Settings app
- Choose Wi-Fi
- Tap the circled “i” next to the network you’re connected to
- Swipe down and look for your IP Address
Why would you change your iPhone location?

Here are 15 valuable reasons you may want to change your iPhone location with a VPN:
- Privacy protection: VPNs encrypt your internet connection, guarding your online activity from malicious parties.
- Data security: VPNs add an extra layer of security, making it harder for hackers to steal your sensitive information.
- Anonymous browsing: VPNs mask your IP address which allows you to browse anonymously and stop websites from tracking your location and creating targeted personal profiles.
- Bypass geo-restrictions: Get content that is restricted in your region with a virtual iPhone location.
- Secure Wi-Fi connections: Stay safe on public WiFi networks, lowering the risk of data theft and more.
- Safe financial transactions: Ensure the security of your purchases and sensitive information when banking and shopping online.
- Avoid bandwidth restrictions: Prevent ISPs from throttling your internet speed with a VPN.
- Remote Access: VPNs let you connect securely to your home or work network from anywhere.
- Say no to censorship: View blocked websites and step around censorship imposed by governments and other organizations.
- Secure file sharing: Share files securely without revealing your IP address.
- Secure Communication: Encrypt your texts and calls for confidentiality.
- Improved online gaming: Reduce lag and enhance your gaming experience.
- Protect IoT devices: Secure your smart home devices by routing traffic through a VPN.
- Defend against malware: Some VPNs like Surfshark come with built-in features to protect you from malicious websites and malware.
- Protection against DDoS attacks: VPNs can reduce the impact of Distributed Denial of Service (DDoS) attacks on your online presence.
How to turn off your iPhone location
If you want to turn off the location services of your iPhone and don’t want to fully power the device down, you can follow these steps:
- Open the Settings app on your iPhone
- Swipe down and choose Security & Privacy
- At the top, tap Location Services
- Now tap the toggle at the top to turn Location Services off
Below the main toggle to turn Location Services on/off, you can change the permissions for each iPhone app. Tap an app in the list to change the Location Services settings.
However, the downside with these options is that many apps and services won’t work with Location Services fully turned off.
That’s why a VPN is a great solution as you retain your privacy, security, and more while being able to use the apps, websites, and services you love.
How to change Apple Store region
On iPhone
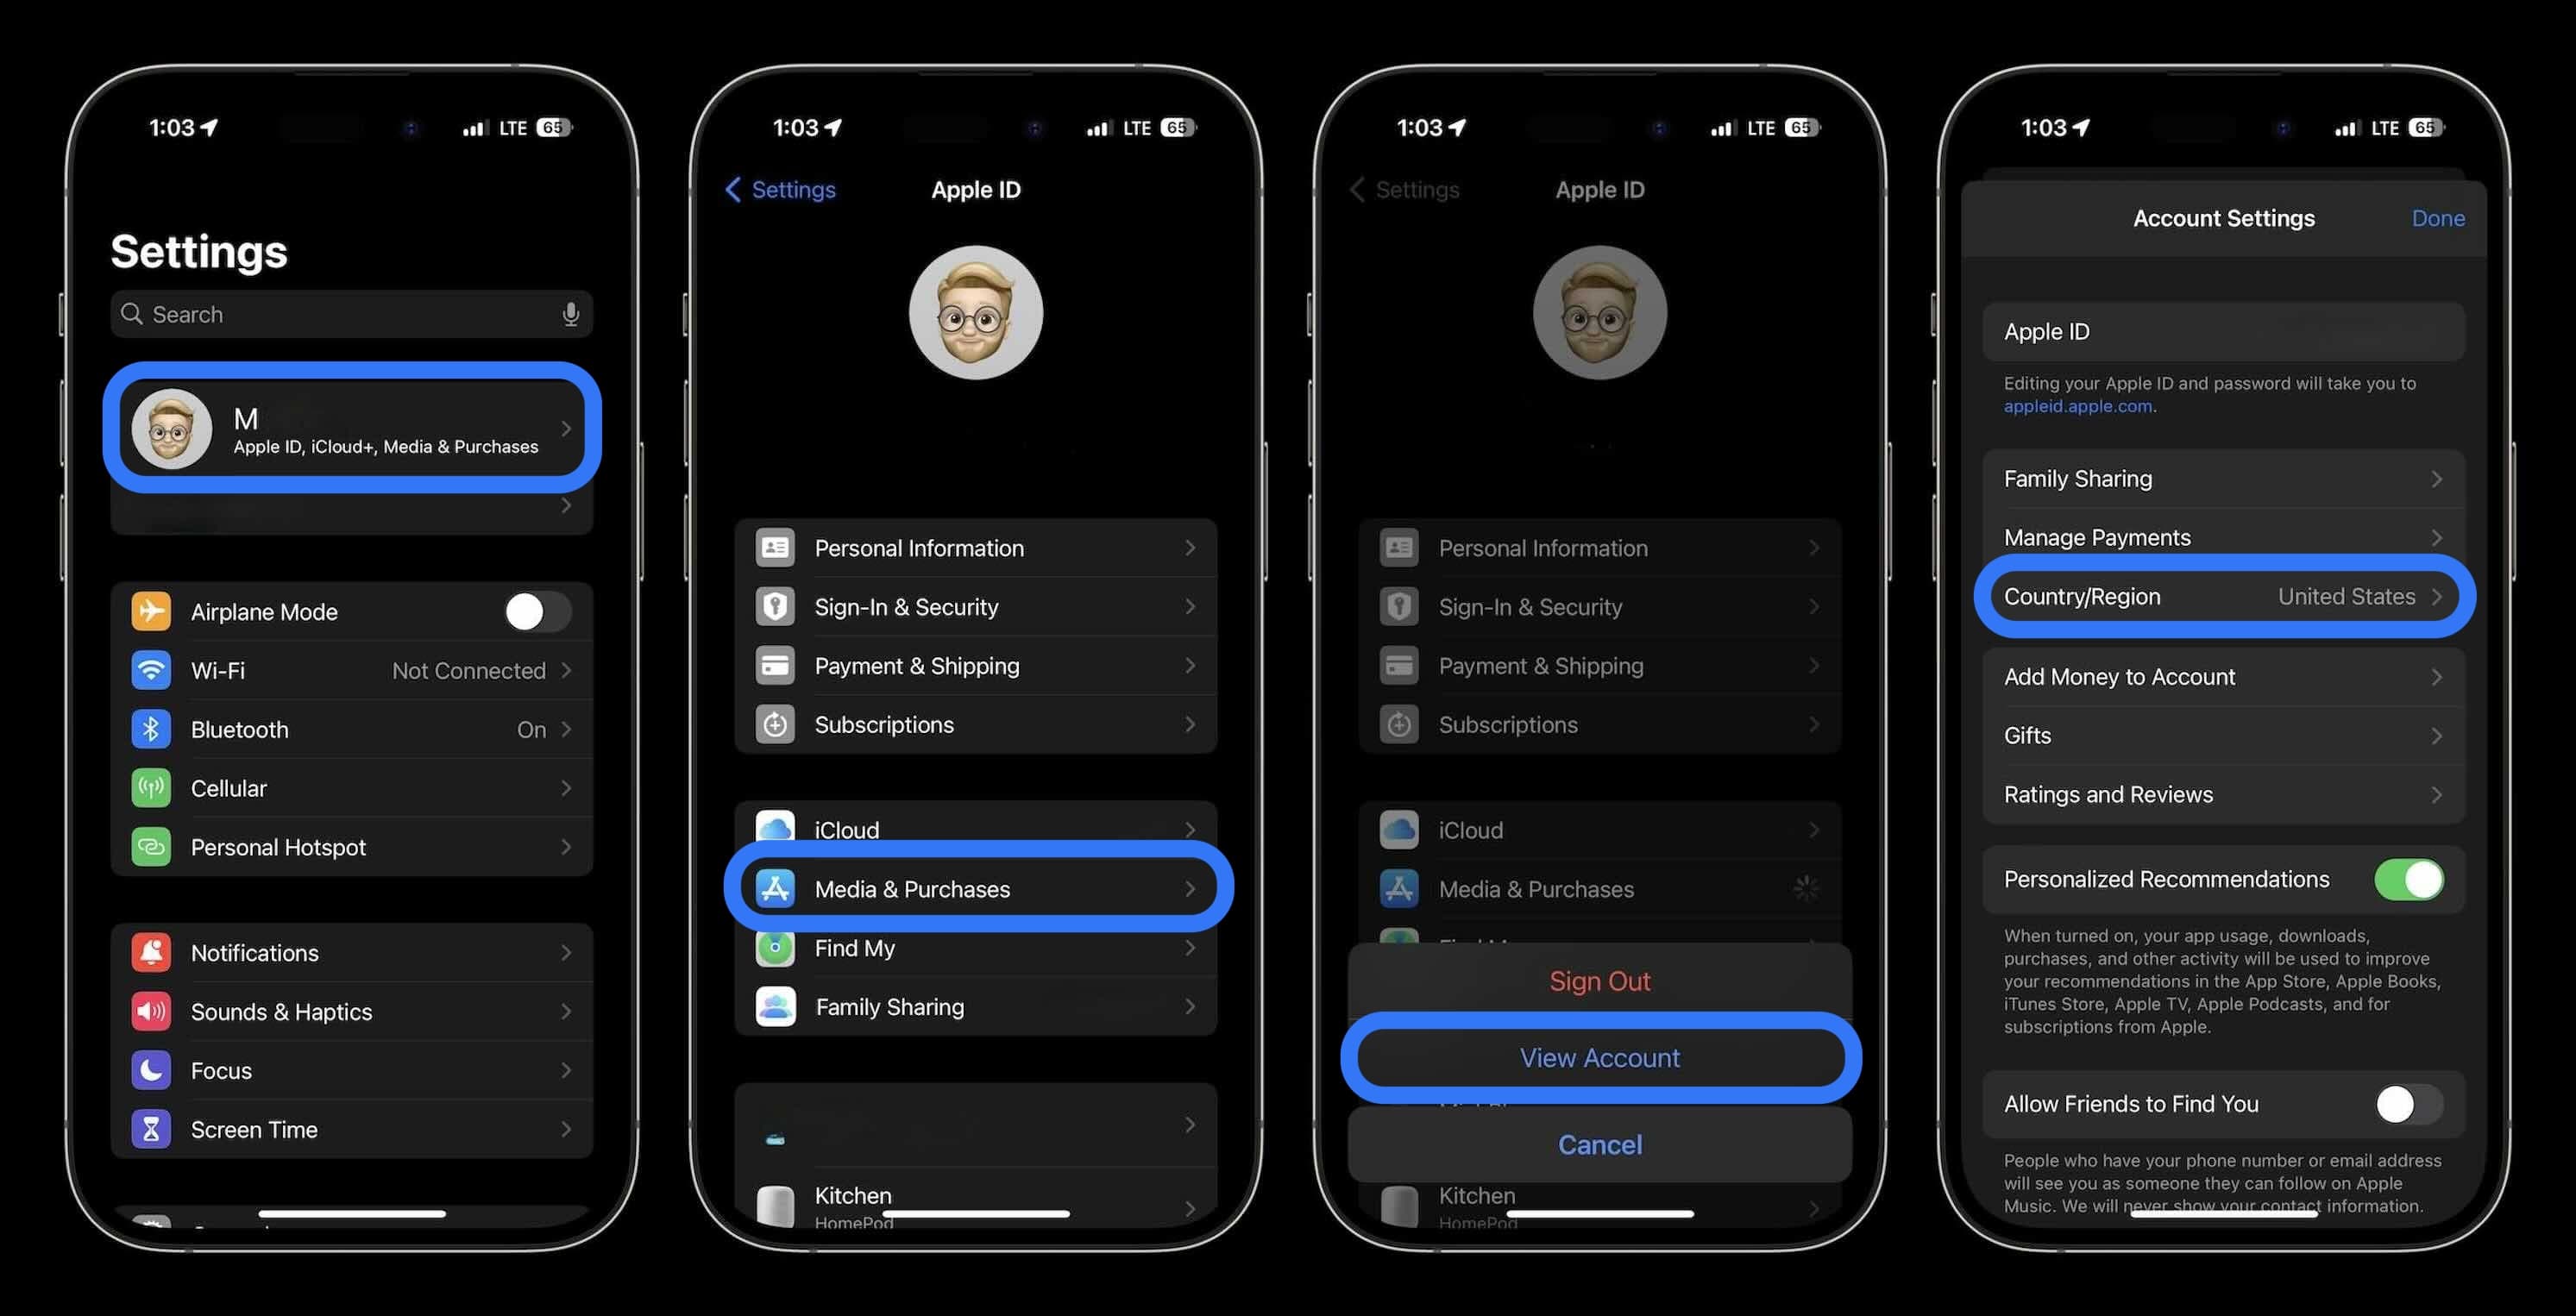
- On iPhone, open the Settings app
- Choose your name at the top
- Now tap Media & Purchases > View Account
- Choose Country/Region
- Pick your new country or region
- Read and agree to the terms and conditions
- Choose Agree in the top right corner
- Choose a new payment method
Here’s how that looks:
On the web
- You can also head to appleid.apple.com to change your Apple Store/Apple ID country or region
- Click Personal Information
- Choose Country/Region
- Follow the prompts to change your country or region
If Apple won’t let you change your iPhone country or region, you may be required to cancel any country-specific subscriptions, spend any remaining store credit, leave a Family Sharing group, and more.
Read the full list of requirements to change your Apple Store/Apple ID region in Apple’s support document.
How to change GPS location on an iPhone
Location spoofing apps
Fake your iPhone GPS location using iTools:
- Install the iTools application
- Connect your iPhone to the computer, launch the app, and go to Toolbox then Virtual Location
- Enable Developer Mode and obtain the iOS Developer Disk Image
- Enter your desired location in the search field at the screen’s top, press Go, and then click “Move here” to alter your GPS location
Change your iPhone location with 3uTools:
- Download and open the 3uTools program
- Attach your iPhone to the computer, access Toolbox, and select Virtual Location from the menu that appears
- Choose the desired locale, and click on Modify virtual location
To revert to your real location after using GPS spoofing, you must reboot your iPhone. If not, your fake GPS location will continue to be displayed on your apps as the actual location. Be aware that GPS spoofing is generally not secure and does not guarantee privacy.
VPN Services
A VPN can’t change your GPS location, but it can change your IP address location, which some apps and websites may use to determine your approximate location:
- Subscribe to a VPN service like Surfshark VPN
- Download the VPN app onto your iPhone
- Open the app and connect to a server in the location you wish to appear from
- Your IP address-based location should now appear as the location of the server to which you’re connected
To check if you connected successfully, check your IP address and location using Surfshark’s free tool here.
FAQs
- How do I make Find My iPhone show a different location?
- VPNs, such as Surfshark, help to show a different location.
- Can you fake your location on your iPhone?
- Yes, using a VPN allows you to virtually change your iPhone location without physically changing your location
- How to know if a VPN is working on your iPhone?
- Surfshark shows if your VPN is working and protecting your iPhone activity on the main screen
- You can also manually check an IP address on Surfshark’s website
- Is it legal to change your location on your iPhone?
- Yep, it is legal.
Try Surfshark now for free!
For a limited time, 9to5Mac readers can save a whopping 79% plus get two months free when purchasing two years of Surfshark VPN.
Start saving today and enjoy the next two years of surfing the web from virtually anywhere with Surfshark VPN. Enjoy the worldwide web without regional restrictions. You can also keep up with Surfshark on social media for the latest @Surfshark on Facebook and X (formerly Twitter).
Surfshark VPN for iPhone – try now 79% off

FTC: We use income earning auto affiliate links. More.


Comments