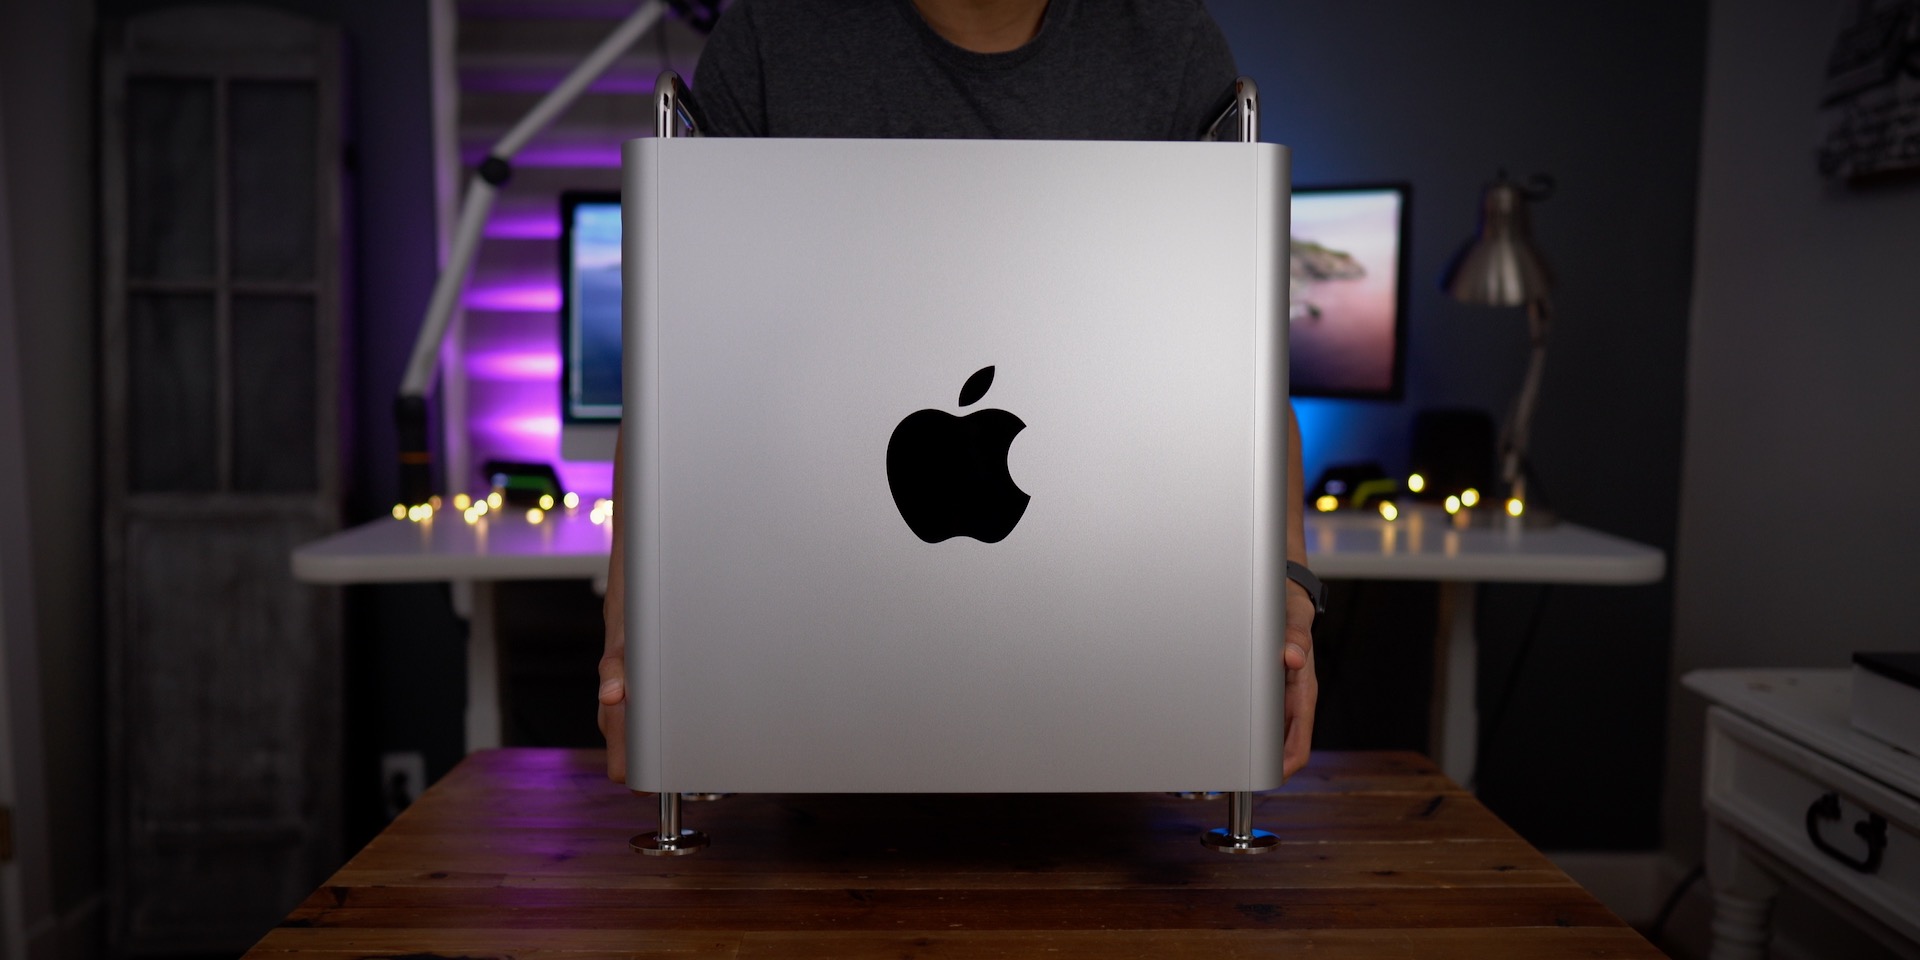
Last week we posted a speculation piece about the now-available Mac Pro. Specifically, we conjectured that, like other Apple desktop machines, it would be possible to upgrade Mac Pro RAM ourselves and save a lot of money in the process.
Today we tested that theory and experienced positive results. In this post and hands-on video, we’ll show you how easy it is to upgrade Mac Pro RAM yourself. Watch our video walkthrough for the details.
Save a whole lot of money with a DIY Mac Pro RAM upgrade
Apple, like always, charges a ridiculous amount of money for memory when compared to third-parties. Oftentimes, Apple will source the memory from the same manufacturer as these third parties, meaning there’s no real difference in memory performance.
Here’s a couple of examples:
Example 1: To upgrade to 96GB during the build to order process, Apple charges $1000. You can save around $800 by going the third party route and buying 64GB to add to the existing 32GB.
Example 2: Apple charges $6000 for its post-purchase 256GB memory upgrade kit. You can save nearly $5000 by purchasing Nemix’s 256GB upgrade kit via Amazon instead. Granted, Apple’s kit does lend added flexibility by including super-high density 128GB modules, which will allow you to install more DIMM modules, but it’s still a wide gulf in price between these two similar configurations.
Those are just two examples. In other words, you can save a significant amount of money by not upgrading your Mac Pro memory during Apple’s build-to-order process, and buying the memory from a third-party and upgrading yourself. The good news is that the Mac Pro is probably the easiest Mac to upgrade as far as RAM is concerned. Seriously, it’s dead-simple as you’ll see in our video walkthrough.
Video: How to upgrade Mac Pro RAM
Subscribe to 9to5Mac on YouTube for more videos
Requirements for RAM
For the 2019 Mac Pro, Apple notes that you’ll want to use memory modules that meet the following specifications:
- 2933MHz DDR4 full-length DIMM. Mixing memory speeds is not recommended.
- Error-correcting code (ECC)
- 8GB, 16GB, 32GB, 64GB, or 128GB DIMMs
- Registered (R-DIMM) or Load-Reduced DIMM (LR-DIMM). Do not mix R-DIMMs and LR-DIMMs.
- 288-pin
- Use the same size memory modules across all slots to maximize performance.
- DIMMs with heatsinks are not supported and may damage the DIMM mechanism.
DIMM modules with 32GB and lesser density are R-DIMM Modules. DIMM modules with 64GB and higher density are LR-DIMM modules. You can look at the build-to-order page to determine the type of DIMM modules inside your Mac Pro.

Nemix sells various memory configs on Amazon that meet Apple’s criteria. For example, they sell a 64GB (2x32GB) R-DIMM config, and a 256GB (4x64GB) LR-DIMM config, among several others. You don’t necessarily have to use Nemix RAM, but I’ve personally verified that it works, and Nemix offers a lifetime warranty for memory.
Note: If you’re upgrading a Mac Pro with the 8-core Xeon-W CPU, the 2933 RAM will be automatically downclocked to 2666MHz, since the 8-core CPU doesn’t support the faster memory speeds.
Supported memory configurations
The Mac Pro supports up to 12 DIMM modules across six memory channel pairs. For the best memory performance, you’ll want to ensure that your memory is installed in the proper configuration based on channels. Apple includes handy illustrations inside the DIMM covers to show you supported configurations.

If your DIMM modules aren’t the same capacity across the board, you’ll want to follow Apple’s guidelines to install memory for mixed capacities.

In the case of a mixed configuration, You’ll want to start to install the smallest memory pair in the first channel and work your way up to the larger memory pair. For more information, be sure to read Apple’s guide.
How to upgrade Mac Pro RAM step by step
Step 1: Power down your Mac Pro, unplug the power cable and remove the aluminum housing to reveal the machine’s internal components.
Step 2: Touch the metal housing on the outside of the Mac Pro to discharge any static electricity.
Step 3: Locate the memory module area, which is on the opposite side of the PCIe expansion slots. Slide the DIMM cover locks to the left, and remove the DIMM covers.

Step 4: If you need to remove DIMMs to support your desired configuration, use the DIMM ejectors on each side of the module to eject the DIMM. Remove it straight out of the slot, and place the module in an electrostatic discharge protective bag.

Step 5: Locate an empty DIMM slot and align the DIMM with the slot to match the notch position and connectors. Insert the DIMM module gently until the bottom edge is touching the gold contacts, and then apply additional force to fully insert the DIMM module, which will also click the ejector tabs in place.

Step 6: Click each DIMM cover back in place.

Step 7: Reinstall the aluminum housing and lock the latch on top of the housing in place. Reconnect the power cable, and power the Mac Pro back on.

Step 8: Verify your memory installation by going to the Apple menu > About This Mac, then select the Memory tab. You should an updated memory configuration based on your installation.

9to5Mac’s take
As mentioned at the outset, Apple’s memory prices have always been ridiculous, and that doesn’t change with the Mac Pro. Save your hard-earned money, and opt for a third-party memory upgrade instead of paying for Apple’s ludicrous prices during the build-to-order process.

I recommend saving the money that you would have otherwise spent on memory to upgrade the CPU. Apple’s CPU prices for the 16-Core and above are actually rather competitive. Or if you’re okay with the CPU, spend the money on an MPX GPU module upgrade. Basically, you’d be way better off spending your money on anything else to make your Mac Pro better instead of buying Apple’s memory.
What do you think? Sound off in the comments with your thoughts.
FTC: We use income earning auto affiliate links. More.


Comments