
With the power of current Apple Silicon based Macs, and the next generation Apple Silicon computers that could be coming later this year, plenty of Intel-based computers will be left without a purpose. So why not convert your old computer into your own Netflix-like streaming service using Plex?
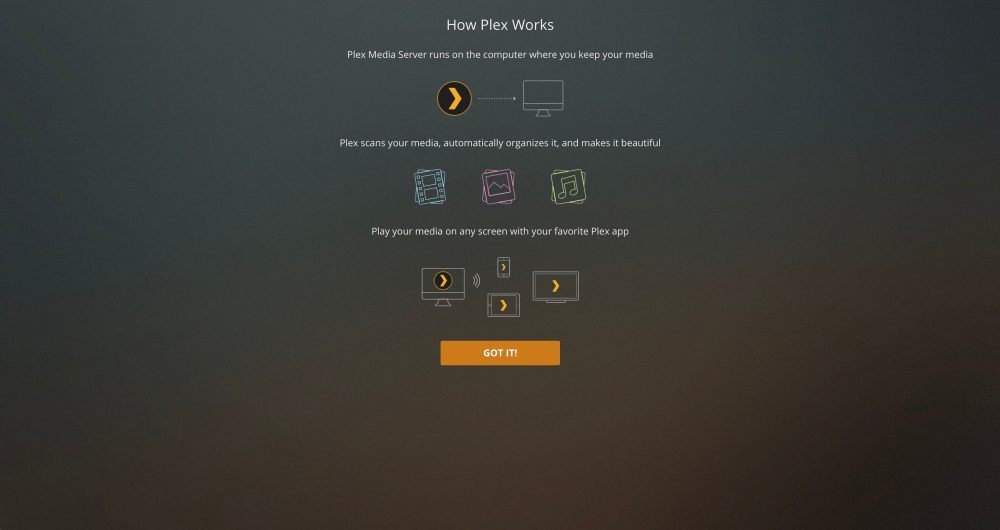
While making your own streaming service may seem like a challenging process, it’s made easy with the use of Plex. There are two types of software for Plex, the server and the client. The server software is installed on a machine that stores copies of any Movies, Music, or TV Shows that you want to share. You can then access them from almost any internet-connected device.
Why use Plex?
Plex was started back in 2007 based on the popular XBMC (now known as Kodi). It makes it easy to stream media files from a server device to a wide variety of client devices. If you have a large collection of Blu-ray or DVDs, it’s possible to rip them with a tool like HandBrake. You can then stream the files, using Plex, to your smart TV, phones, computers, or gaming consoles. That way you don’t have to fuss around with the physical disks or re-purchasing movies you have already paid for.

Plex is also a very cost-effective solution. Since you rely on your own hardware, the base version of the software is entirely free to use. The paid upgrade “Plex Pass” unlocks features like music lyric support, mobile apps, and live TV recording. Currently, the Plex Pass costs $4.99 a month or $119.99 for a lifetime pass.
In addition to watching your own content, Plex also hosts free ad-supported content. Various TV shows and movies are available to watch, and they plan on expanding. Earlier this year, Plex raised $50 million to expand and invest in development.
On a personal note, I used Plex for over a year before I decided to upgrade to the Plex Pass. When I did, I opted for the lifetime pass. On the one occasion where I reached out to Plex for support, I found that they were very quick to assist with my issue and went above and beyond to remedy it.
Plex Media Server hardware
Plex Media Server can run on a wide variety of devices; including macOS, Windows, and Linux. It can even run directly on network-attached storage devices. If using a Mac Pro or Windows desktop for your server, I would highly recommend getting a separate internal Hard Drive specifically for your Plex media. While laptops aren’t an ideal server, I never had an issue when I was running Plex off of my laptop with an external hard drive. While you can use the built-in storage device, I find separate disks make it far easier to keep everything in one place.
Regardless of the device you use, you want to make sure the server is plugged into your router over ethernet. Wifi hasn’t yet reached the speed or reliability of a hard-wired connection.
How to organize your media for Plex
Plex makes organizing movies and TV shows easy. It searches online to find descriptions, extra features, and ratings, but it needs a bit of a helping hand to figure out what the movie is.
Start by making a folder each for movies, TV shows, and music.
Whenever you add a movie to the movie folder, just title the file ‘ movie-title (release year) ‘. You can also adjust the title for more complex situations such as external subtitles or multiple files for one movie.
For TV Shows, you make a subfolder for each TV show, and then a subfolder for each season. For the episode, use the format ‘ S01E05 ‘ to denote the season and episode number.
Music is really simple to organize. Make a subfolder under music for each artist, and a subfolder under that for each album. Ensure each track starts with the track number then the name, separated by a hyphen.
Installing Plex Media Server
The installation of Plex is simple. On the downloads page download and run the Plex Media Server app for your device. You will see the Plex icon show up in your menu bar. Select the icon and click Open Plex.
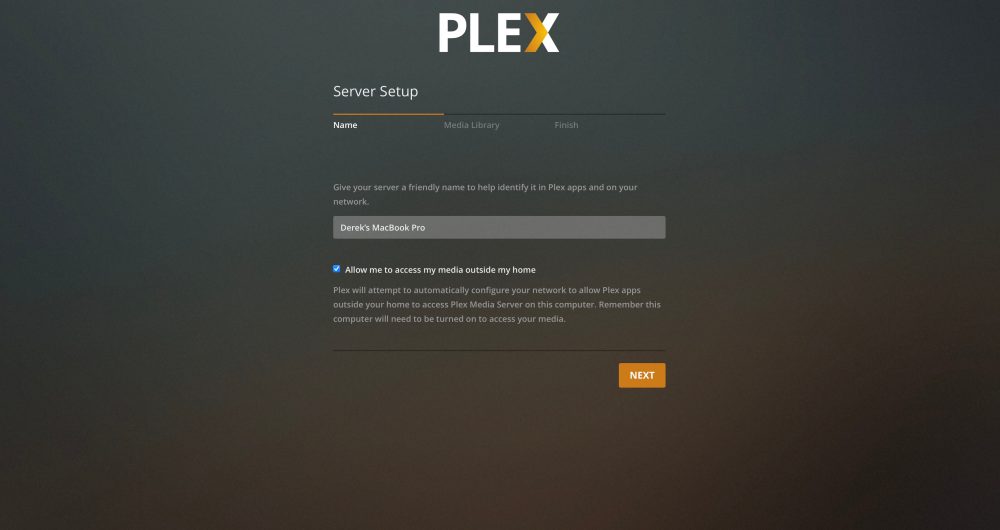
After logging in, or creating a Plex account, the app will guide you through the setup. Under media, you will want to point it to each of the separate folders for movies, TV shows, and music you created earlier.
After finishing this setup, Plex will automatically search online to find the poster, description, actors, and more information about each of the files. As long as this server computer is on, and Plex is running, you can access your files at Plex.tv. This should automatically work from anywhere in the world.
If you would like to go a bit more in-depth, to improve speed and reliability outside of your home network, there are two network changes worth making.
Adjusting network settings
In order for the best experience, you will want your server to have a constant IP address. This can be done on either your server or router. Exactly how you set this will depend on your router but can be as simple as setting a Reserved address under the DHCP settings. Take note of the IP address you set your server to have.
While still on your router, you should forward network port 32400 to the IP address of your server.
In the Plex server settings, look under “remote access”. Check the box for “manually specified public port”, ensure that 32400 is the port, and save changes. After this, your media should be available outside of your network.
If you have any issues with this, Plex has an in-depth guide for Remote access issues and excellent support articles and guides.
FTC: We use income earning auto affiliate links. More.


Comments