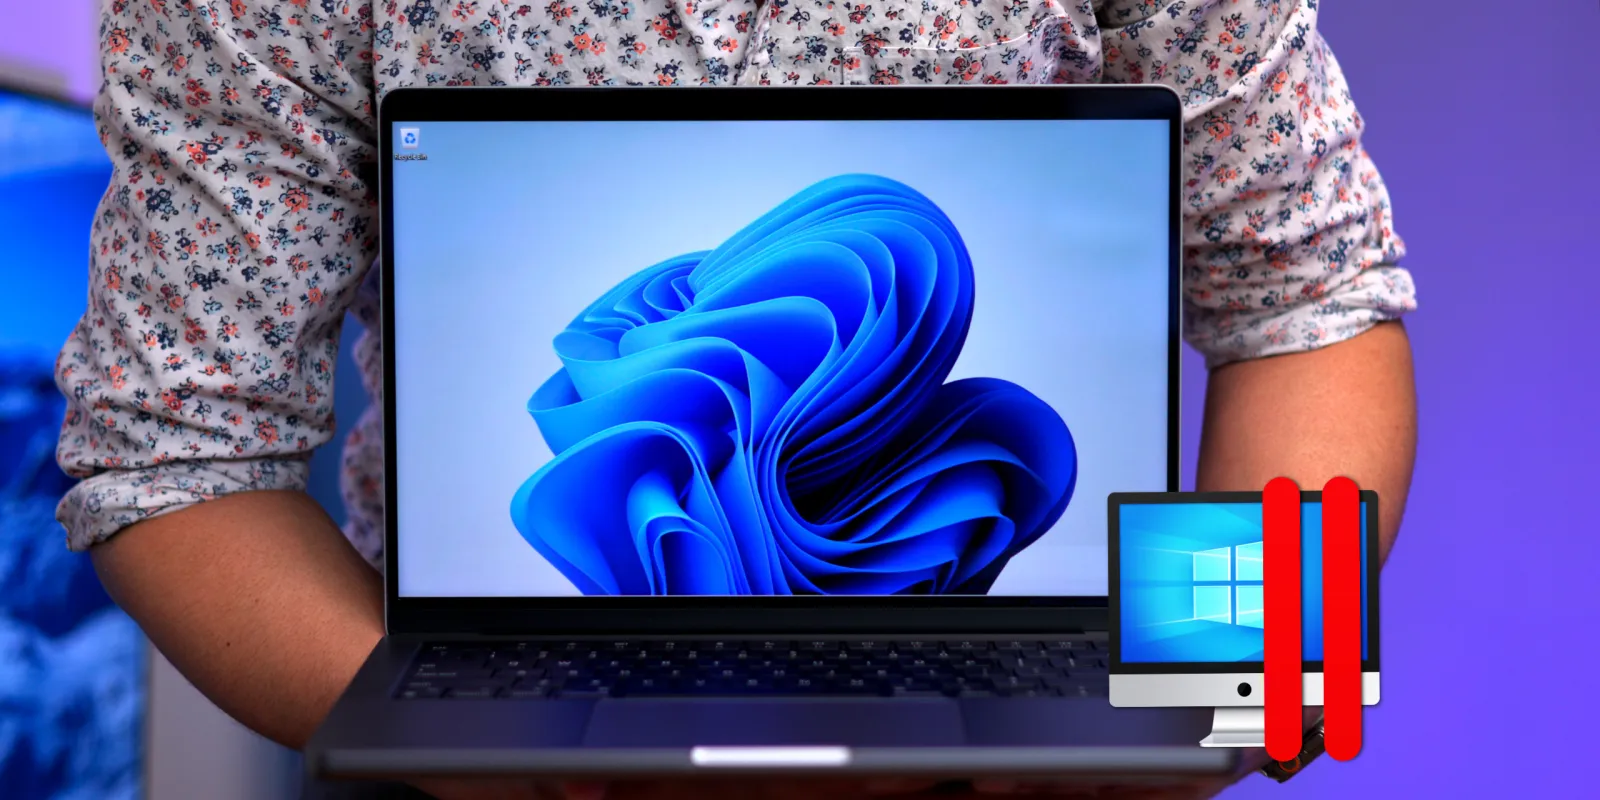
Are there Windows-exclusive apps that you need to run but don’t have access to a dedicated Windows machine? If you’re still using an Intel-based Mac, Boot Camp remains a popular option, but if you’ve transitioned to Apple Silicon Macs, Boot Camp, a native method for running Windows on a Mac, is no longer an option.
Fortunately, Microsoft has put considerable effort into developing Windows 11 for ARM architecture, which Apple uses for its M-series chips in today’s Macs. Parallels Desktop for Mac — optimized for Apple Silicon — emulates PC hardware, allowing users to deploy a Windows 11 virtual machine in just a few clicks.
In this step-by-step walkthrough, we’ll show you how easy it is to get Windows 11 running on your Mac and also discuss some of the potential caveats and configuration notes. Be sure to subscribe to 9to5mac on YouTube for more videos like this.
Back when Parallels launched version 15 of its software, it brought forth support for Microsoft’s DirectX 11 API via Metal. This was a big deal, as it resulted in significantly improved graphics performance than before. You’ll get pretty good graphics performance in Windows 11 running via Parallels, but there are some things to keep in mind.
Parallels emulates PC hardware, and you’re running an ARM version of Windows 11 within a virtualized instance. To add to that, there is currently no support for DirectX 12, which many modern AAA games utilize today. 3D acceleration is currently supported at the level of DirectX 11.1 and OpenGL 3.3. Because of this, there will be limitations as to what games are supported.
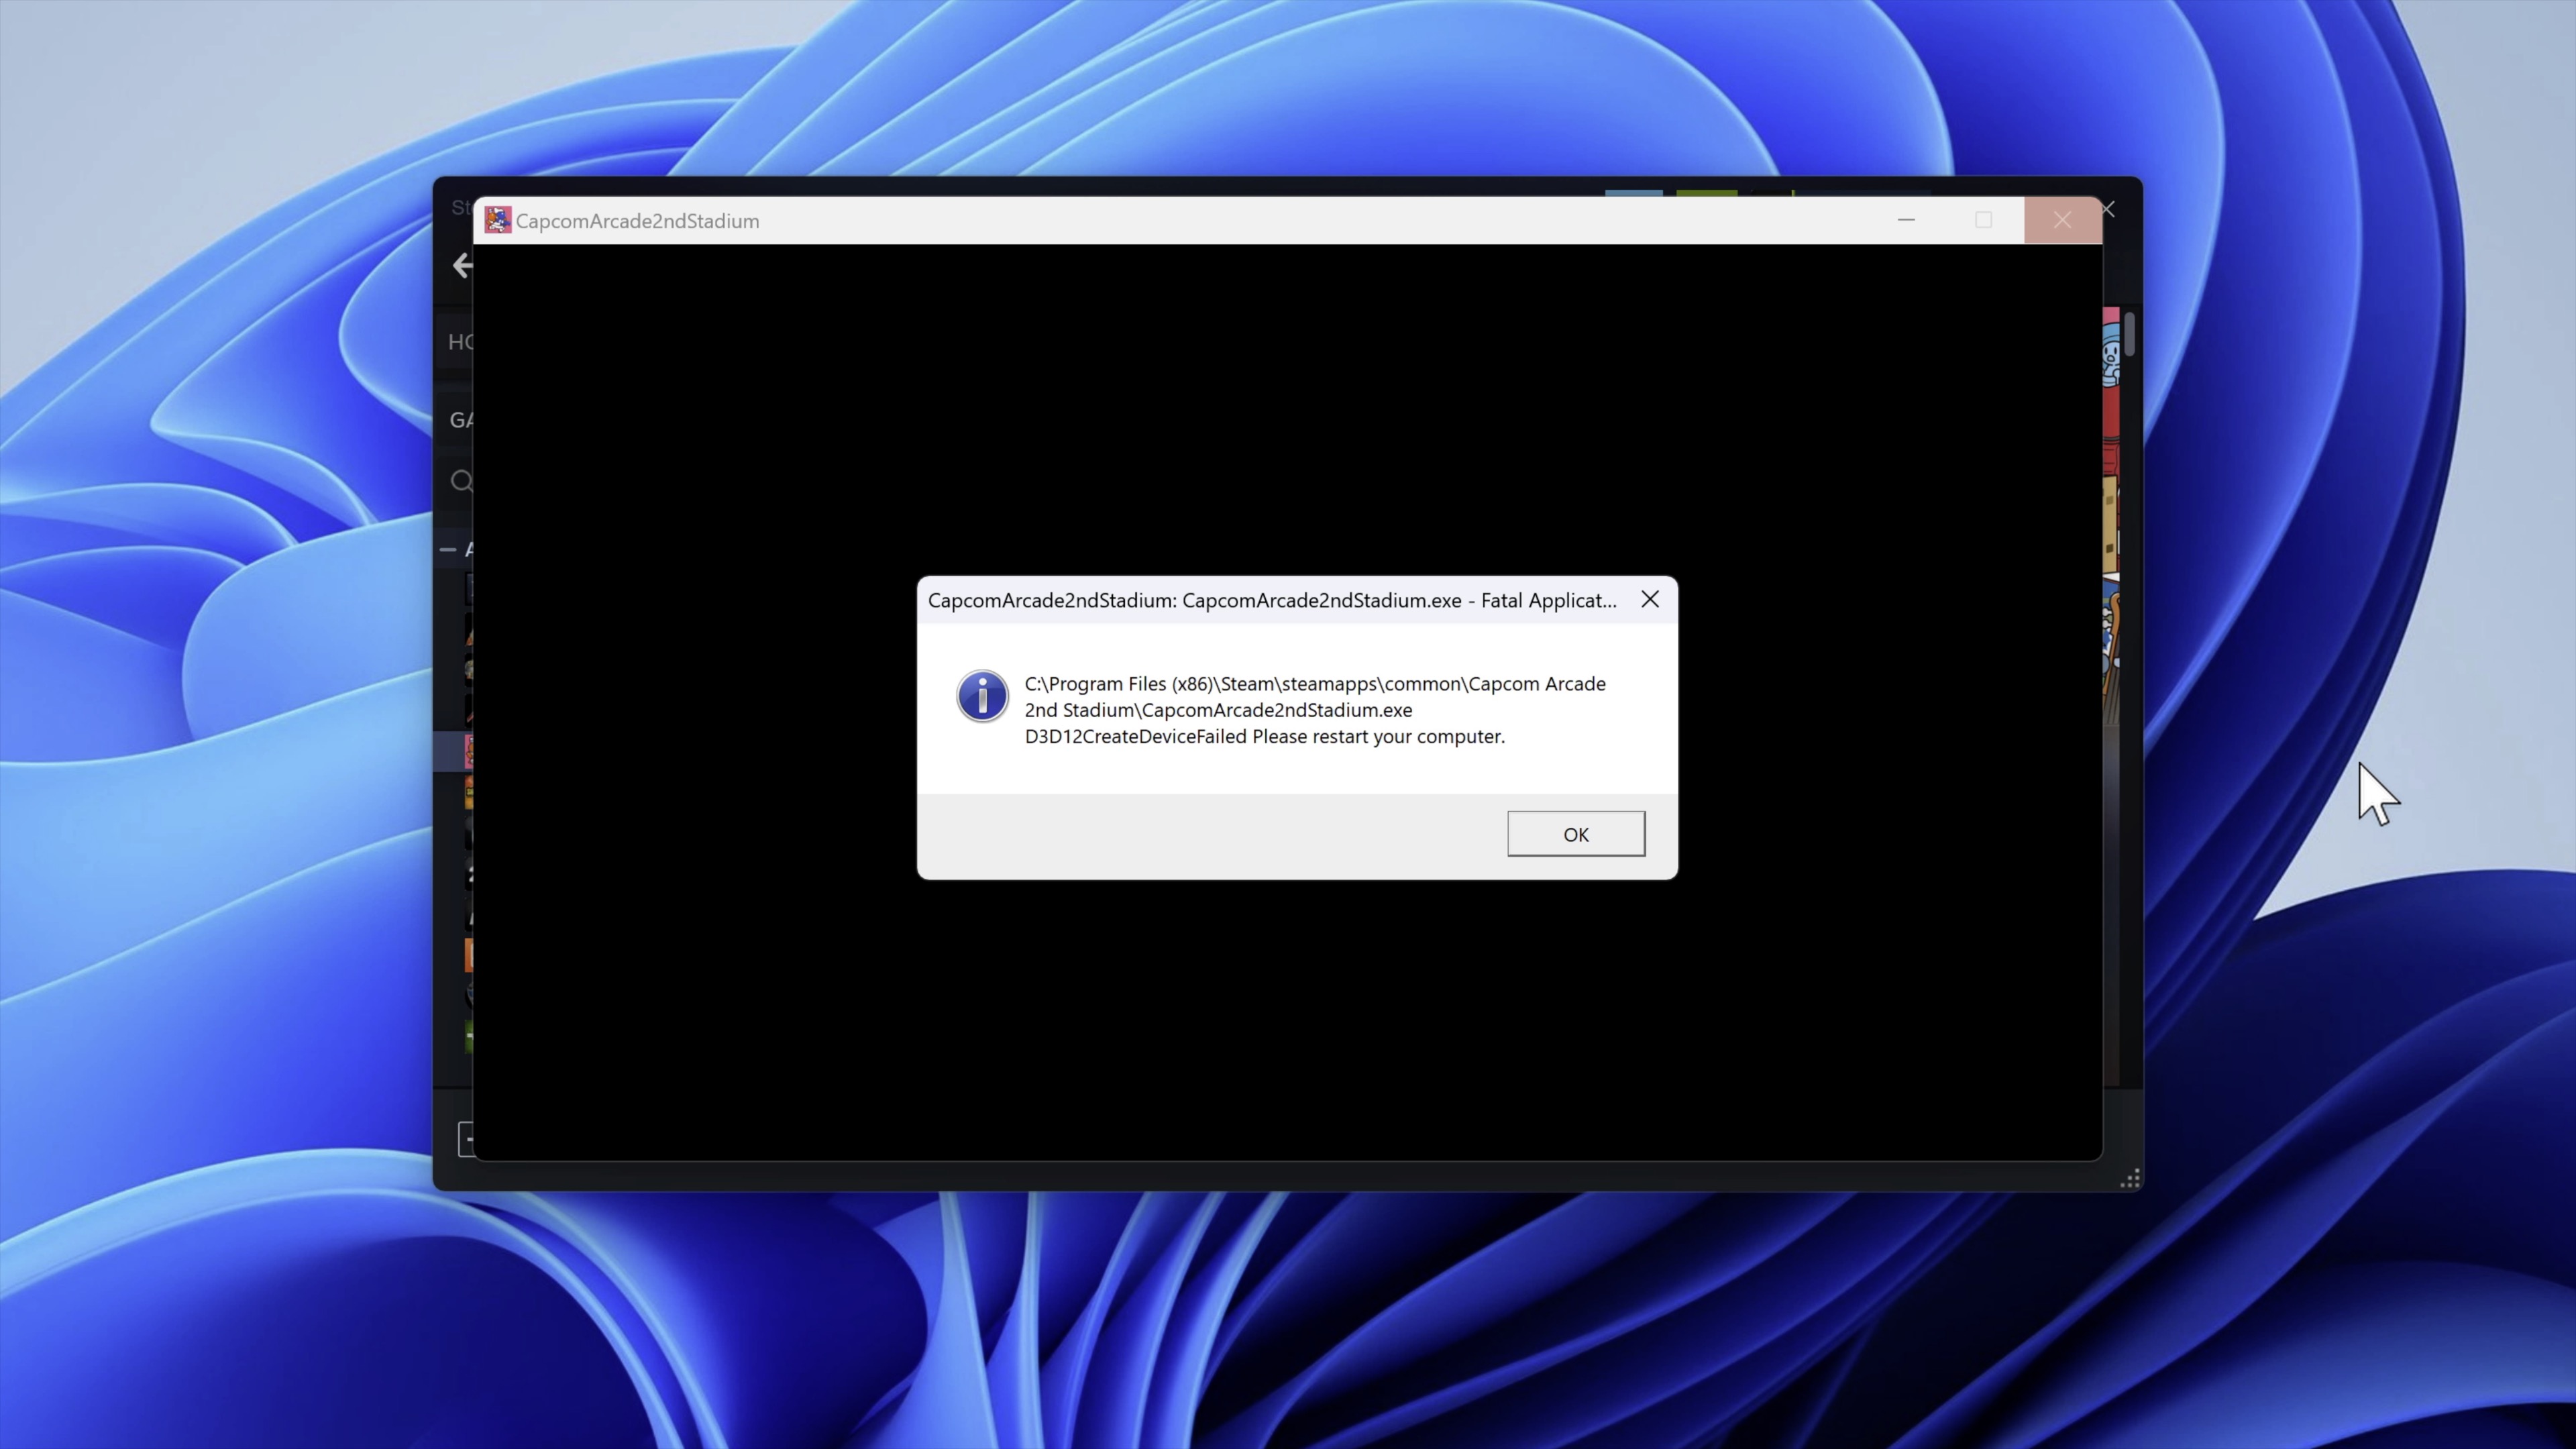


With that noted, many games play well on Windows 11 via Parallels. Be sure to check out the AppleGamingWiki, which is an excellent resource for finding how well games run using Parallels and other options. Frankly, I was a bit surprised by how many games have been designated as playable or even perfect.
Another thing that’s new with Parallels 18 is the automatic controller connection to Windows and Linux. Once you connect an Xbox or PlayStation DualShock Bluetooth game controller to your Mac, it’ll automatically be ready to go when you run Windows via Parallels.
Video walkthrough: How to run Windows 11 on Apple Silicon
Subscribe to 9to5mac on YouTube for more videos
Parallels Pro Edition = enhanced CPU and memory configs
Parallels Desktop for Mac Standard Edition for home and student use is available via a one-time purchase of $129.99 or via a yearly subscription of $99.99. The Standard Edition limits configurations to up to 8GB of vRAM and four vCPUs. If you’re just running the odd app that’s only available on Windows, the Standard Edition is fine, but depending on how you plan to use Windows, these restraints may pose a bottleneck on performance.
Unlike Intel-based Macs of the past, Apple Silicon features a unified memory architecture instead of dedicated graphics memory. The memory you dedicate to your Parallels VM will have a direct effect on graphics performance within your virtual machine.
Parallels virtual machines also use the GPU in the Apple Silicon package, but they don’t have direct GPU access. Instead, the VM interfaces with the Metal API.
Parallels notes that configuring half the total CPUs and half the total memory will provide optimal performance. So for a beast of a machine like the Mac Studio with M1 Ultra, that would be 10 CPU cores and up to 64GB (Note: Parallels only supports up to 62GB max memory on M1 Macs) of memory dedicated to the VM, numbers that far exceed the capability of the Standard Edition.
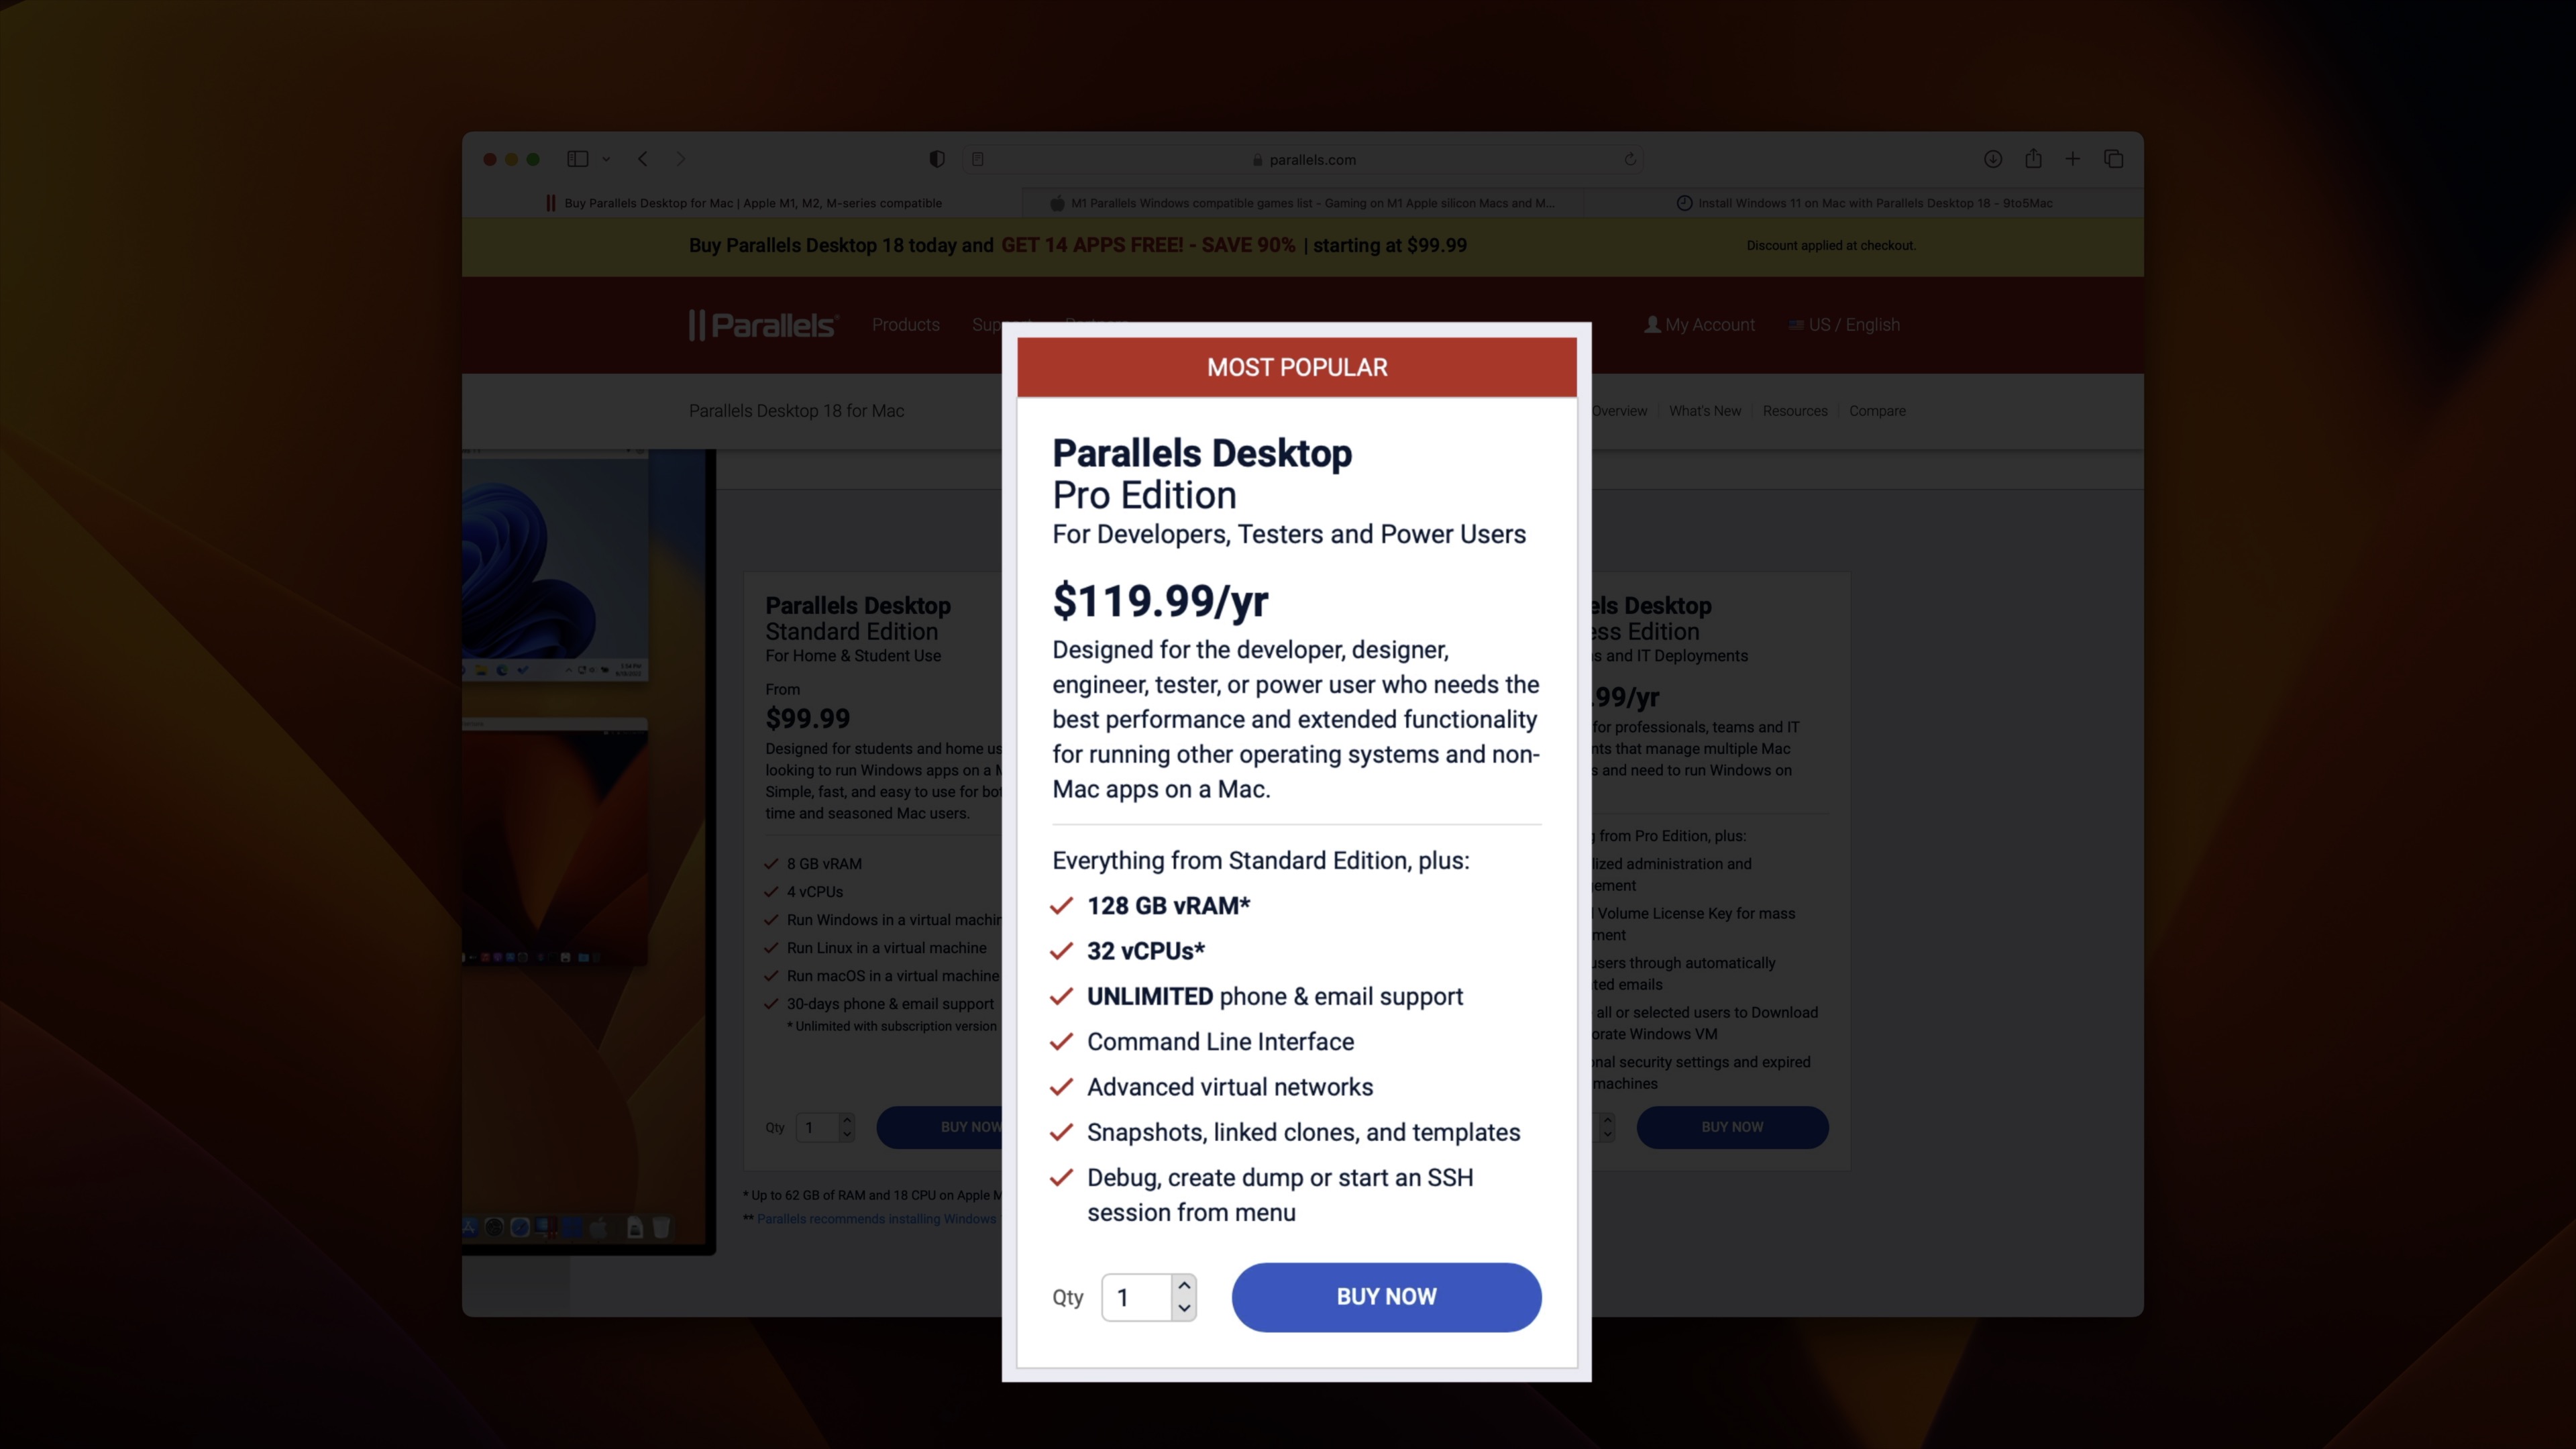
Power users and those who wish to use Parallels to game will want to opt for the Pro Edition, which costs $119.99 a year without a one-time purchase option. The Pro Edition includes support for up to 62GB of vRAM and up to 18 vCPUs on M1 chips, and there are additional benefits that you can view here.
Keep in mind that the cost of Parallels does not include a Windows 11 license, as these are two separate things. You can use Parallels to run other operating systems, though, including various Linux distros and even macOS.
How to install Windows 11 on Mac
Step 1: Download the Parallels Desktop for Mac installer, which comes with a free 14-day trial.
Step 2: Open your Downloads folder, and double-click the Install Parallels Desktop.dmg to mount the image.
Step 3: Double-click on Install Parallels Desktop and click Open.
Step 4: On the End User License Agreement pop-up, uncheck Participate in Customer Experience Program (optional) and click Accept. Parallels will now download and Install. You’ll be prompted to enter your administrator password to continue. Once you do, click OK.
Step 5: After briefly initializing, Parallels will start and immediately prompt you to download and install Windows 11. You can, of course, skip this step if you want to use another operating system or if you already have Windows installed, but this tutorial assumes that you want to install Windows 11. Click the blue Install Windows button in the bottom right-hand corner to continue.
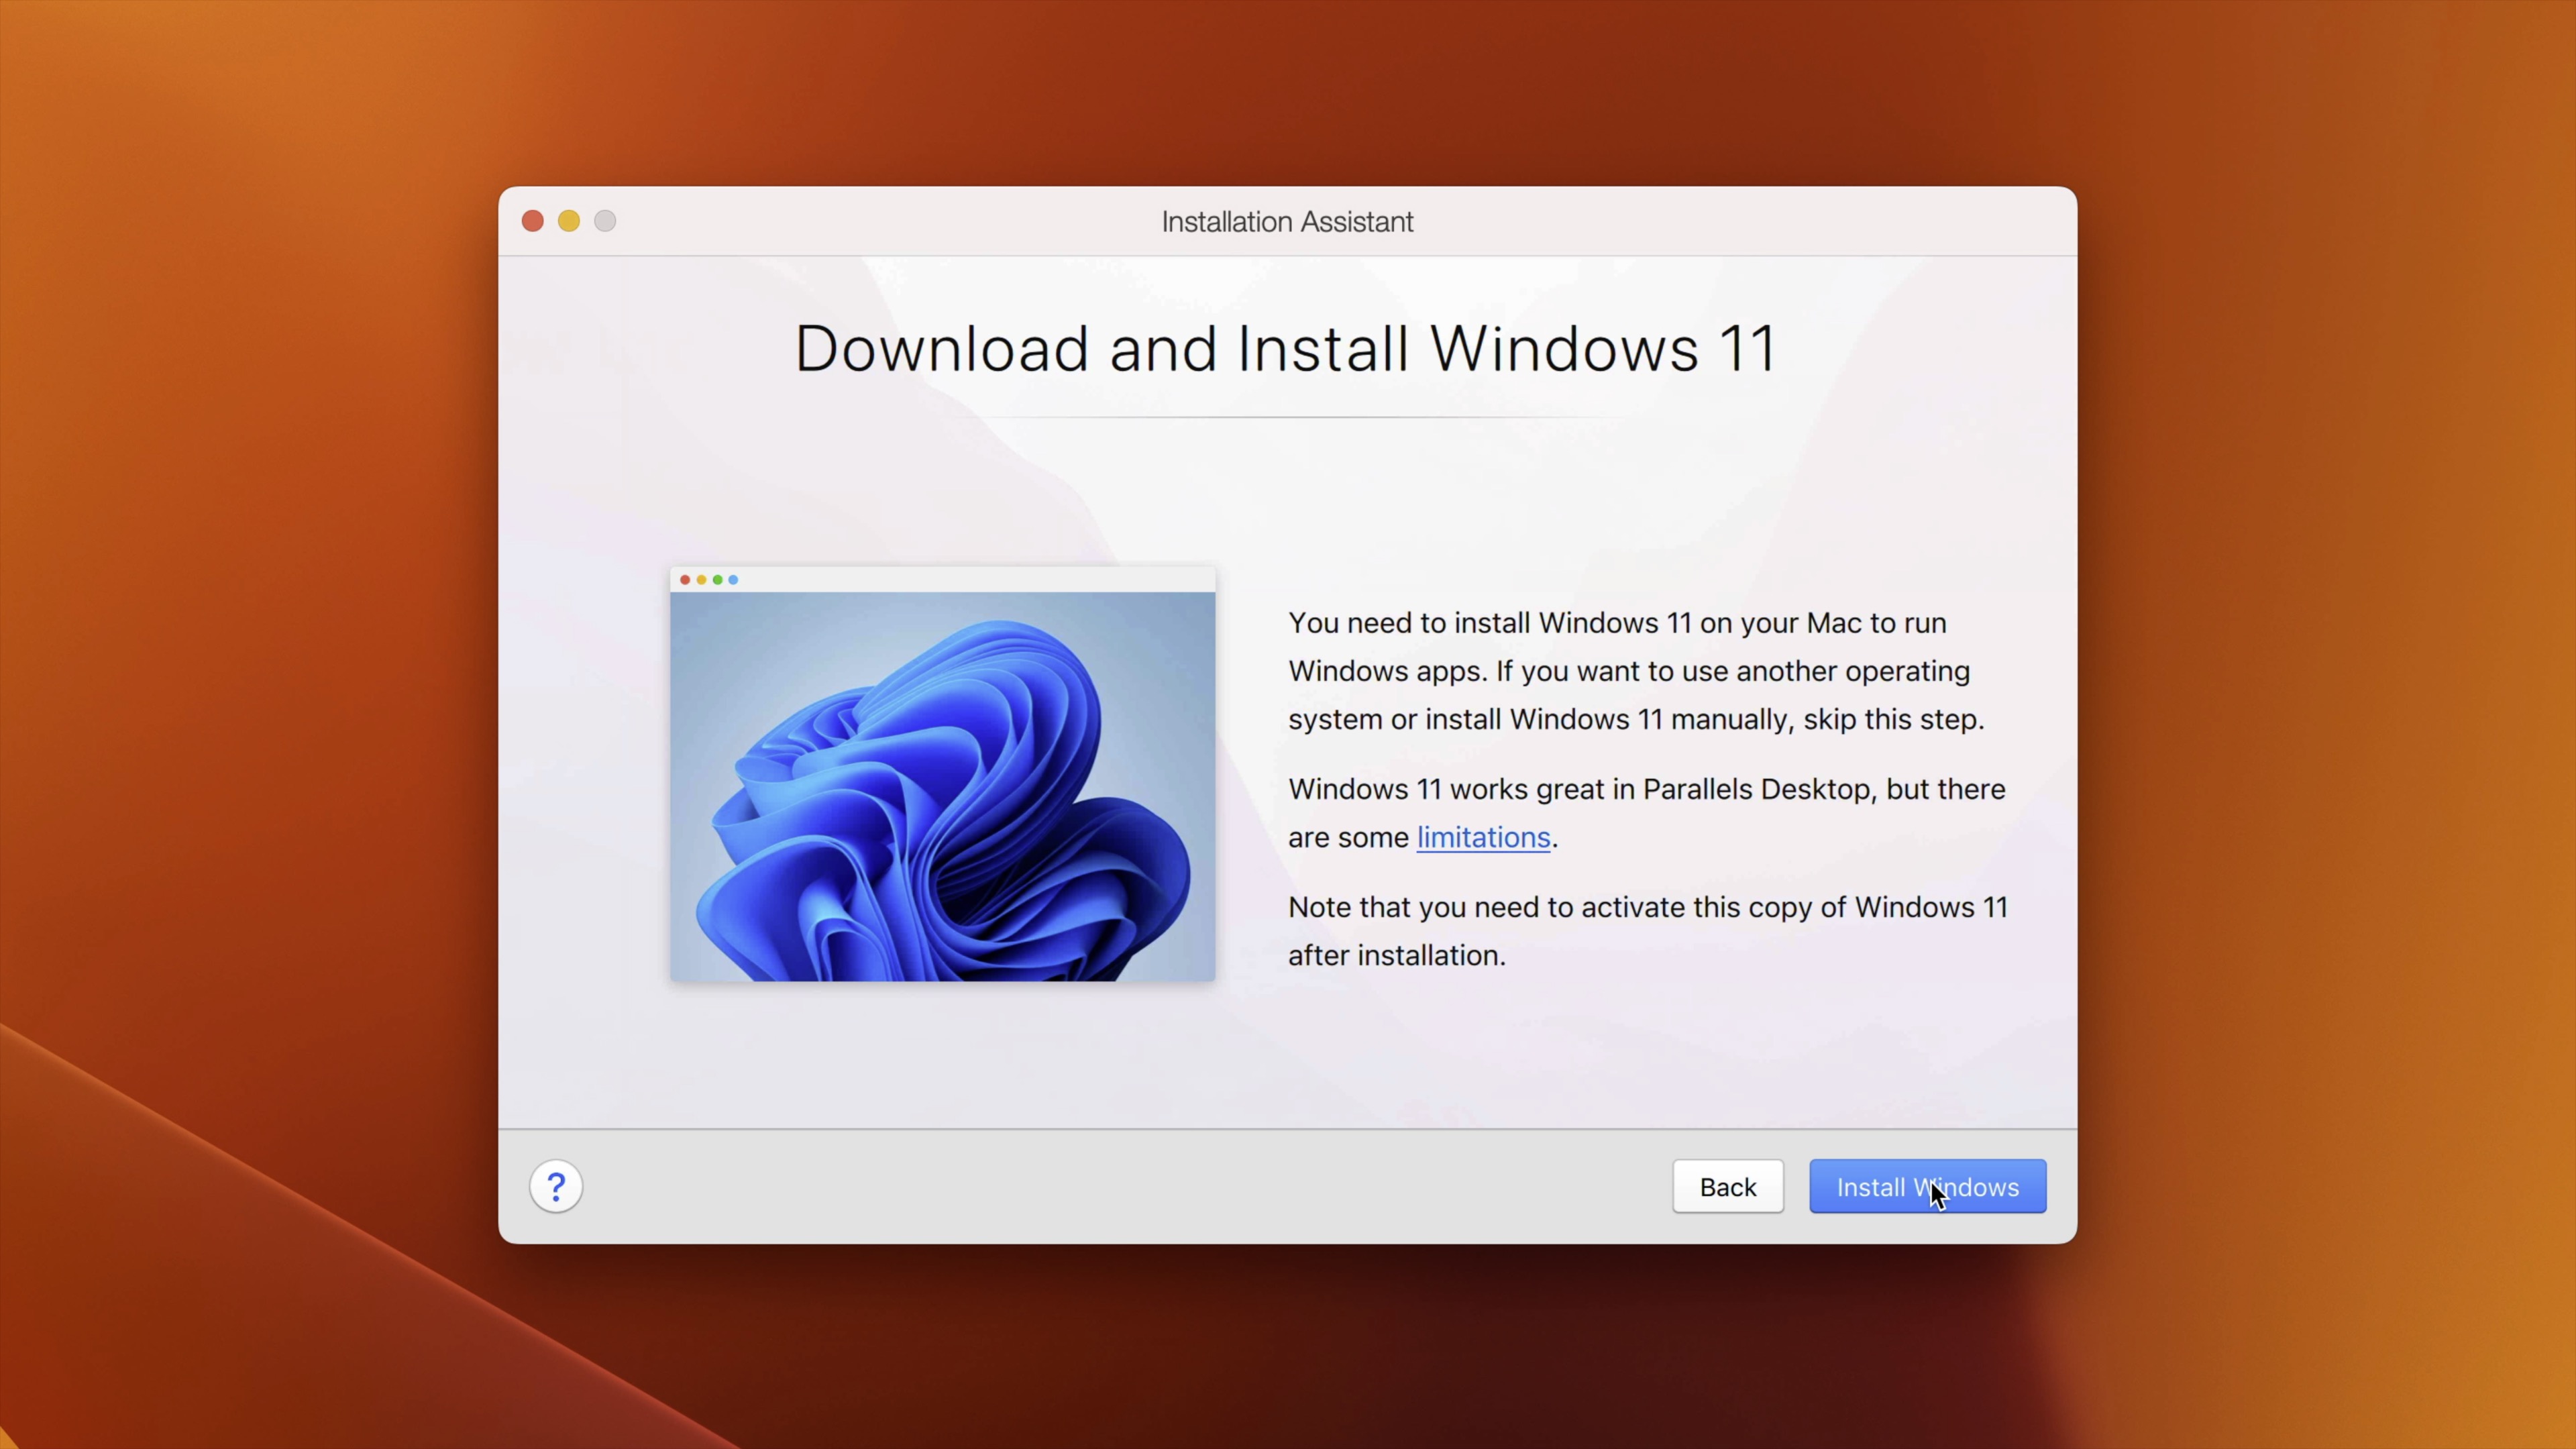
Step 6: The Installation Assistant will download Windows 11, and the validation and installation will begin automatically with no user interaction.
Step 7: You’ll next see the familiar Windows Setup screen where the actual installation takes place, copying Windows files, installing features and updates, and finishing the installation. After completion, Windows will automatically reboot.
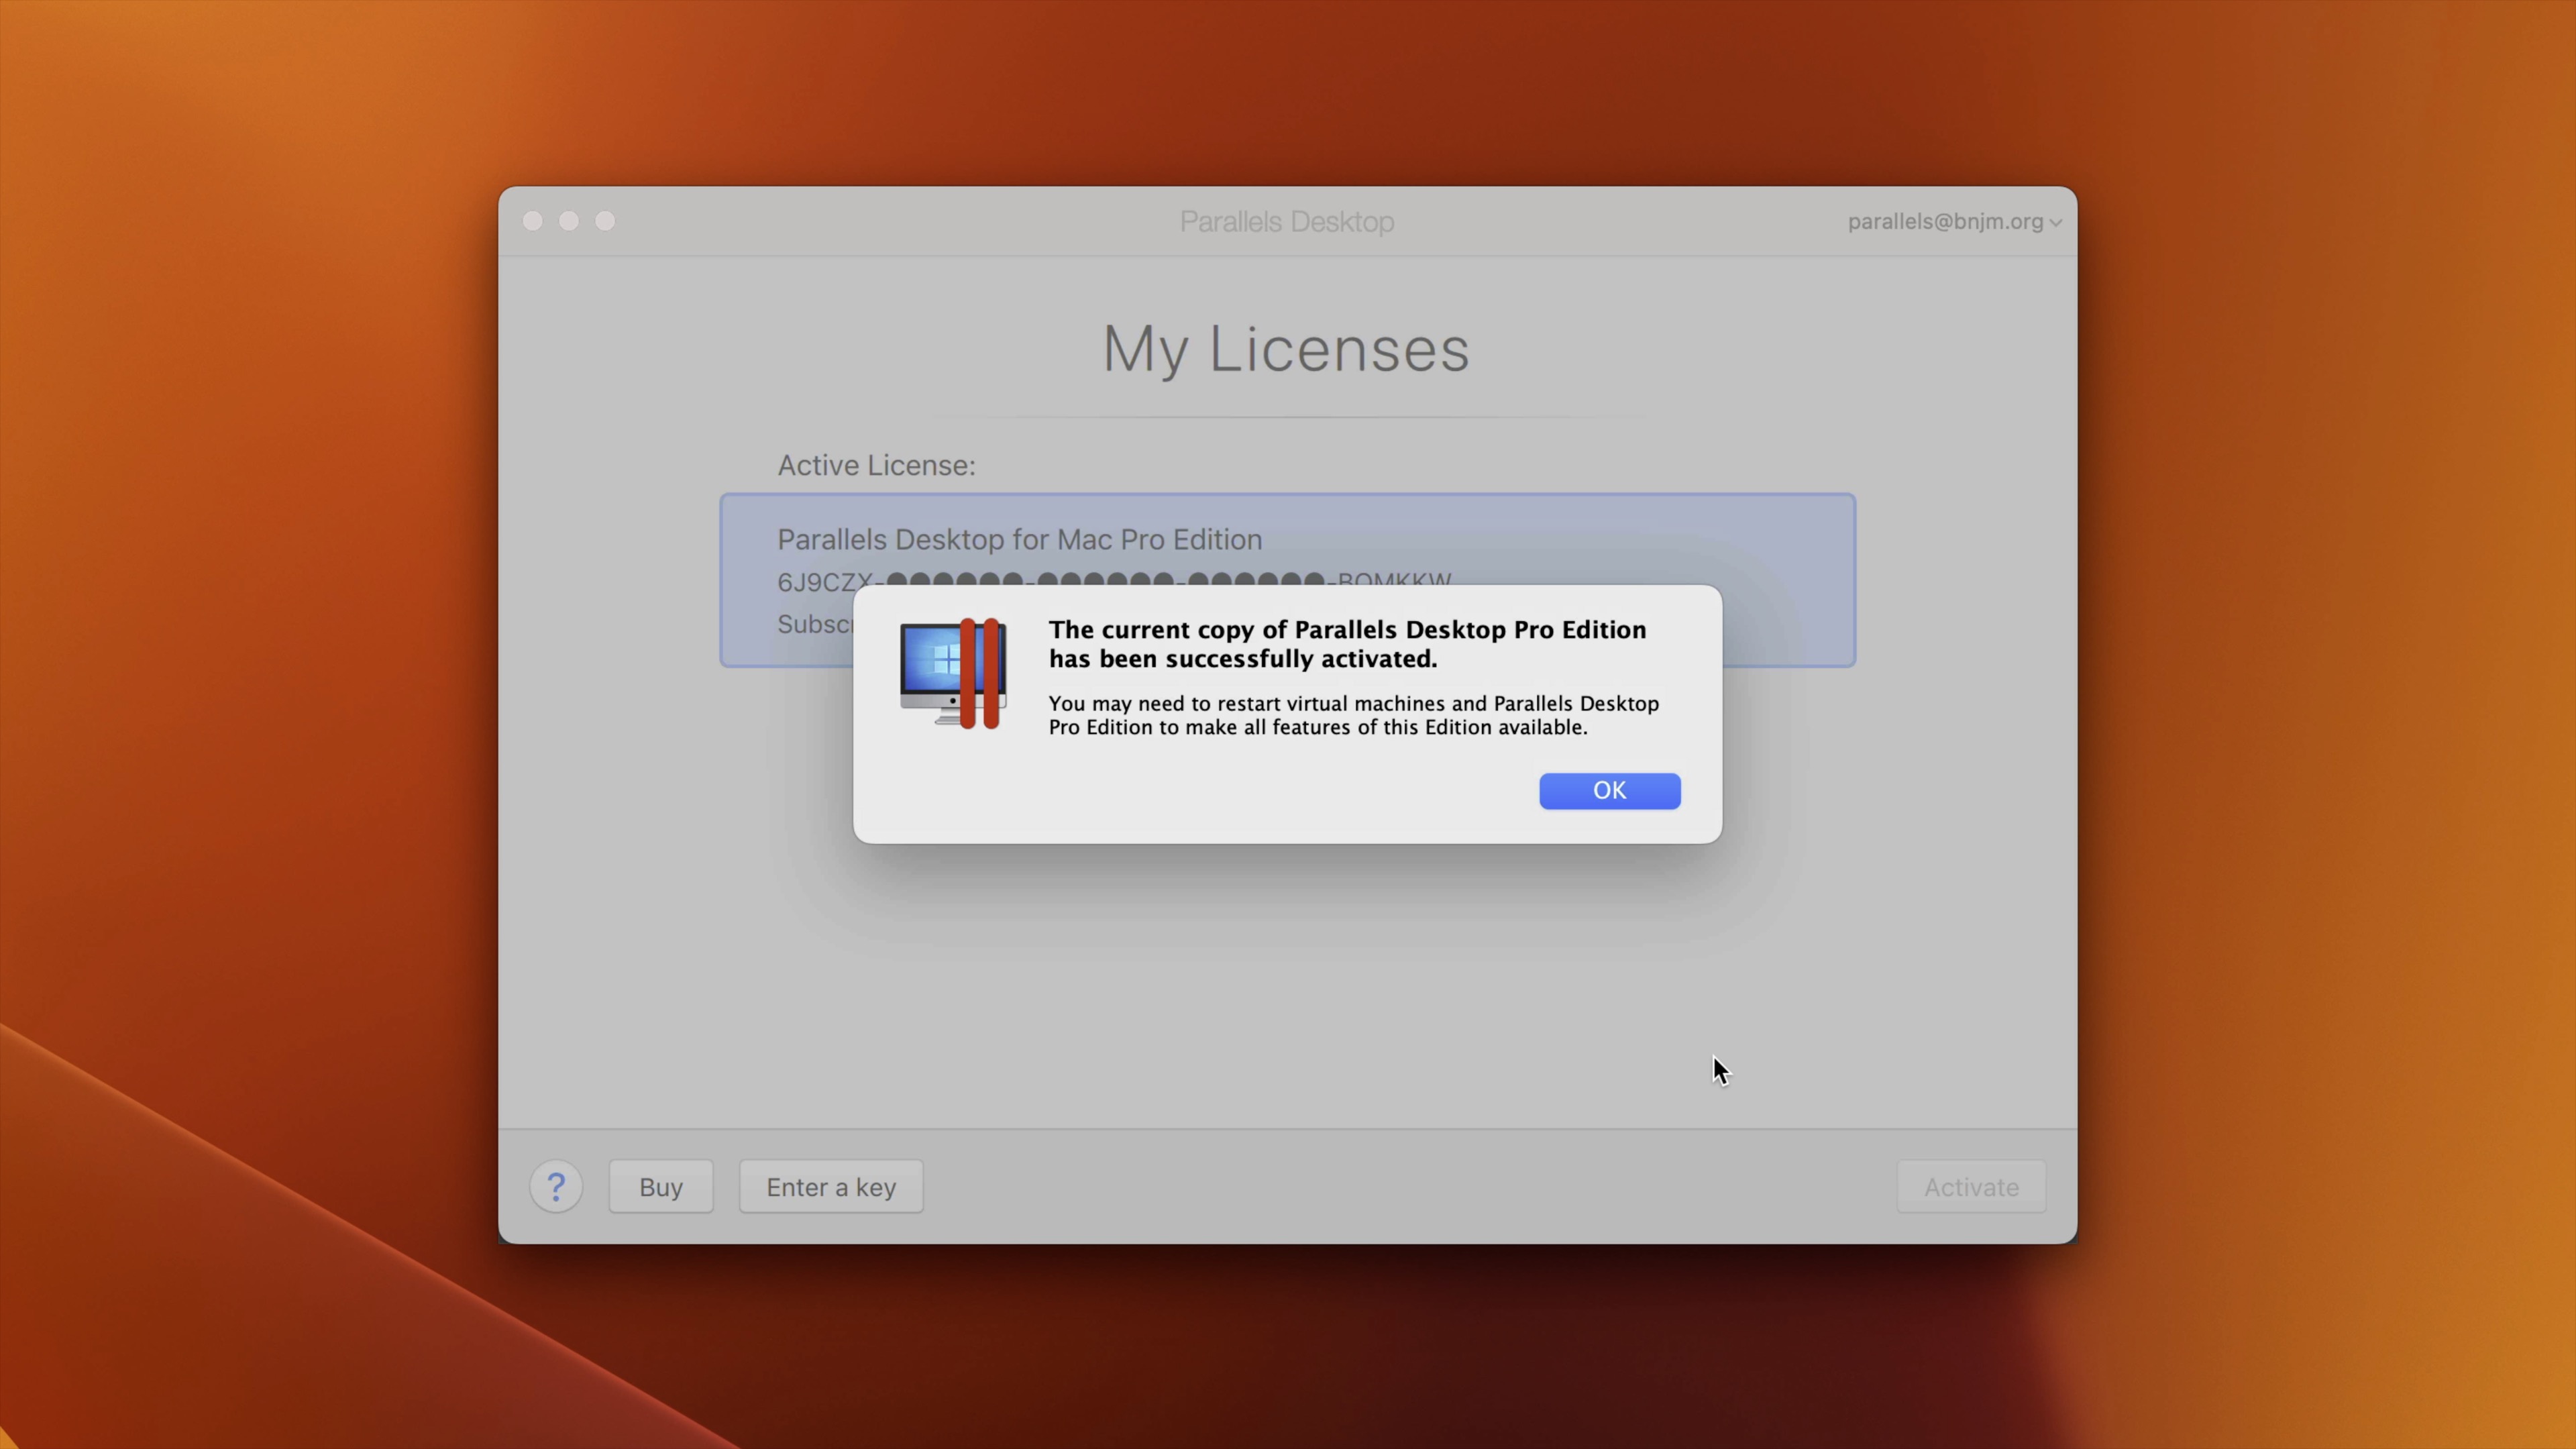
Step 8: After reboot, Windows will continue its setup process, and then you’ll see an “Installation Complete” message. If you haven’t logged into Parallels already, you’ll now be prompted to log in with your username and password. Afterward, you can enter your license key or select the radio button to initiate the free 14-day trial. Parallels only provides users with one trial per Mac, so after the trial ends, you’ll need to purchase a license to continue using it. If you enter a license key, click Activate in the bottom right-hand corner to activate your license.
Step 9: Read the Windows License Agreement that appears and click Accept in the bottom right-hand corner to continue.
Step 10: Next, you’ll see a Microsoft Edge browser window open to a Parallels.com welcome screen that explains some of the basics of using Windows 11 with Parallels. Close the browser by clicking the X in the upper right-hand corner, and you’ll see the Windows desktop.
Step 11: Click the Start menu → Settings → Windows Update and check for, download, and install the latest updates. You’ll be prompted to restart Windows once the updates have been downloaded.
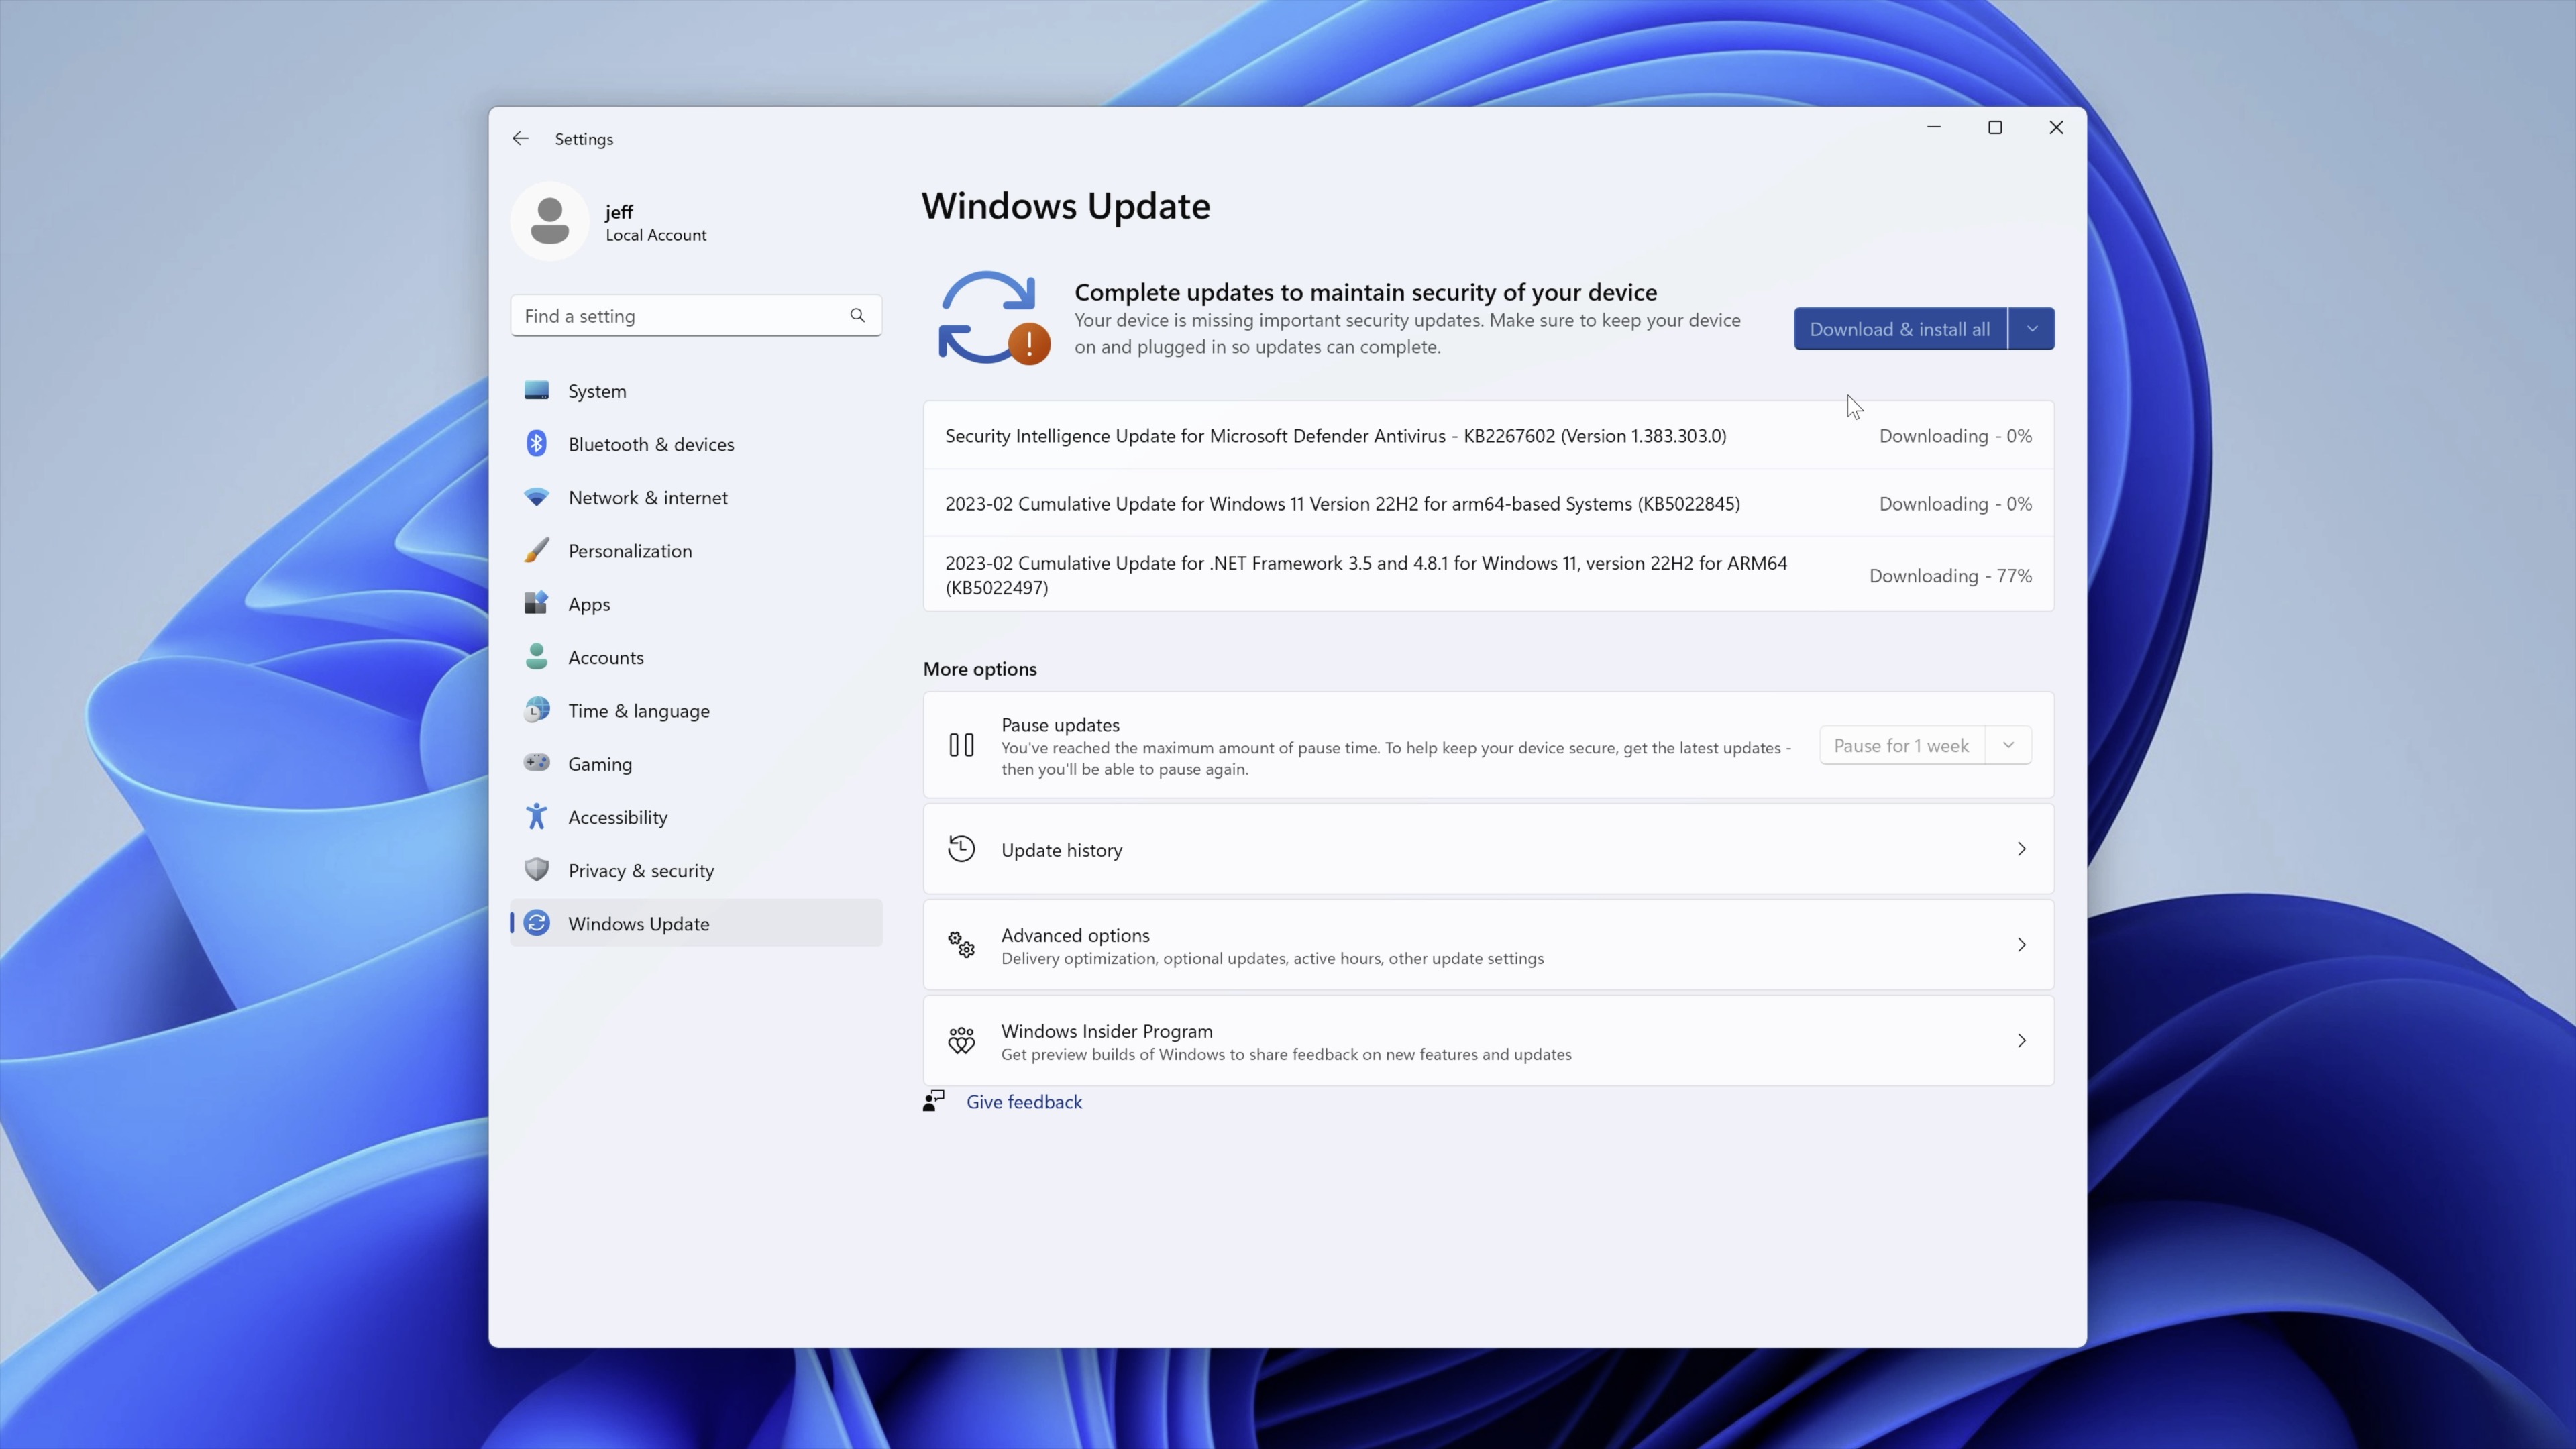
Congratulations! You now have a working copy of Windows 11 on your Mac. You may now proceed to download and install your favorite apps and games.
Performance configuration
To configure performance or change vCPU and vRAM configuration, shut down your virtual machine and click Actions → Configure in the menu bar.
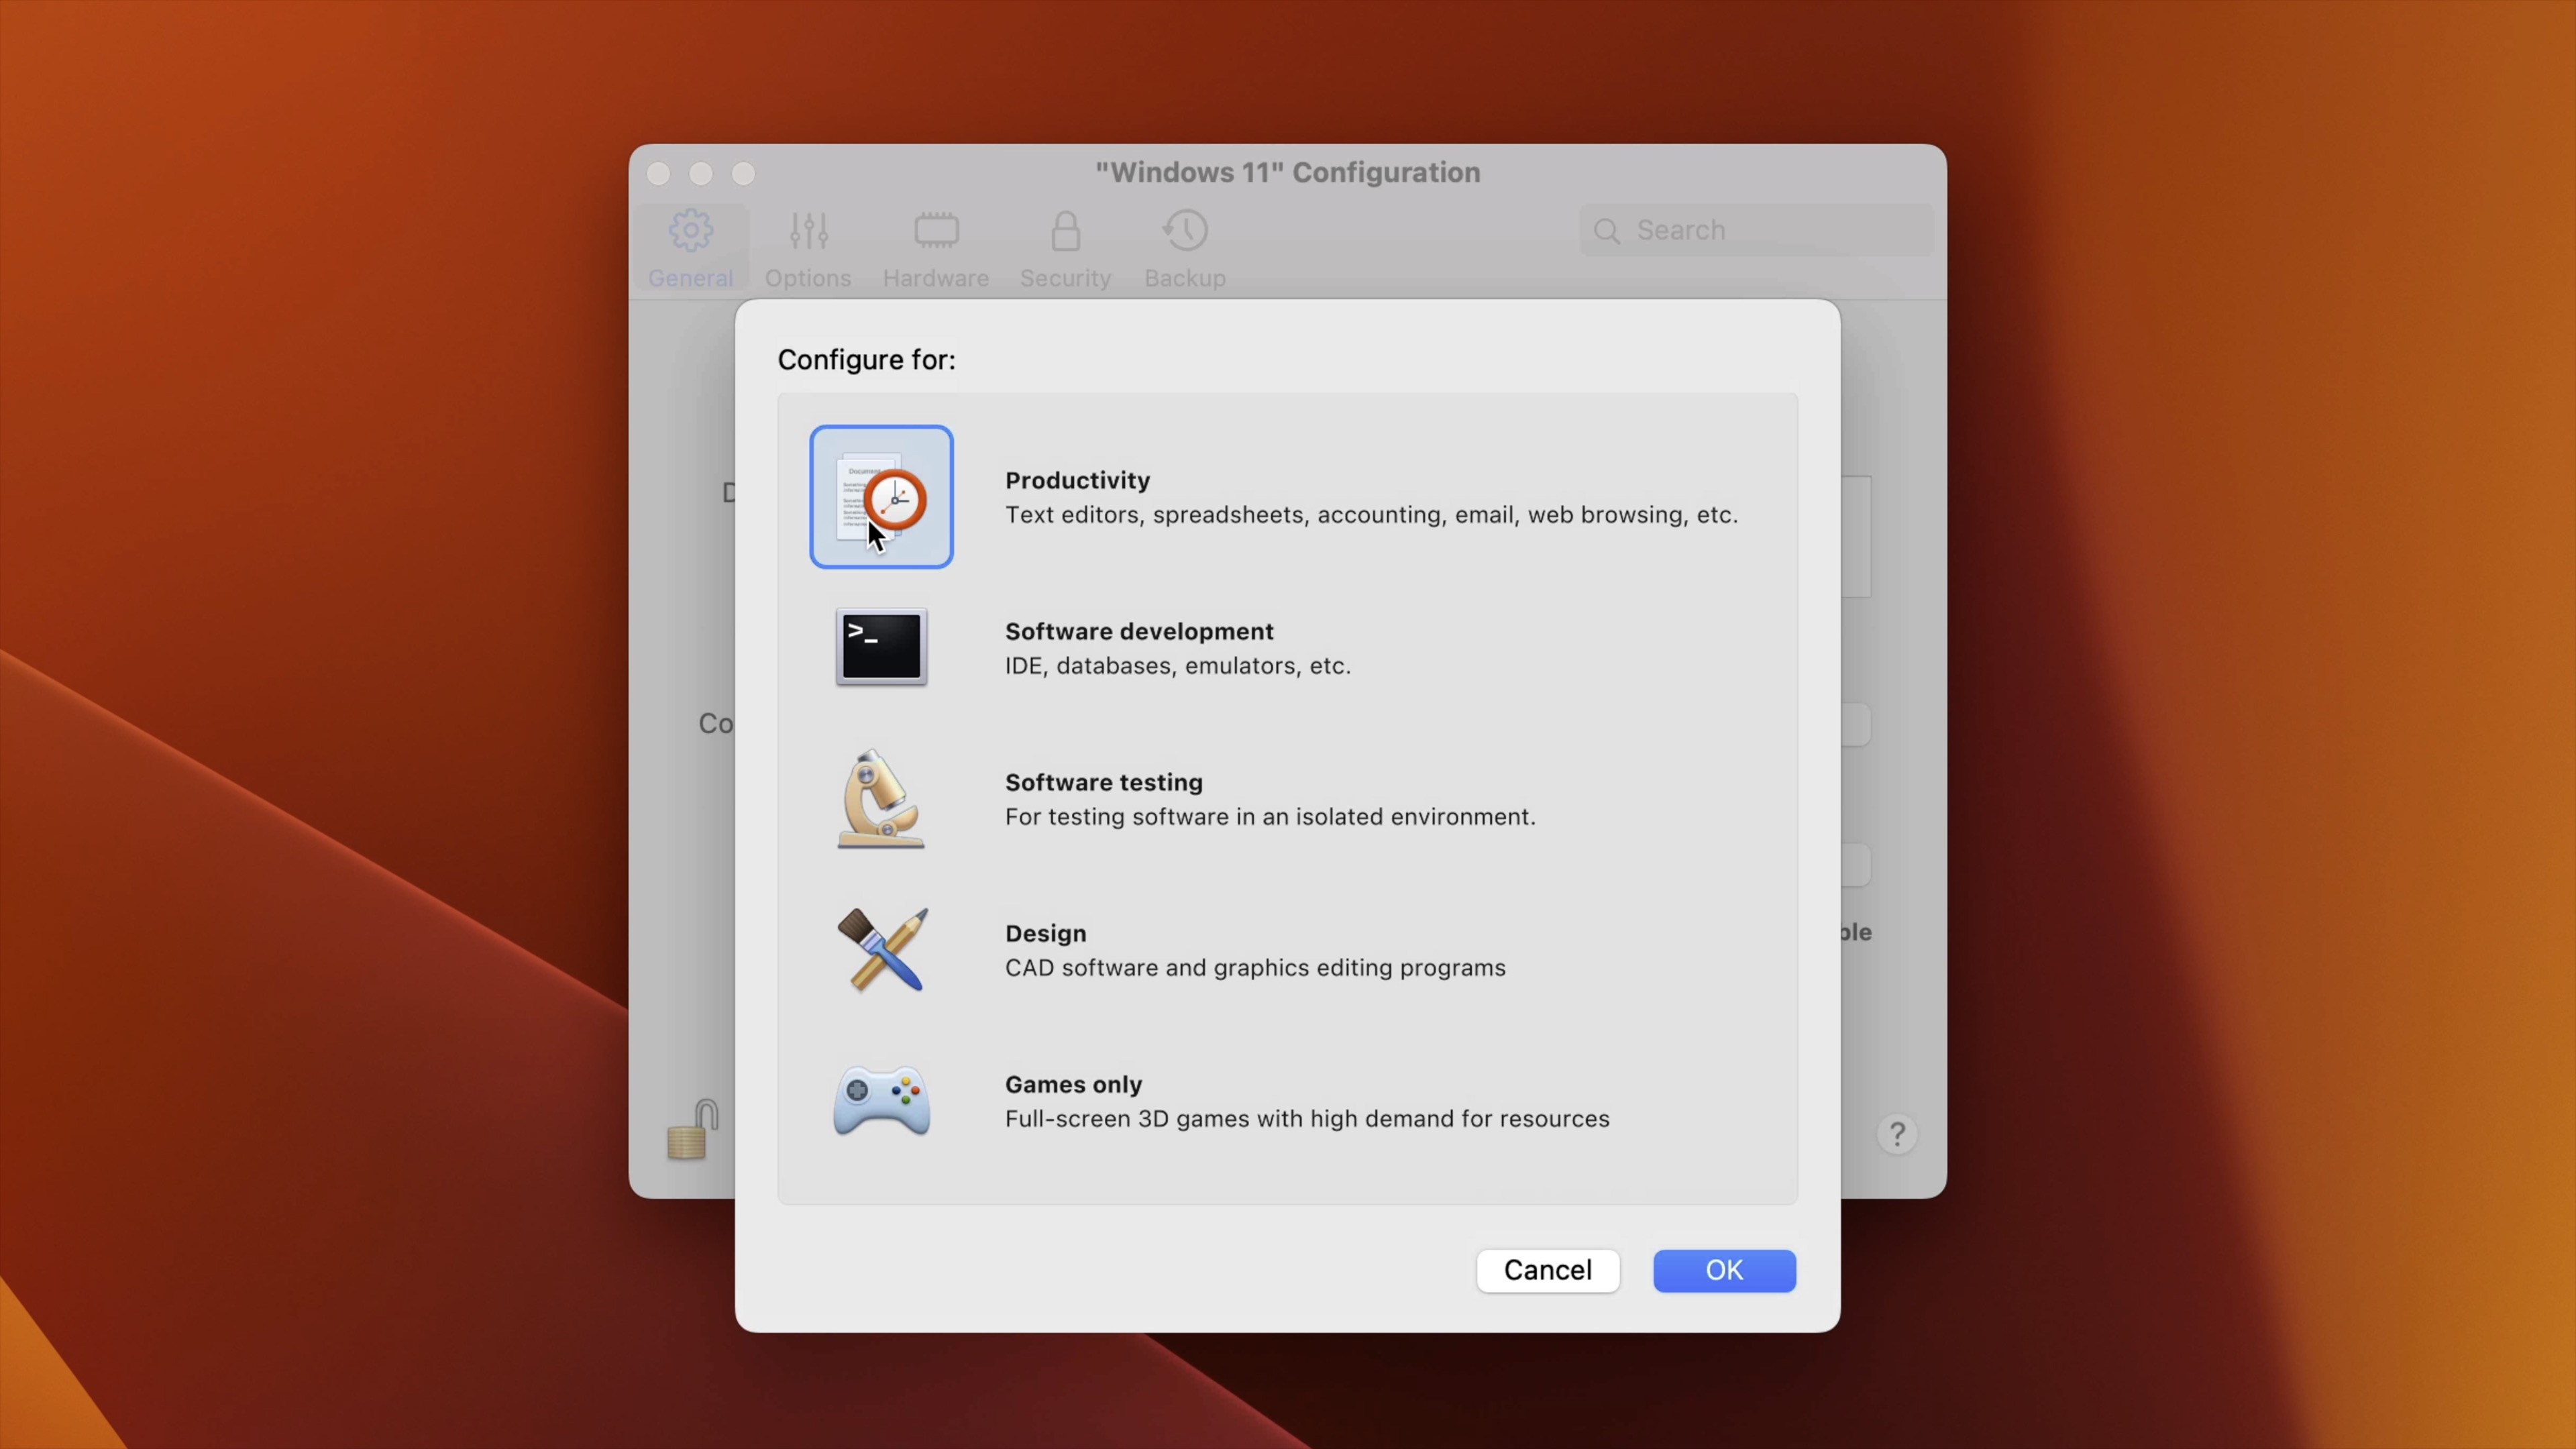
Under the General tab, you’ll see a “Configure for” option. Click the Change button, and you can select between various canned profiles. Selecting the “Games only” profile will configure Parallels’ automatic mode to allocate more resources to the VM for gaming.
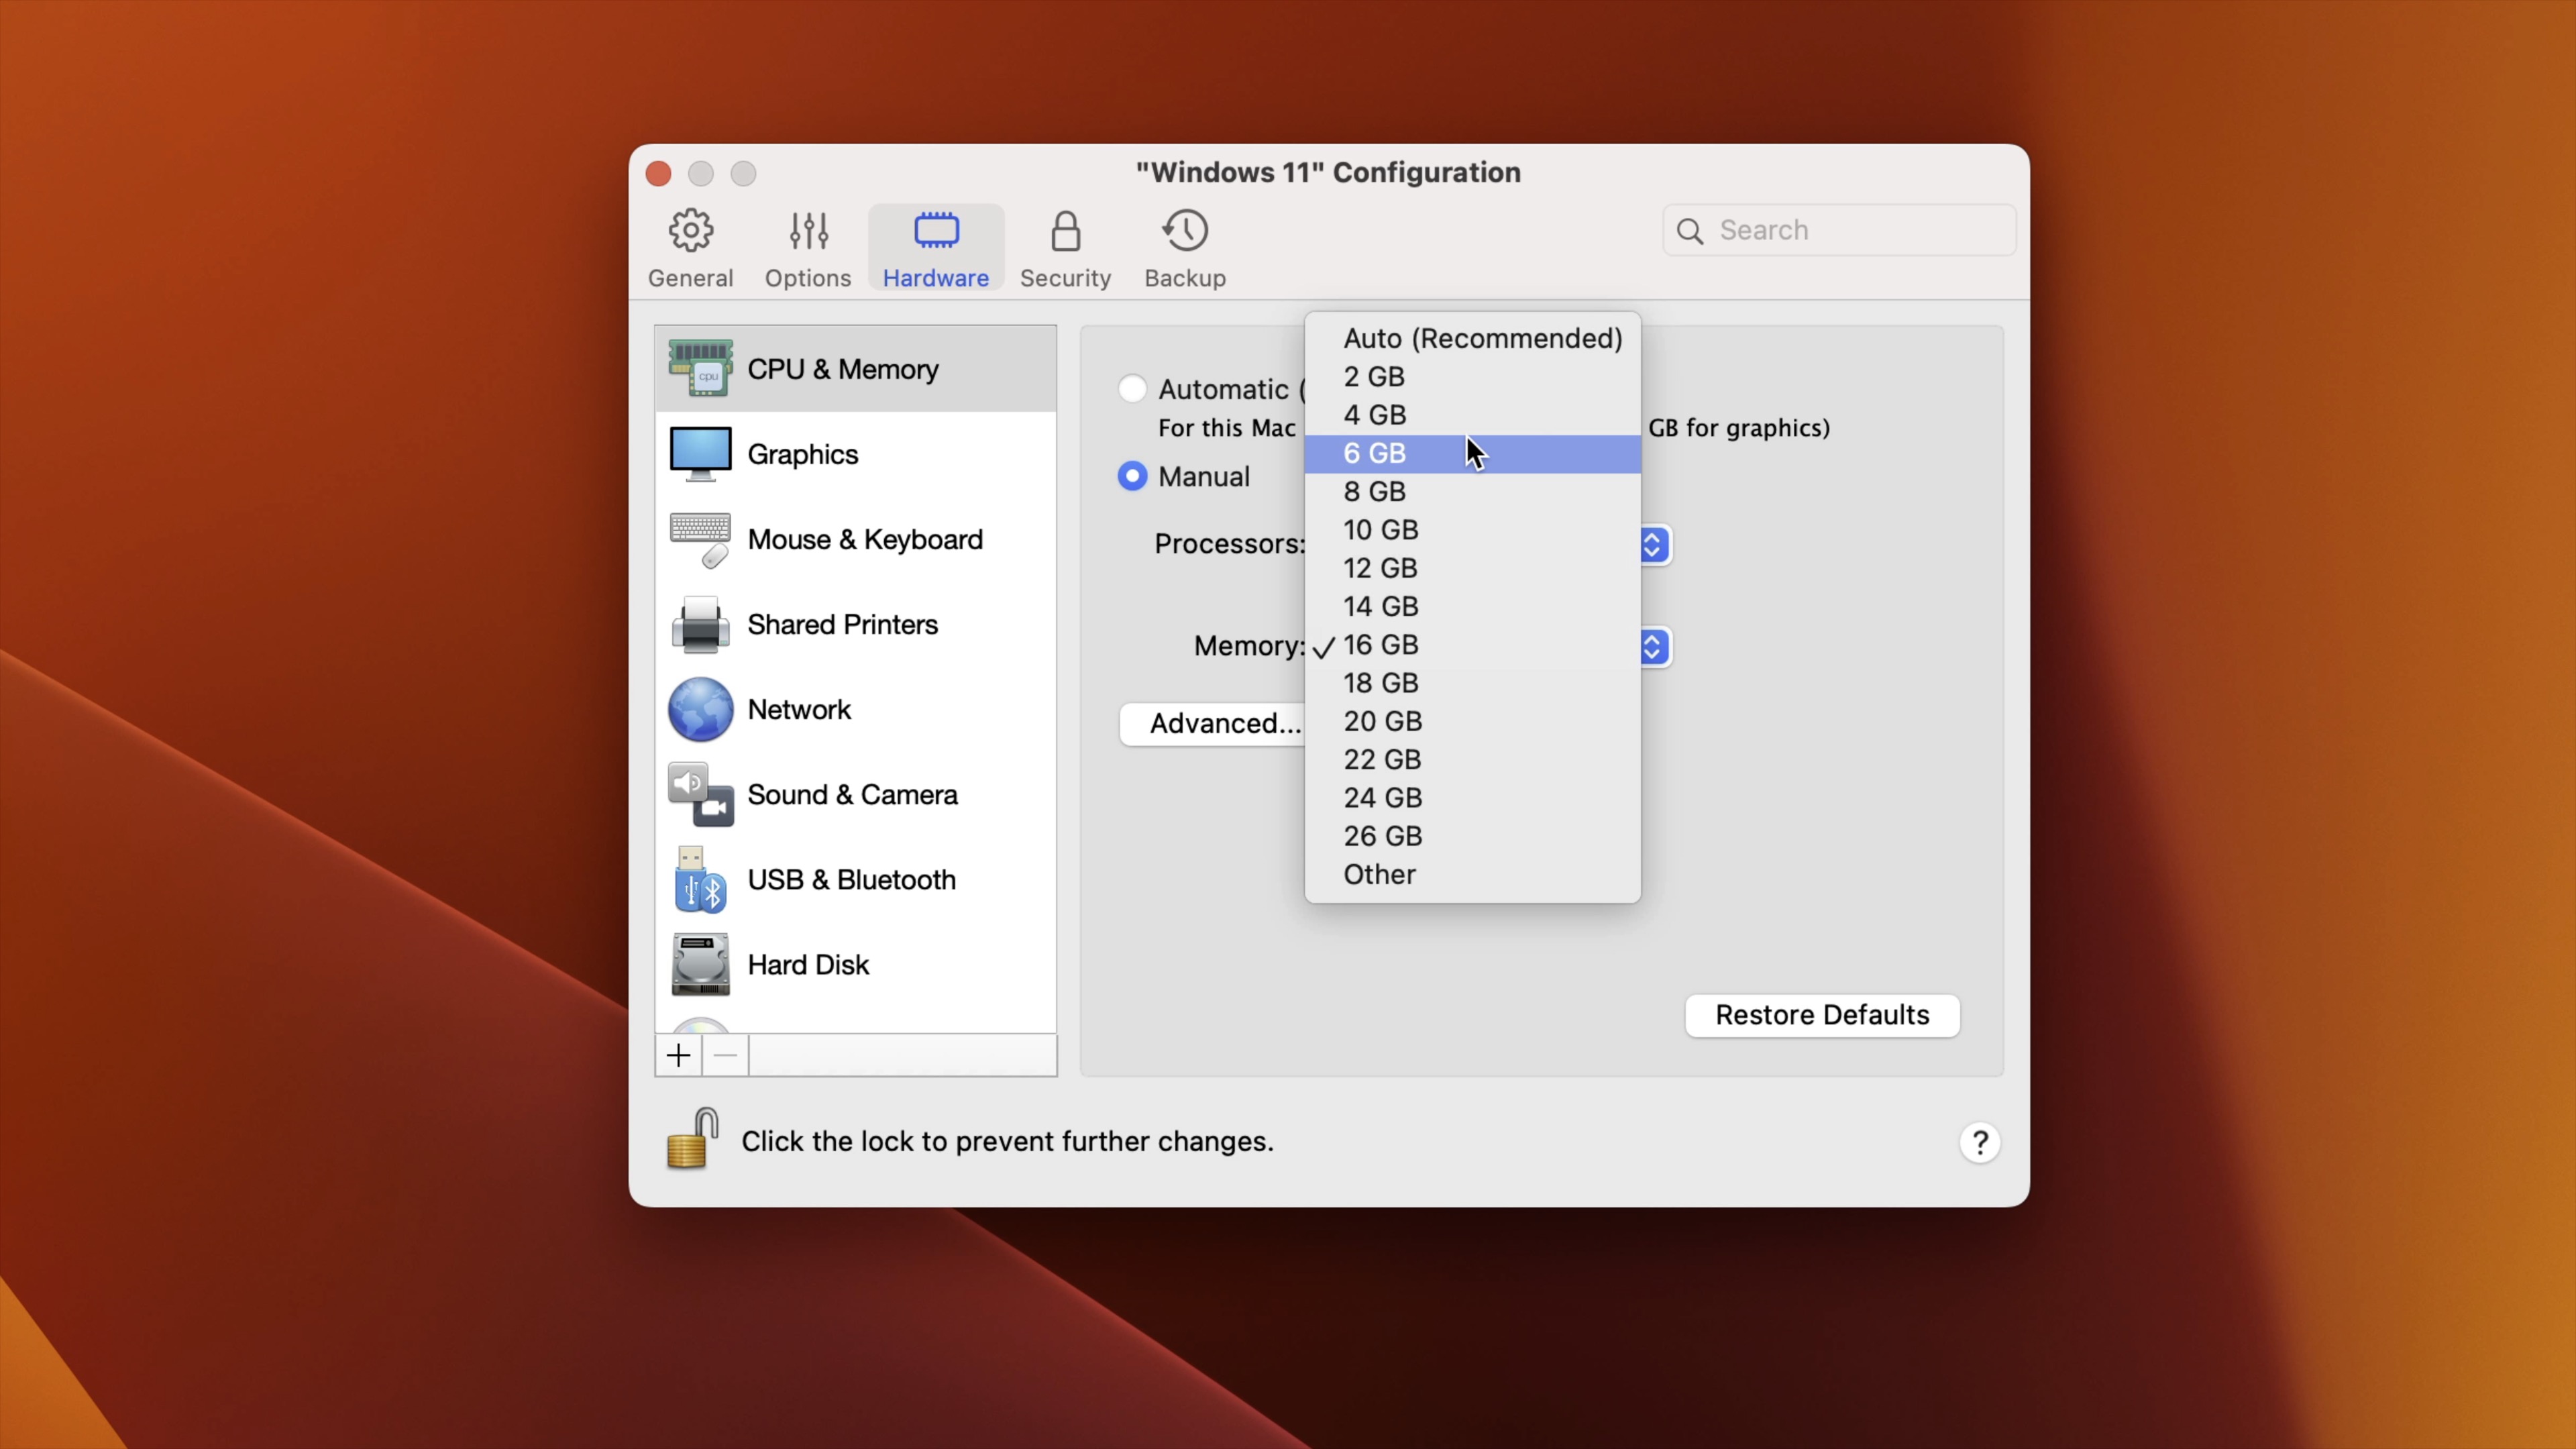
You can manually configure these resources by clicking the Hardware tab and selecting CPU & Memory. There you can choose the manual mode and configure resources to your liking.
Coherence vs. full-screen mode
By default, Windows 11 is quarantined within its own desktop, and all apps that run in Windows reside in that partitioned-off space. The nice thing about this is that when running Parallels in full-screen mode, you can use swipe gestures to switch between macOS and Windows environments.
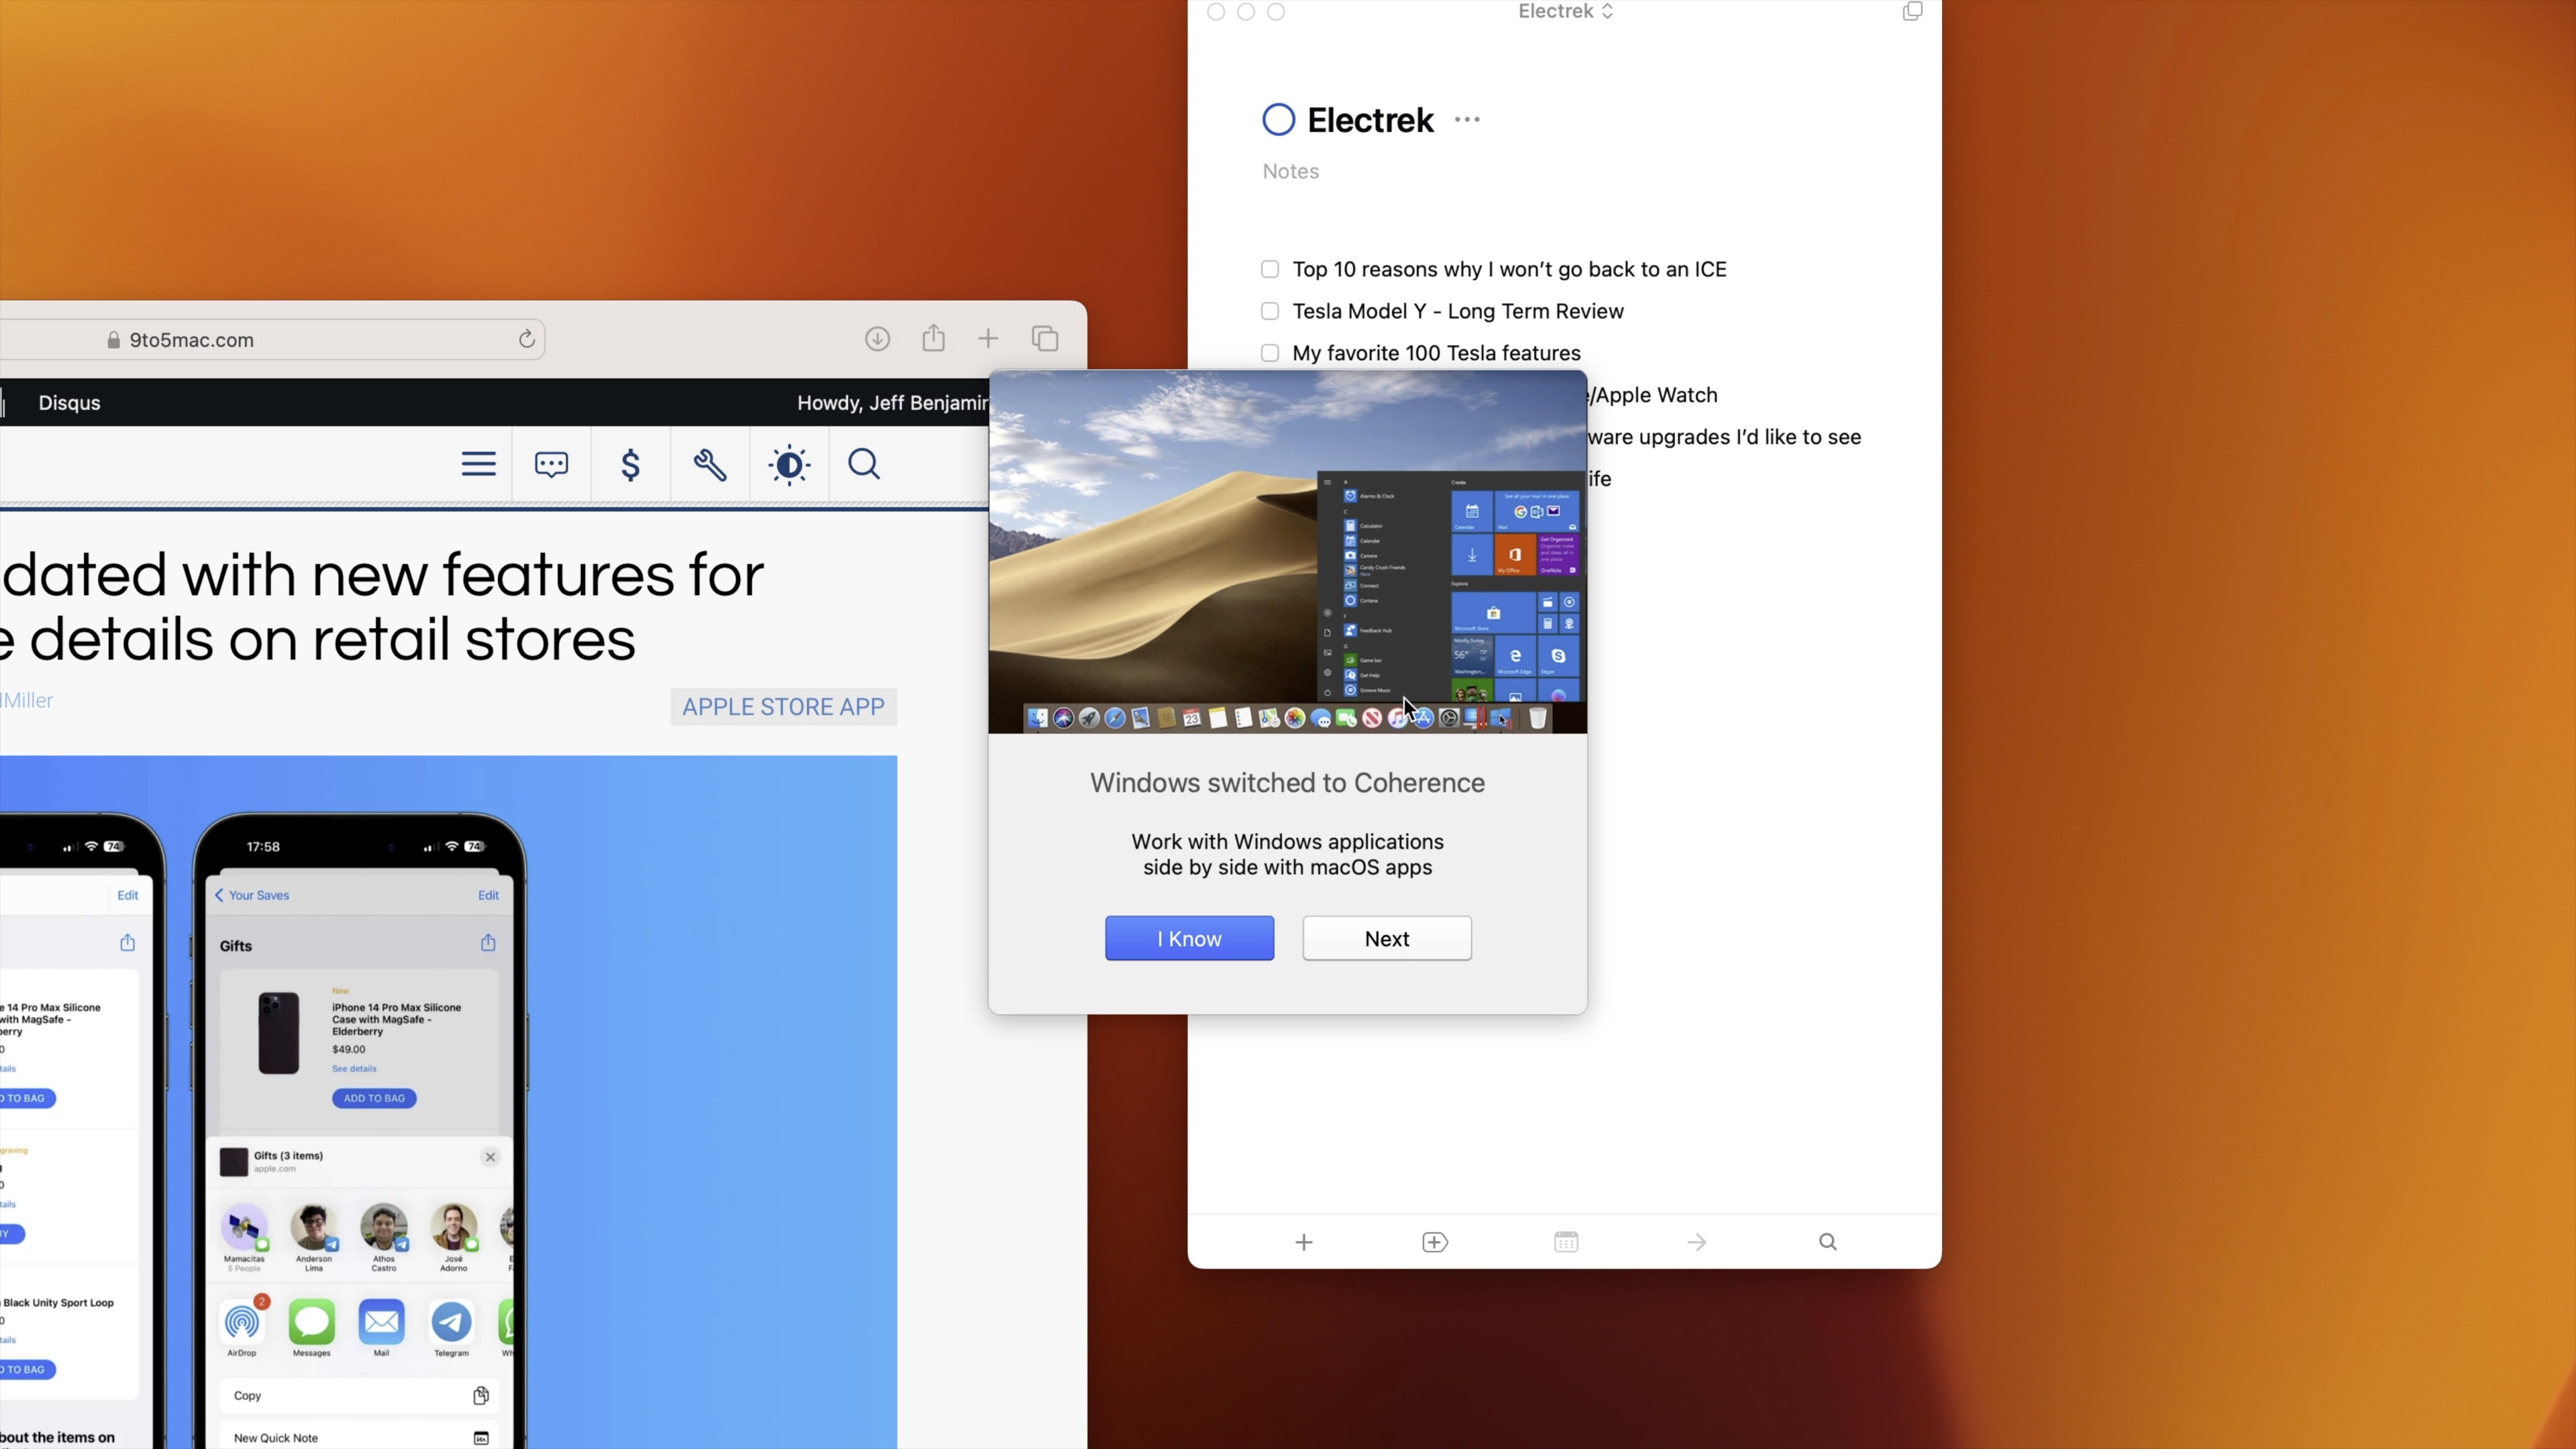
Coherence mode breaks that barrier down and makes it so that Windows and macOS applications appear side-by-side in macOS, with the Windows 11 desktop hidden. When Coherence mode is active, you’ll be able to interface with the Windows Start Menu directly from the macOS dock, launching apps and using them alongside your macOS apps.
Additional details
Parallels downloads a Windows 11 for ARM ISO to your ~/Downloads folder in macOS. You may opt to delete this ISO since Windows is already installed, or you can store it away for future use. If you look at the end of the video embedded above, you’ll see one potential fun use case that I plan to explore in the future here at 9to5mac.
The Windows VM is located in ~/Parallels in macOS. Inside, you’ll see a container with the name of your virtual machine. Everything you install on Windows is stored in this location inside a virtual hard disk. All of the Windows data utilizes your Mac’s storage, so if you download large files or install games that take up a lot of space within the Windows environment, this will directly affect the amount of remaining storage on your Mac.
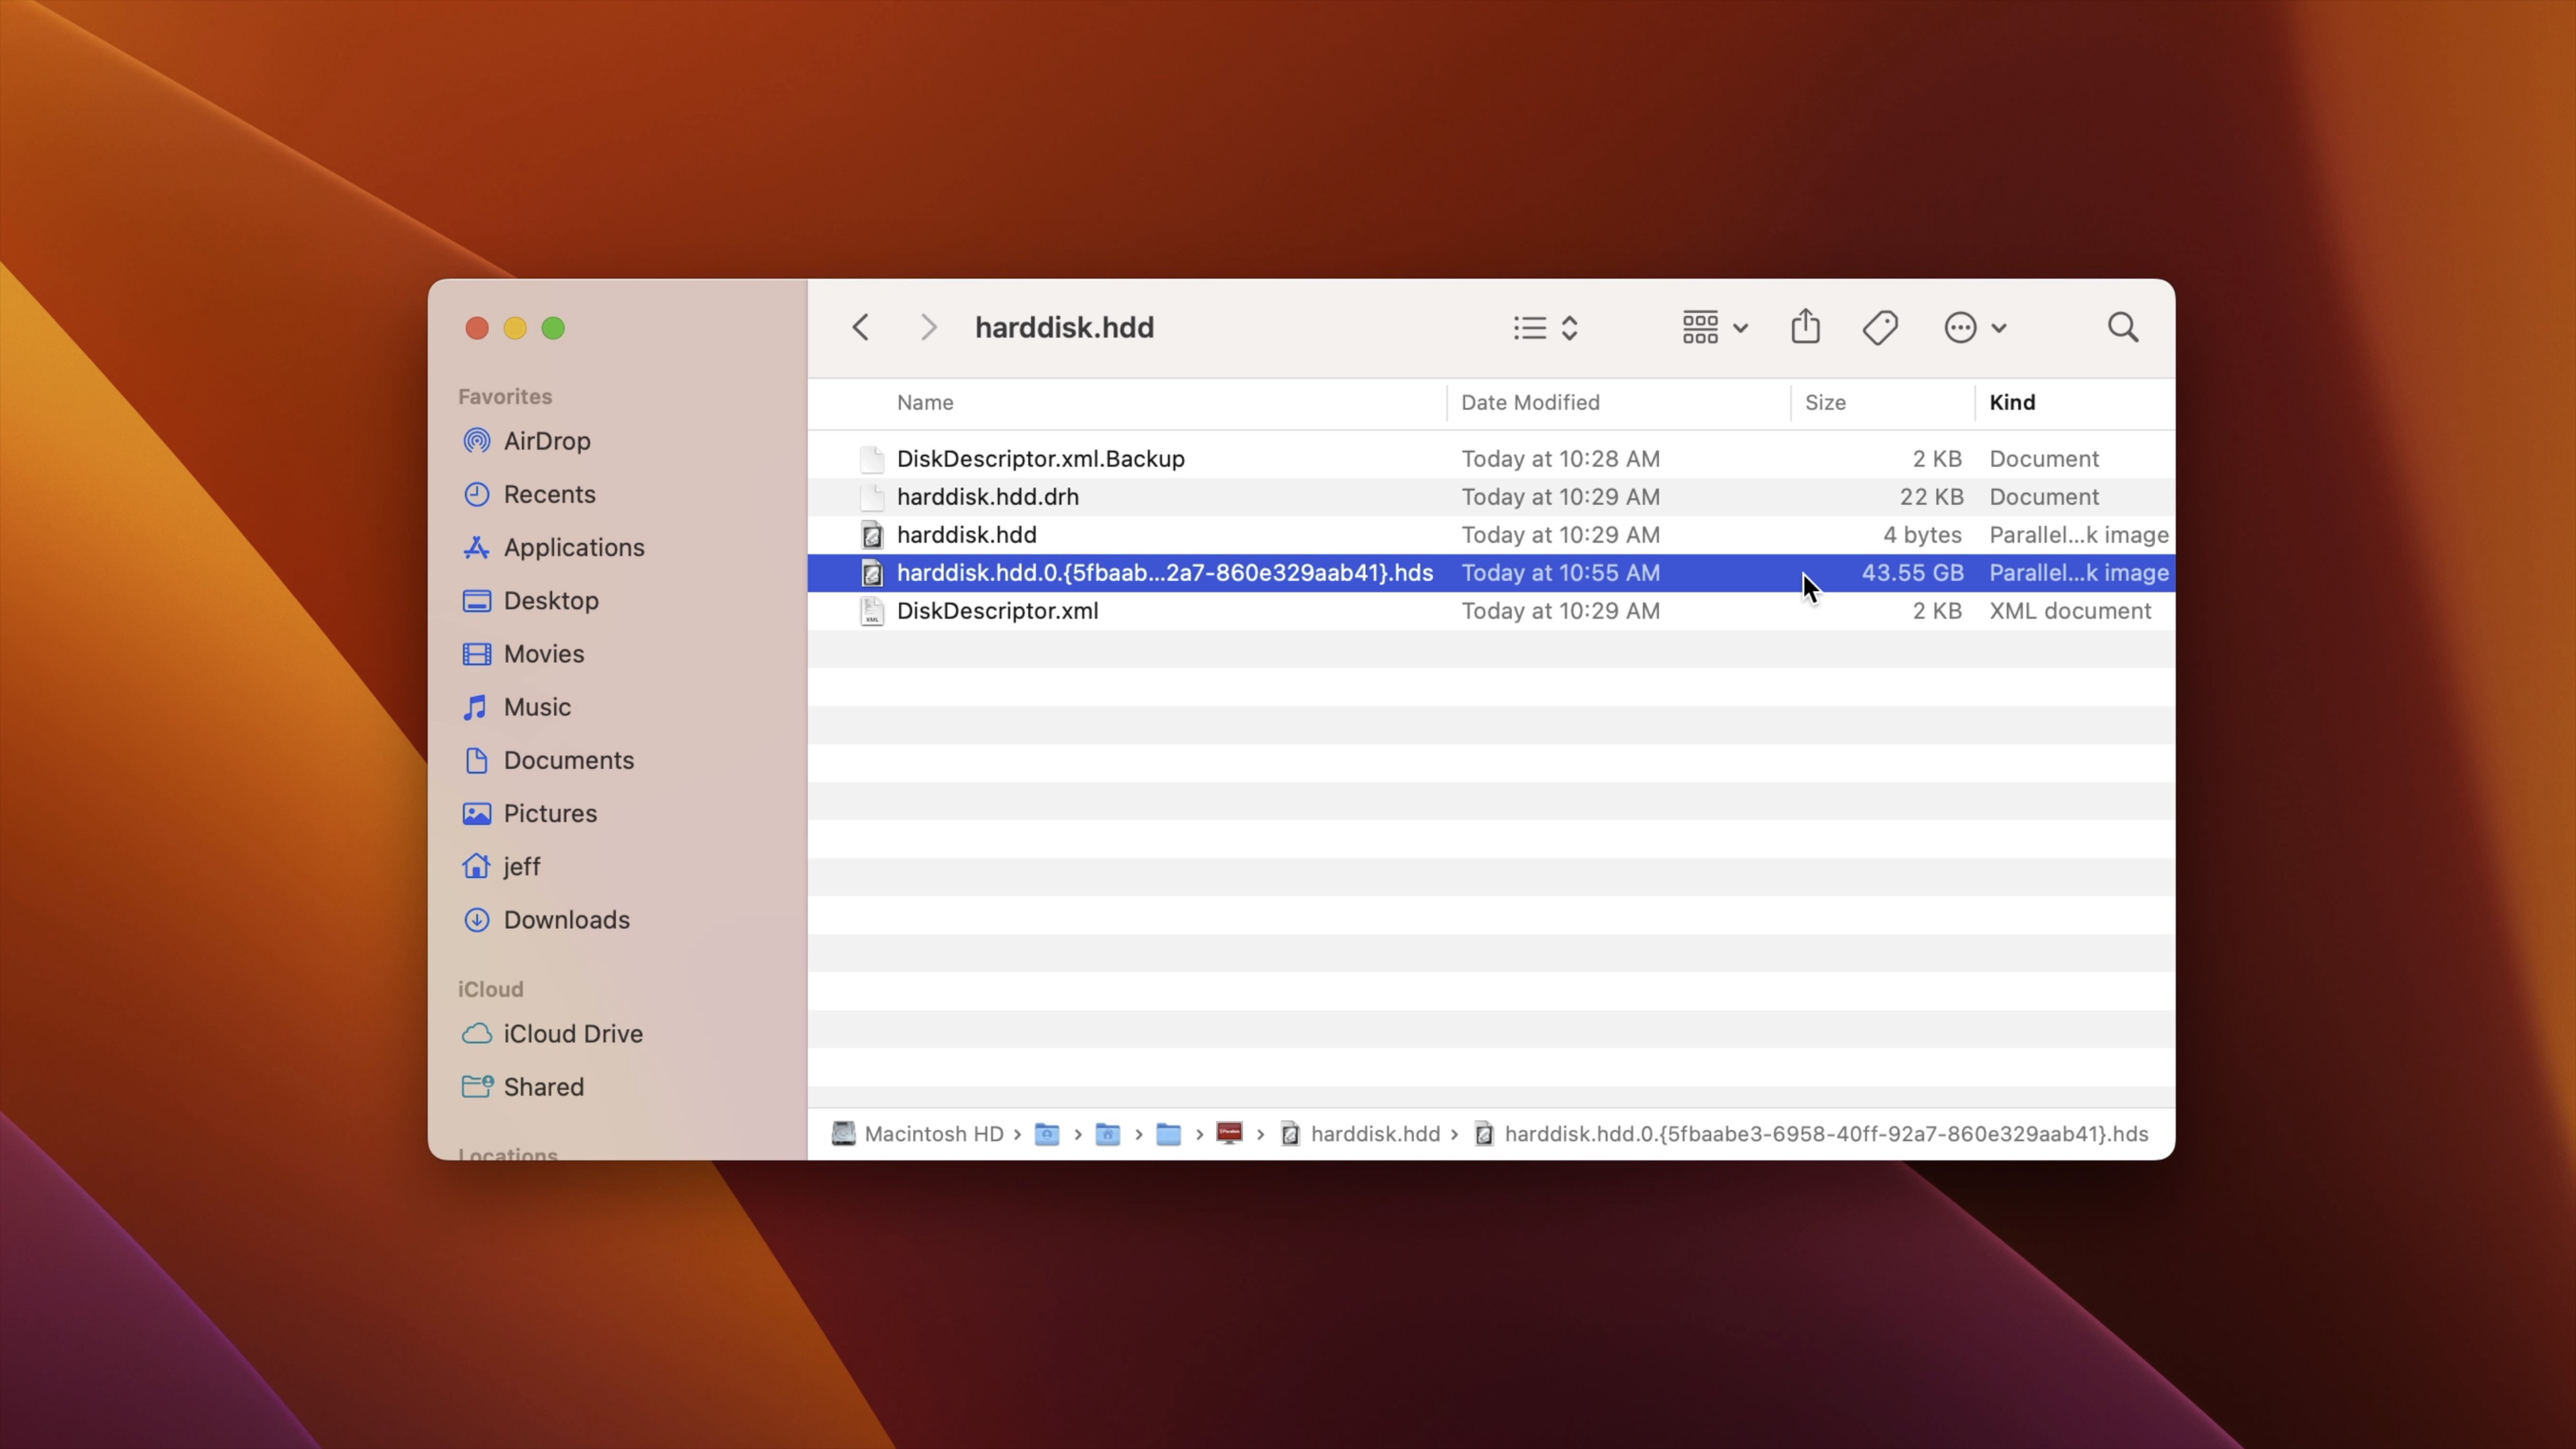
You can uninstall Parallels by shutting down the virtual machine and dragging the Parallels app found in ~/Applications to the trash. Uninstalling Parallels does not get rid of your virtual machine. If you want to remove the virtual machine, you’ll need to delete it from ~/Parallels.
Windows Activation
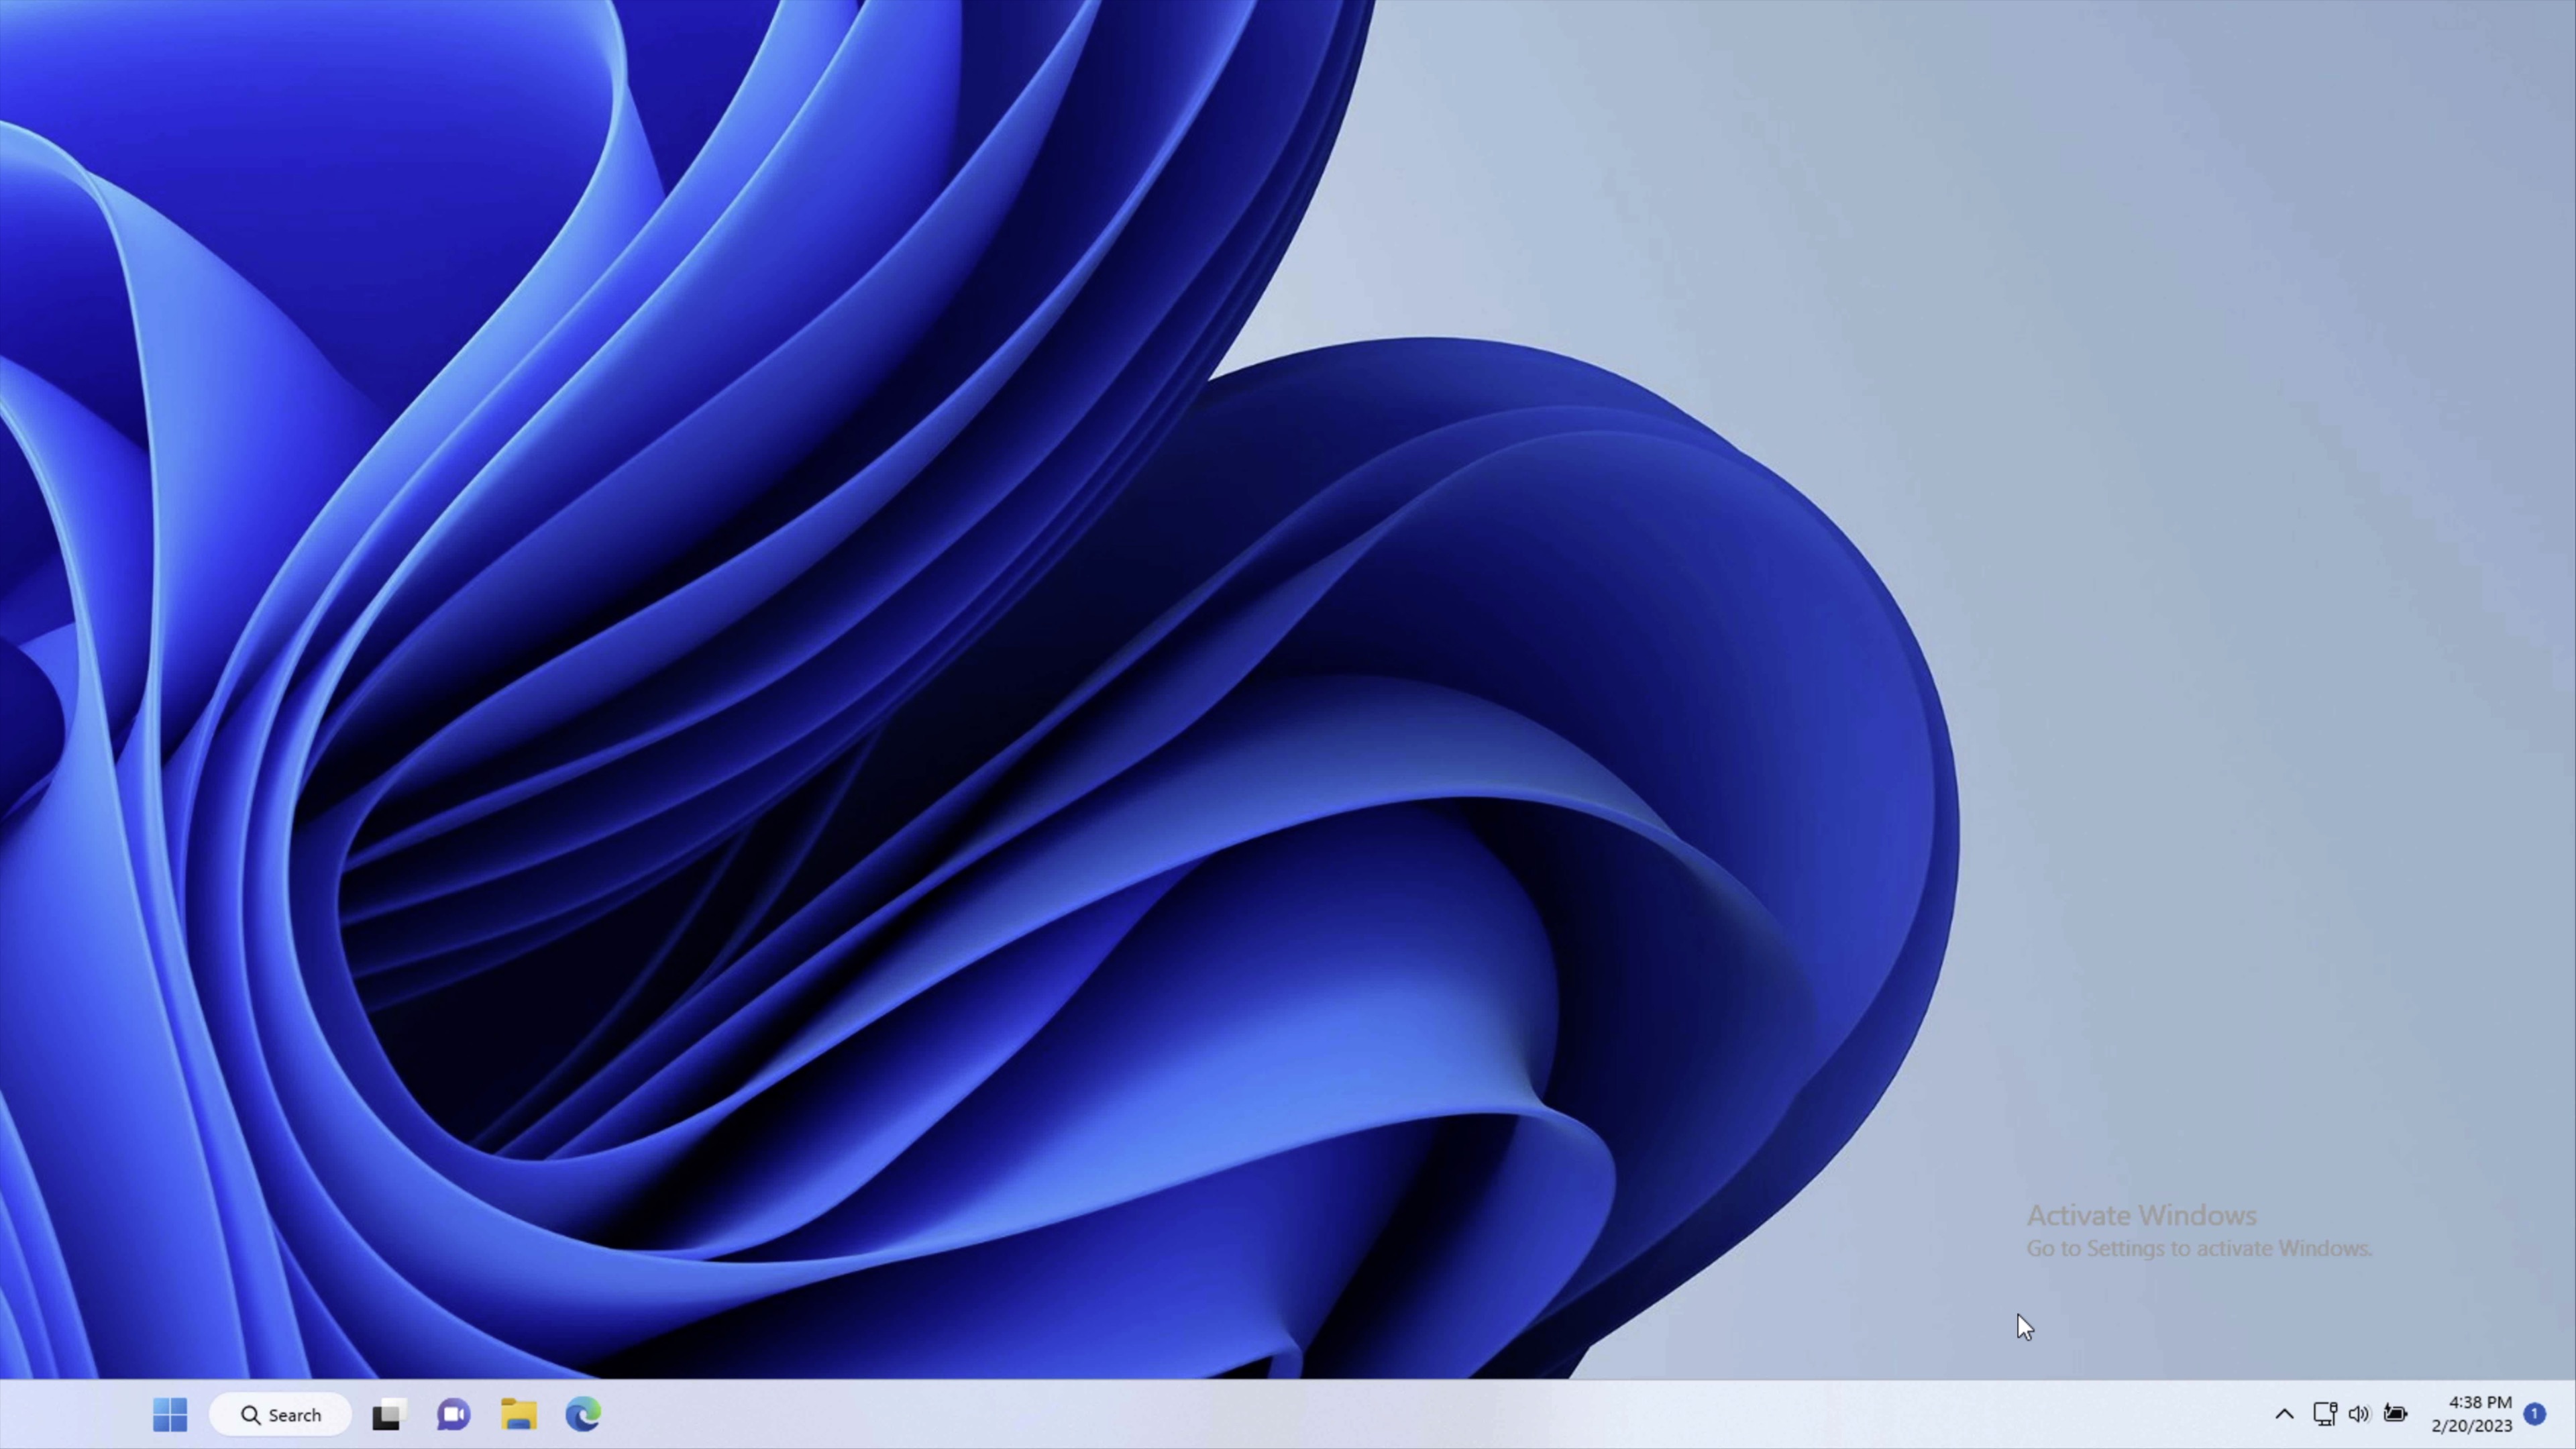
Although you can still use most features without activating Windows, Windows 11 will continue to remind you to activate Windows. If you don’t activate it, Windows will place the “watermark of shame” in the bottom right-hand corner of your screen to remind you and others that you’re running a nongenuine copy of Windows 11.
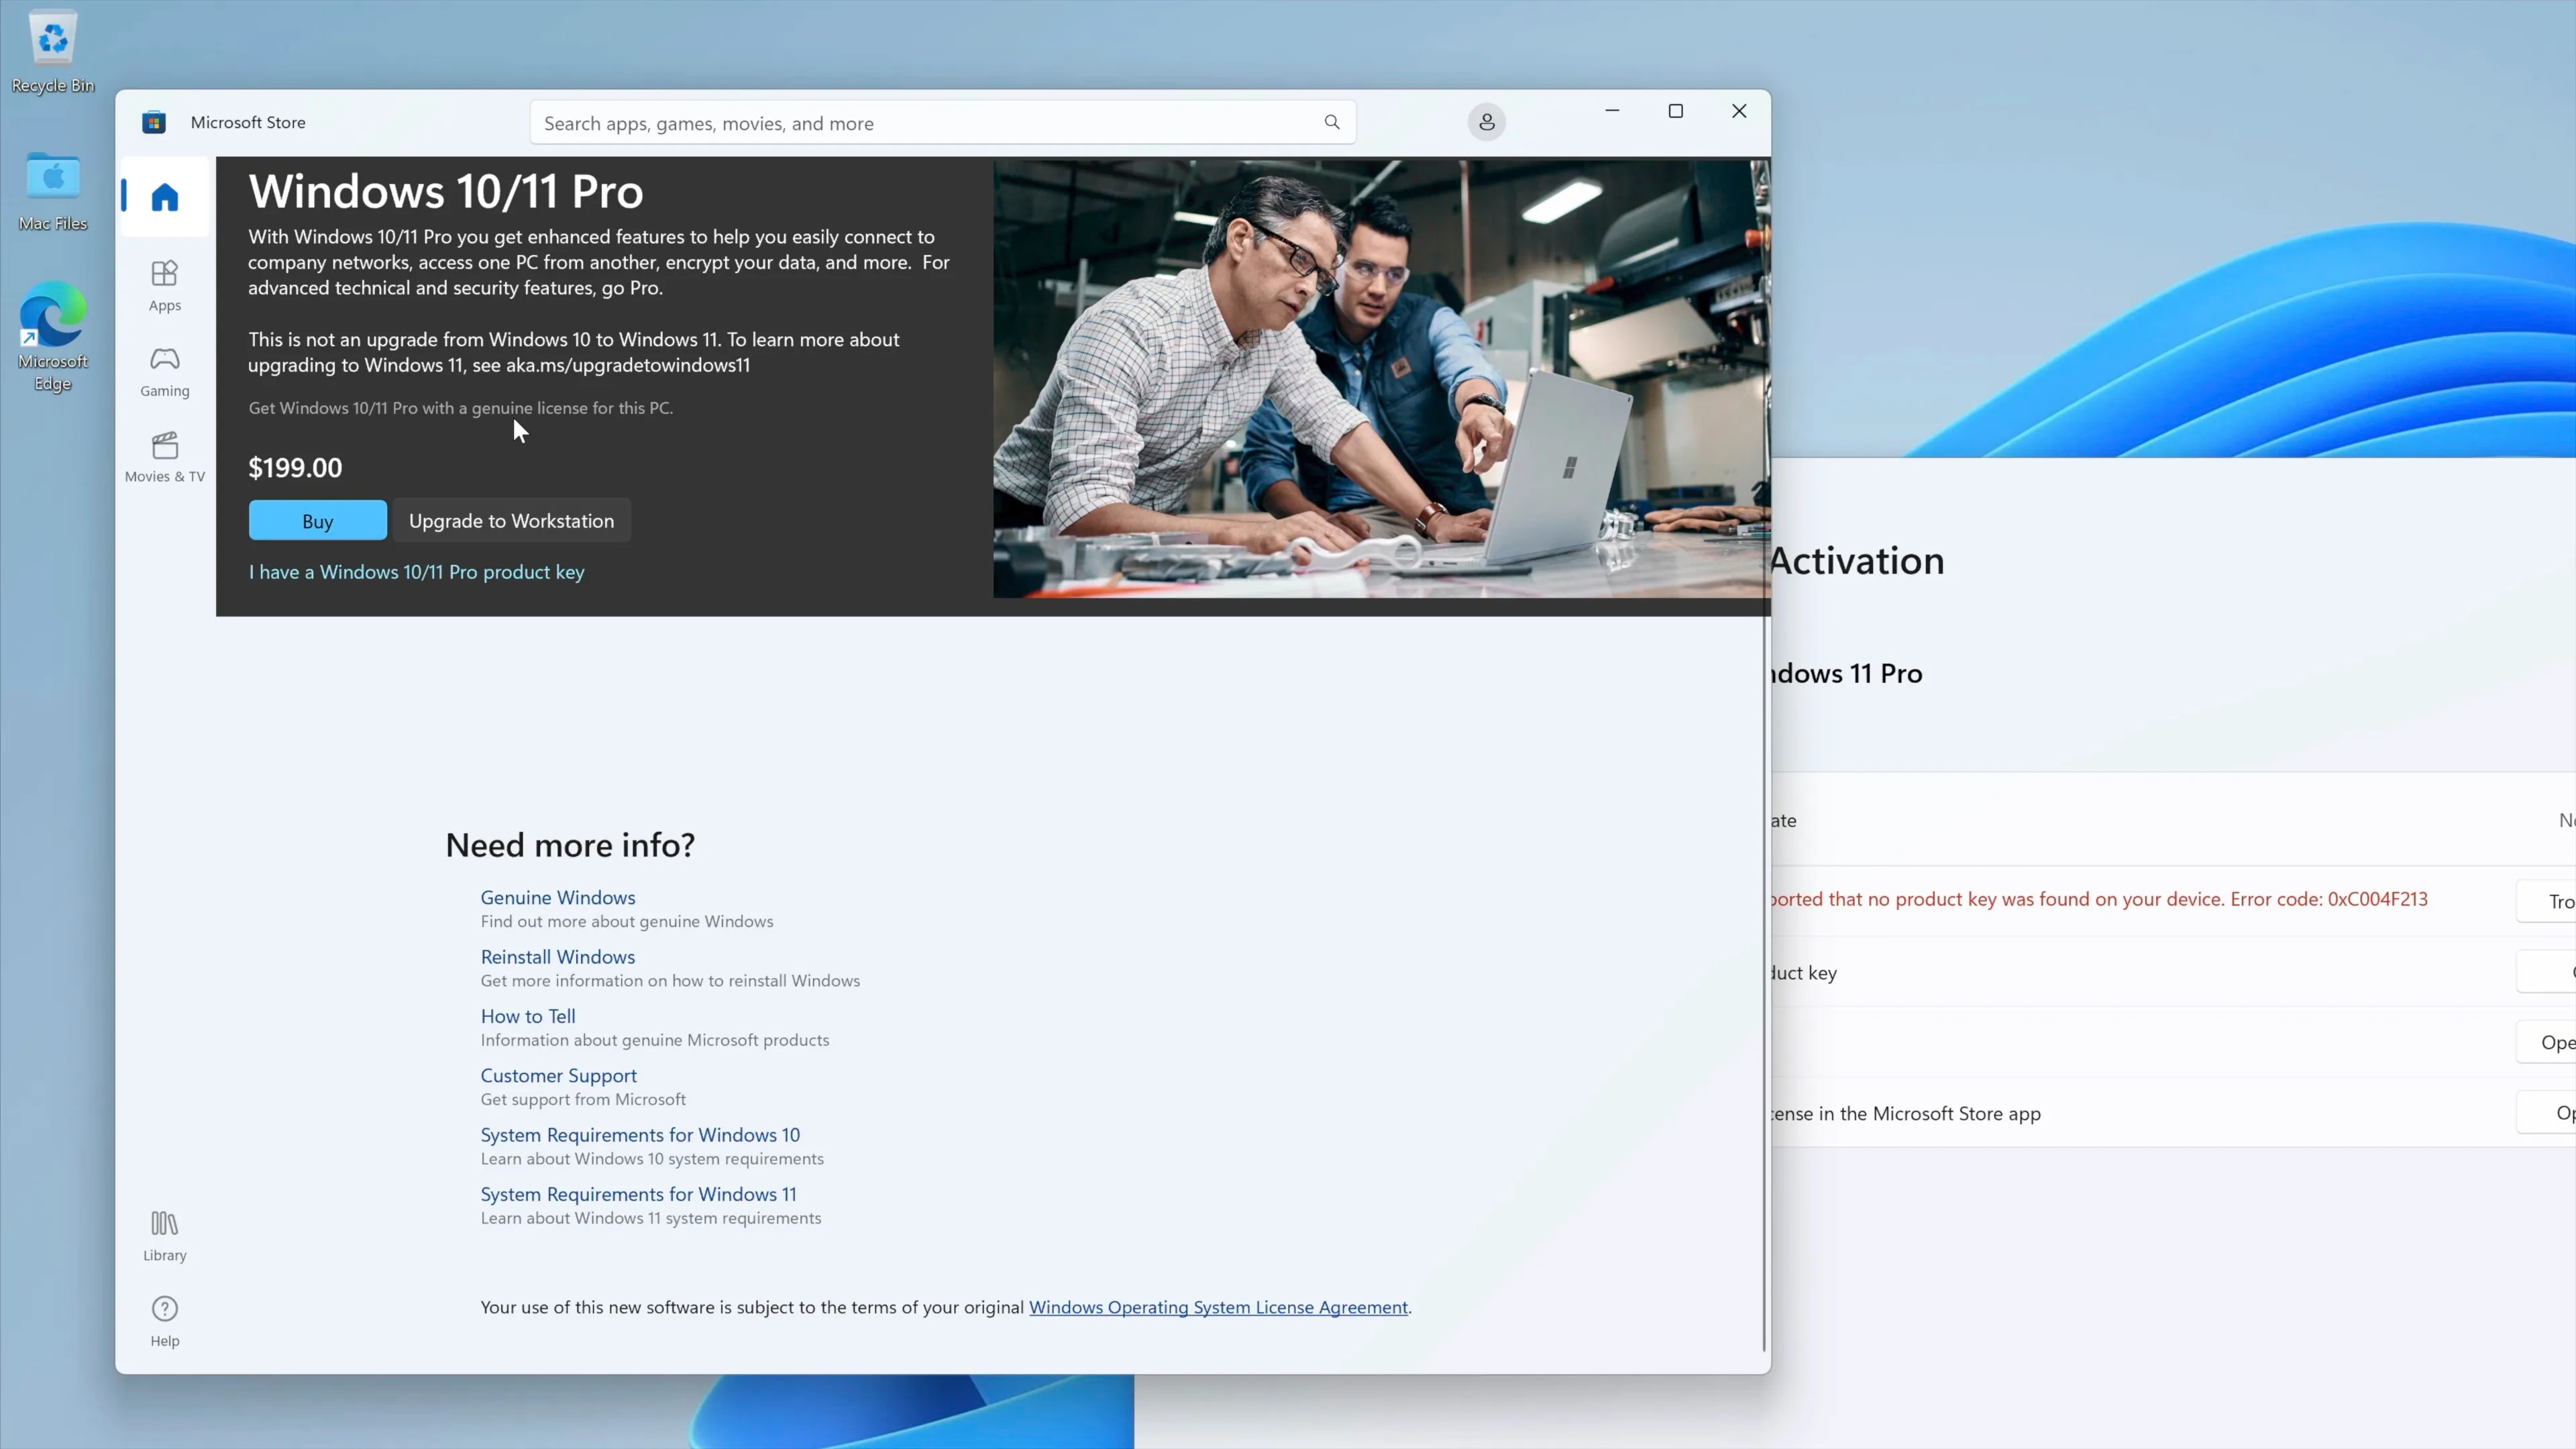
If you wish to activate Windows, you can buy a product key directly from Microsoft. You can also purchase Windows 11 via the Microsoft Store. To do so, click the Start menu → Settings → Activate Now → Open Store. This will take you to the purchase page for Windows 11, and you can link this purchase to your Microsoft account.
Conclusion
Running Windows on Mac could not be easier than it is with Parallels Desktop 18 for Mac. Performance is pretty good as long as you go into the experience with the right expectations. The only issue that some may have is the cost of adding another subscription and the price of purchasing a Windows 11 license.
If you use Windows often, then the price might be worth it to you, but if it’s a once-in-a-while use case, then the price is a tougher pill to swallow. The good news is that Parallels has a good track record for making significant improvements to its software, and Microsoft is now officially on board with Windows 11 for Arm licensing.
Would you consider using this method to install and run Windows on your Mac? Sound off in the comments with your thoughts.
FTC: We use income earning auto affiliate links. More.


Comments