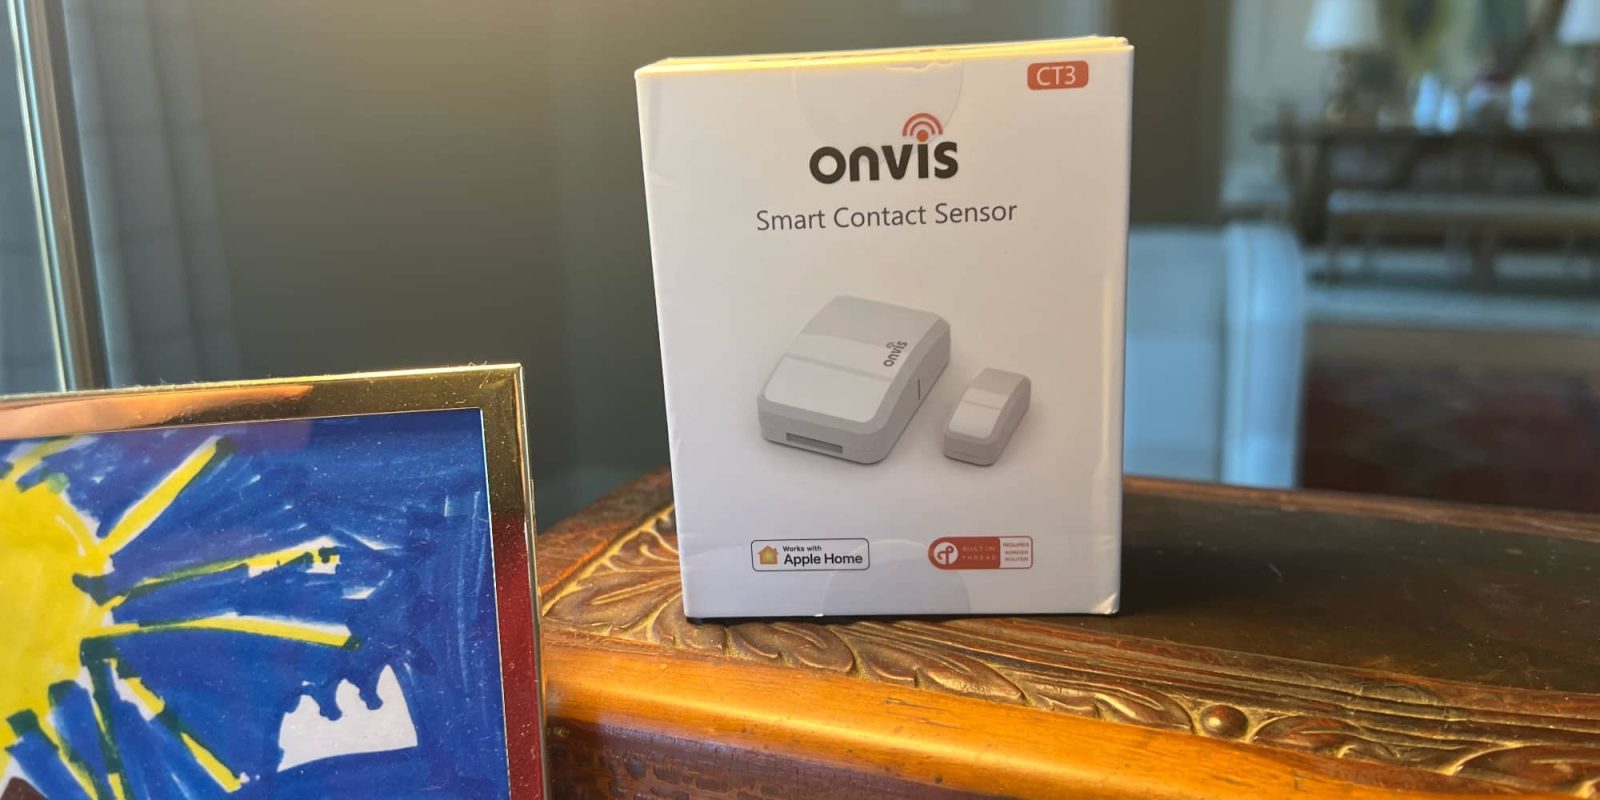
Onvis has recently updated its door/window contact sensor, the CT3, to incorporate Thread technology. With this update, the Onvis CT3 contact sensor is now able to seamlessly integrate with HomeKit Over Thread for a more reliable experience via Siri and the home app. This contact sensor is designed to keep you informed of when doors and windows open and close as well as trigger automations.
HomeKit Weekly is a series focused on smart home accessories, automation tips and tricks, and everything to do with Apple’s smart home framework.
Why would you need a HomeKit door sensor?
While you may already have an alarm system in place, these sensors can be extremely useful for unlocking automations when doors or windows are opened. Especially if your current security alarm doesn’t support HomeKit, these devices can be a powerful add-on.
For instance, you can create a HomeKit automation to turn on your living room lights when the front door is opened after 7 p.m. This can be especially helpful if you’re coming home after dark, as you won’t have to fumble around for a light switch. You can also set it to turn on lights in your master bedroom if a window is opened after a certain time, etc. Think about the number of teen movies where people sneak in and out of houses to get into trouble that would be avoided with devices like this!
Installation process
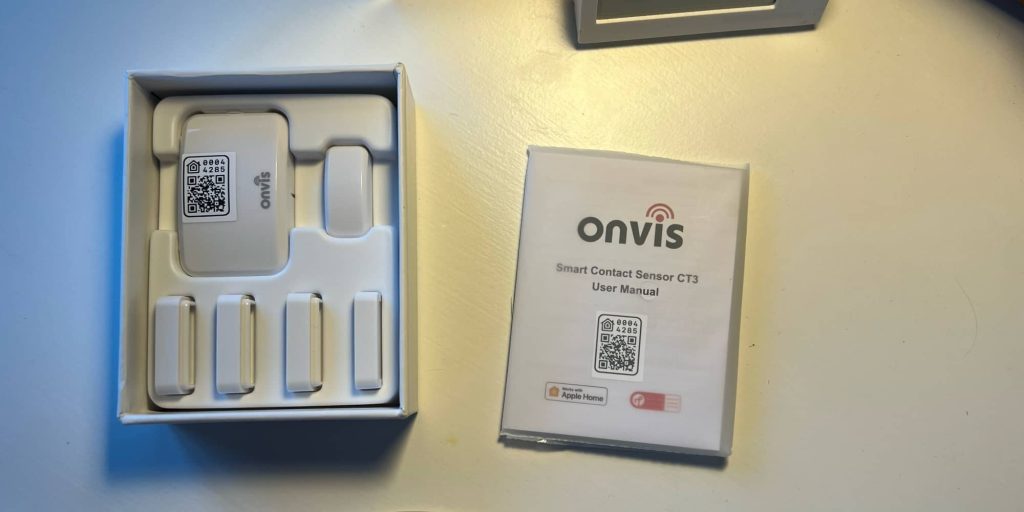
Installing the Onvis CT3 door/window sensor is a breeze and can be done in just a few simple steps. Here’s how:
- Unbox the sensor: Start by unboxing the Onvis CT3 door/window sensor.
- Pull the battery tab: The sensor is powered by a CR2450, and you’ll want to pull the battery tab out of the large part of the sensor to activate it.
- Add the accessory: Using the Home app on your iOS device, add the accessory by scanning the QR code on the sensor or by manually entering the serial number. Once the app detects the accessory, follow the prompts to add it to your HomeKit environment.
- Choose a room: After adding the accessory, you’ll need to choose a room for it to be associated with. This will help you easily identify the sensor in your Home app and use it to trigger automations.
- Choose a sensor type: Finally, you’ll need to choose a type of sensor for the Onvis CT3 to be displayed as (door, window, contact, or blinds). Once you’ve completed these steps, your Onvis CT3 door/window sensor should appear in the room you chose, and you can start using it to monitor your home and enhance your home automation setup. You can now stick it to the door/window that you want to monitor.
Building automations
One of the best features of the Onvis CT3 door/window sensor is its ability to integrate with other HomeKit-enabled accessories to create powerful automations. Here’s how to get started building automations using this device:
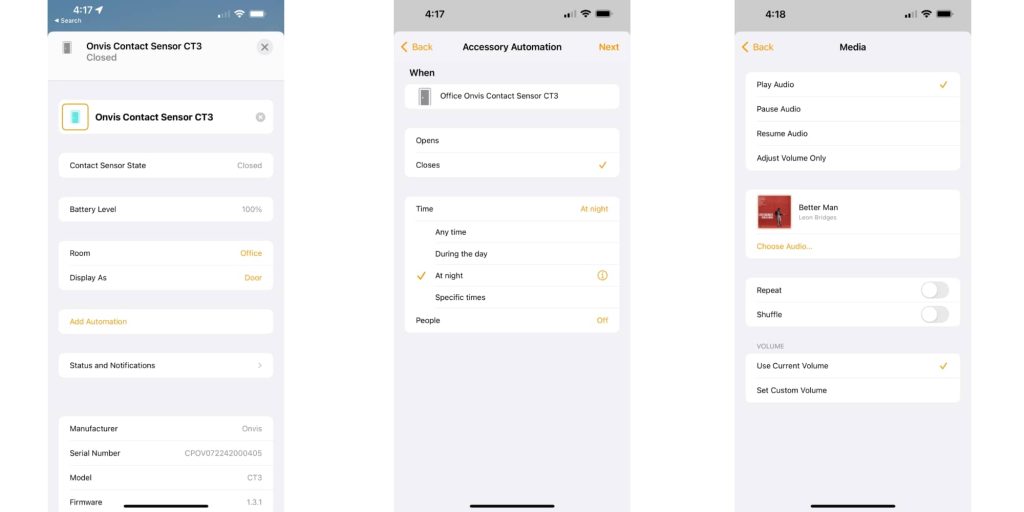
- Choose a trigger: The first step in building a HomeKit automation with the Onvis CT3 is to choose it a trigger. Go to the Home app, look for the + button, tap on “add automation.” Then tap on “a sensor detects something.” Now you’ll want to look for the sensor.
- Choose an accessory automation: You’ll now want to select “do you want this trigger to occur when it opens or closes” and based on either a time or people arriving/leaving.
- Choose an accessory to automation: Once you’ve selected your trigger, you’ll need to choose an action to take when the trigger is activated. This could be anything from turning on a light or playing music.
- Set up the automation: After building up your automation, be sure to test it to ensure that it’s working as expected. If it’s not working correctly, you can refine the automation by adjusting the trigger, action, or conditions. Finally, press “done,” and the automation is ready to go.
Wrap-up on Onvis CT3 door/window sensor
The Onvis CT3 door/window sensor is an excellent investment for anyone looking to enhance their home automation setup and improve their overall home security. With its low cost and seamless integration with HomeKit, this device offers an easy and effective way to automate doors and windows and monitor your home 24/7.
The Thread support on this device means that it’s going to work incredibly well with HomeKit, ensuring that you get instant alerts when doors or windows are opened. Plus, with up to one year of standby time, you won’t have to worry about constantly replacing batteries or monitoring the device.
Whether you’re looking to automate your lights, set up security alerts, or simply keep an eye on your home, the Onvis CT3 door/window sensor is definitely worth considering. So why not take the plunge and give it a try today? With its excellent quality, seamless installation, and powerful features, it’s sure to be a valuable addition to your home automation toolkit.
It can be purchased from Amazon or directly from Onvis.
FTC: We use income earning auto affiliate links. More.


Comments