
The HomeKit doorbell scene has finally grown wings and one of the most compelling options is Logitech’s new Circle View Doorbell. It’s got a sharp and simple design, HomeKit Secure Video support, face recognition, and an impressive price point – particularly if you’re willing to handle the installation yourself. Join along for our full review of this Logitech HomeKit doorbell, the first true consumer option with HKSV.
The Logitech Circle View Doorbell launch was a very welcome surprise back in December with HomeKit Secure Video support and a solid price of $199. The only other doorbell on the market with HomeKit Secure Video (HKSV) at the time of writing is the Robin ProLine – but that’s really more of a commercial product with pricing around $600.
The Netatmo Smart Video Doorbell, Yobi B3 (review), and Arlo smart doorbells feature HomeKit but include compromises like no HKSV. With a competitive price, HKSV, and features like face recognition, I think the Logitech Circle View is positioned to own the smart doorbell market among Apple users, here’s why…
Note: before buying the Logitech Circle View Doorbell, make sure to use the compatibility checker to confirm it will work in your home.
Table of contents
Logitech HomeKit doorbell specs
- Logitech TrueView™ video with a 160° field of view, HD video, HDR, and color night vision
- 3:4 format Portrait View
- 5 MP Sensor with 1200 x 1600 HDR-enabled video
- 4000K LED light strip that provides illumination in an unobstructed area up to 6 ft away
- Two-way audio
- Full Duplex with Acoustic Echo Cancellation
- Developed exclusively for Apple HomeKit. Enjoy a seamless viewing experience with two-way audio in the Home app on iPhone, iPad, Apple Watch, Mac, and Apple TV
- Face recognition and custom activity zones
- High-quality sensor with High Dynamic Range for more detail in high-contrast videos, so you see visitors clearly in sunlight or shadows
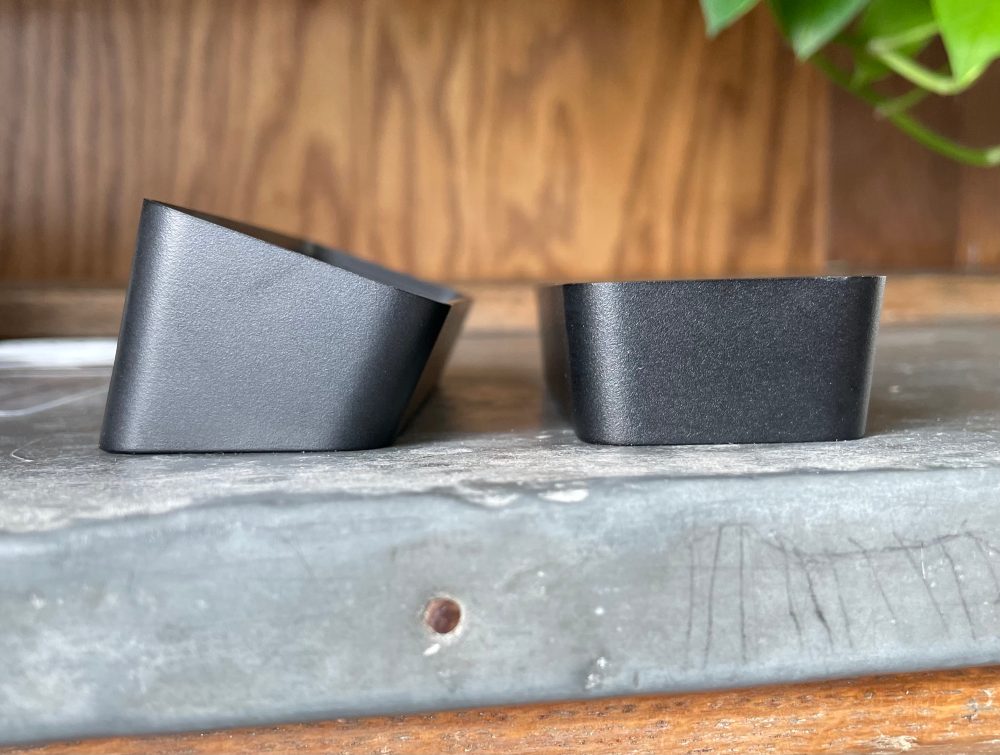
- Includes two mounting options (straight and 20-degree angled), chime kit, and wiring to connect to a wired doorbell system that is 8-24V AC 10 VA or higher
- Wireless connectivity: 2.4/5 GHz a/b/g/n/ac 2 x 2 MIMO Wi-Fi
- Requires home internet with at least 2.5 Mbps upload speed
- IP65 dust and water resistance
Design and build
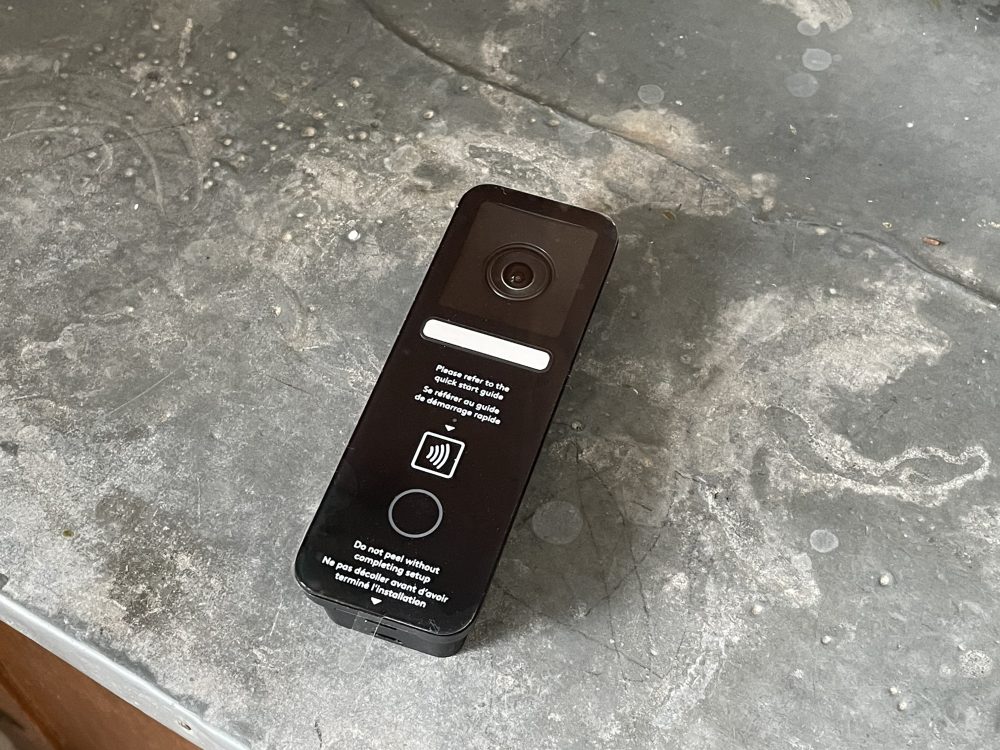
This Logitech HomeKit doorbell is made with a high-quality plastic build with a clean and minimal black design and features a glass faceplate on the front. I think it will look good on the front porch of almost any style of home.
The camera lens sits up top, the integrated LED sits in the middle, with an illuminated ring doorbell button at the bottom.
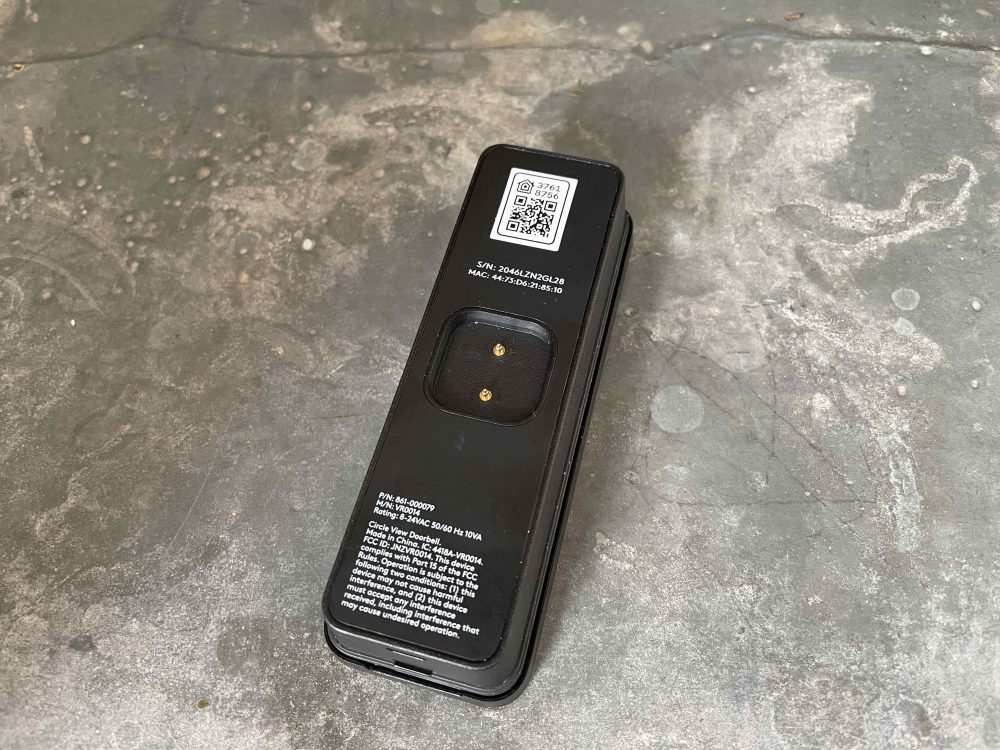
The backside has the HomeKit code and two pins that connect the doorbell to the standard or angled mount with the hardwiring of your existing (or new) doorbell setup.
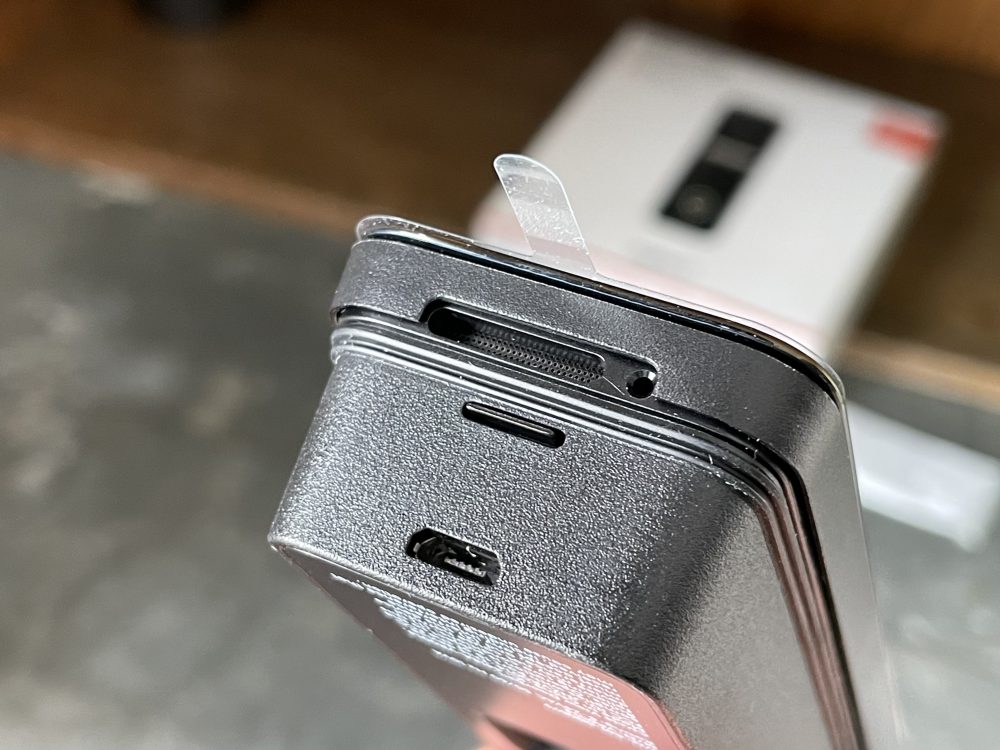
There’s a double rubber seal around the edge of the doorbell to keep rain and snow out and the microphone, speaker, and microUSB (used for the set up process) at the bottom.
Logitech HomeKit doorbell set up
As mentioned above, you’ll want to make certain the Logitech Circle View Doorbell will work with your existing wired doorbell setup before buying it. You can do that here. Otherwise you may need a to do full rewire/doorbell setup and/or hire an electrician.
I would say if you’ve done even some minor electrical work around your home like replacing switches, outlets, light fixtures, you’ll probably feel comfortable installing this HomeKit doorbell yourself. Otherwise, Logitech offers pro installation for $100 ($299 total).
Your mileage may vary, but I think most self-installers should be able to do this in around 30-60 minutes.
Here’s a look at everything included in the box with the Logitech HomeKit doorbell:

On the setup card shown above, you get a link to detailed installation instructions as well as a second HomeKit code for your doorbell.
Logitech has done nice job with the web instructions, here are the main steps:
- Temporarily power the doorbell via microUSB, set up and add to Home app
- Confirm the wiring of your existing doorbell
- Turn off breaker for your doorbell wiring, install the Logitech Chime Kit
- Make sure Circle View has Wi-Fi at desired install location, install mount and doorbell
The one thing I didn’t see explicit direction on was how your existing wiring secures to the back of the Logitech mounting plate (unless I missed it somehow). Essentially it’s just a pressure activated wiring harness that you push your wires into.
Here’s a look at the options when setting up this HomeKit Secure Video-enabled doorbell:
You’ve got control over how streaming and recording works, whether you’d like to use face recognition, and more.
You can opt to use HomePod as your doorbell chime, your actual chime, or both. You also get a motion sensor and light sensor that you can use to create Home app automations.
In Use
I’ve been using the Logitech HomeKit doorbell for a couple of weeks now and it’s been consistently reliable with good picture quality.
If you opt to use the face recognition it works via access to the Photos app and/or you can the unidentified recent visitors that will show up in the Settings of the Logitech Circle View Doorbell in the Home app. This makes it easy to add or hide less frequent visitors.
In addition to live face recognition in the Home app for iPhone, iPad, Mac, and Apple TV, HomePod also gives an audio announcement of the people that are recognize at your doorstep.
Here’s a look at picture quality and more:
I do have our porch lights come on each night as part of a HomeKit automation but the integrated LED in the Logitech Circle View is quite bright and offers good visibility even if your porch doesn’t have other lighting.
It’s easy to view past recordings with the calendar integration at the top of the Logitech Doorbell viewer in the Home app (shown above). With HomeKit Secure Video you can have 1 camera set up if you have at least a 200GB iCloud storage plan, or 5 if you have the 2TB plan. That offers a 10-day recording history that actually doesn’t eat up any of your iCloud storage. Another great benefit of HKSV is end-to-end encryption for all your video recordings.
If you haven’t used HomeKit Secure Video before, it’s seamless to set activity zones to dial in what triggers alerts. This is also where you can add names to unidentified faces, control the Night Vision Light, and more.
The one thing that I would offer some constructive criticism on would be the camera resolution. It would have been awesome to have seen something higher than the 1200 x 1600 HD (3:4 portrait) that’s included here. I don’t think it’s a deal-breaker at all, the Robin ProLine features just 720p, and the Netatmo and Yobi B3 have 1080p (with 9:16 portrait orientation).
But I think Logitech could have really set the Circle View Doorbell even further apart from the competition with 1500 x 2000 or higher.
Logitech HomeKit doorbell final thoughts
All in all, I think this Logitech HomeKit doorbell is the best option on the market for Apple users. You’re getting nicely designed hardware, HomeKit Secure Video and all the features it brings, a good HD resolution with HDR and night vision – all at a very competitive price of $199.
For comparison, the commercial-esque Robin ProLine models that offer HKSV run around $500-700. Netatmo’s Smart Video Doorbell sells for $299 and it lacks HKSV. The Yobi B3 sometimes can be found under $200 but like Netatmo, no HKSV and same thing for Arlo’s wired video doorbell. If you’re willing to forgo HKSV, Arlo’s wired version may be the one tempting HomeKit doorbell at around $100.
If you’ve been waiting for a compelling HomeKit doorbell experience to upgrade from your dumb doorbell or a non-HomeKit smart doorbell, I think the Logitech Circle View Doorbell is definitely worth picking up. You can find it direct from Logitech as well as at Apple.
FTC: We use income earning auto affiliate links. More.


Comments