How-to
A collection of tutorials, tips, and tricks from the 9to5Mac team helping you fix and get the most out of your favorite gear.

Top tutorials and guides
iPhone how-tos
- iOS 17 iPhone StandBy: How to use and customize the smart display feature
- iPhone Screen Distance in iOS 17 protects your eyes, here’s how it works
- Here’s how to hide silent bell icon on iPhone 15 Pro
- How to check if iPhone has 5G Standalone turned on and is working
- How to take a scrolling screenshot on iPhone
- Do’s and don’ts for cleaning your dirty iPhone (and why you should make it a habit)
Mac how-tos
- Best USB-C and Thunderbolt displays for Mac
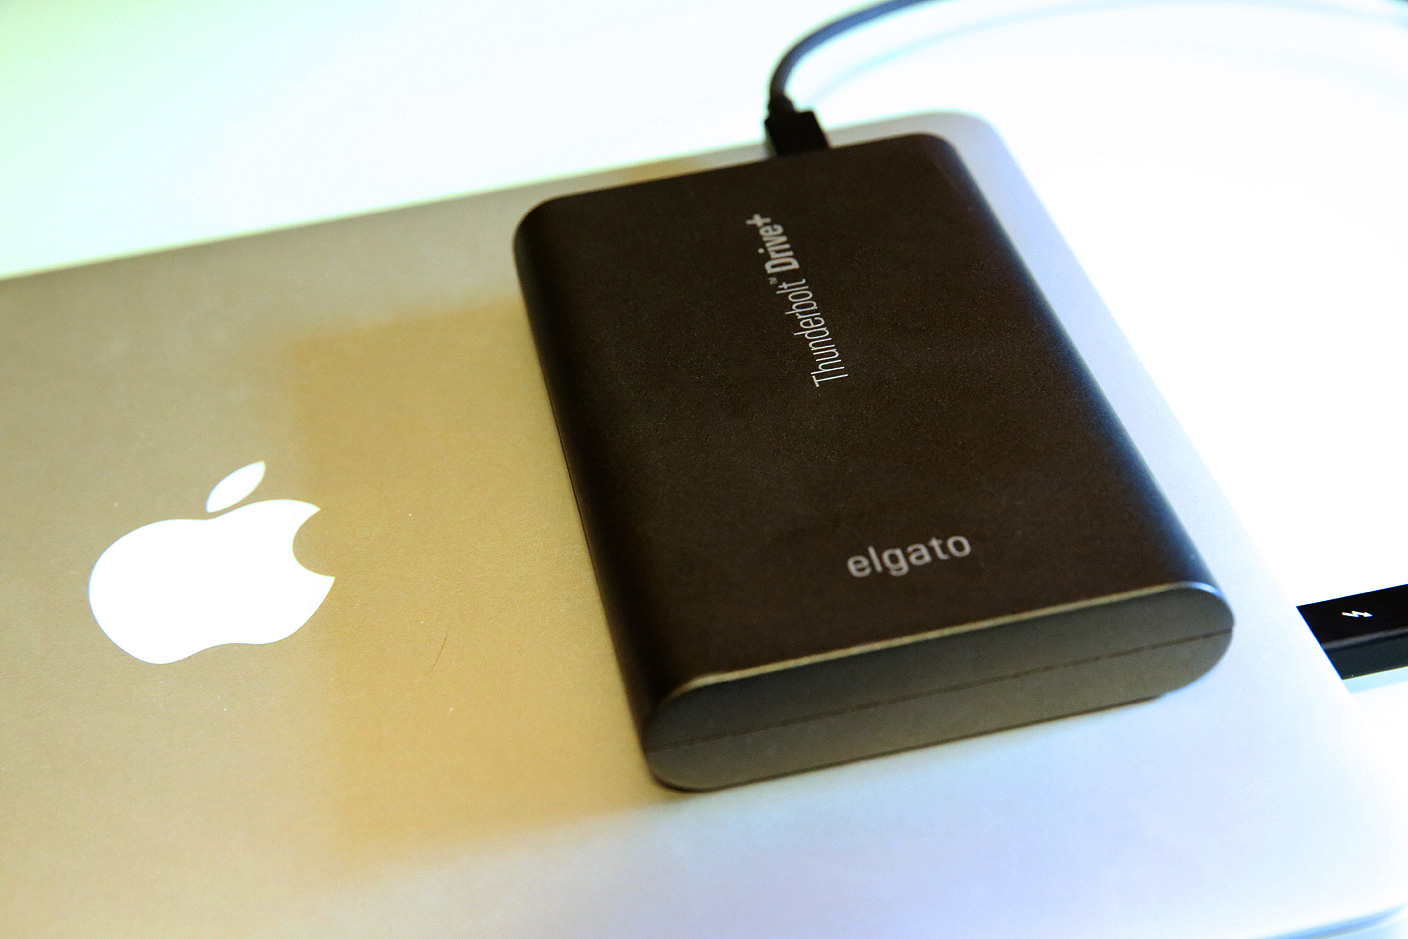
- 5 tips and tricks to free up disk space and hidden storage on your Mac
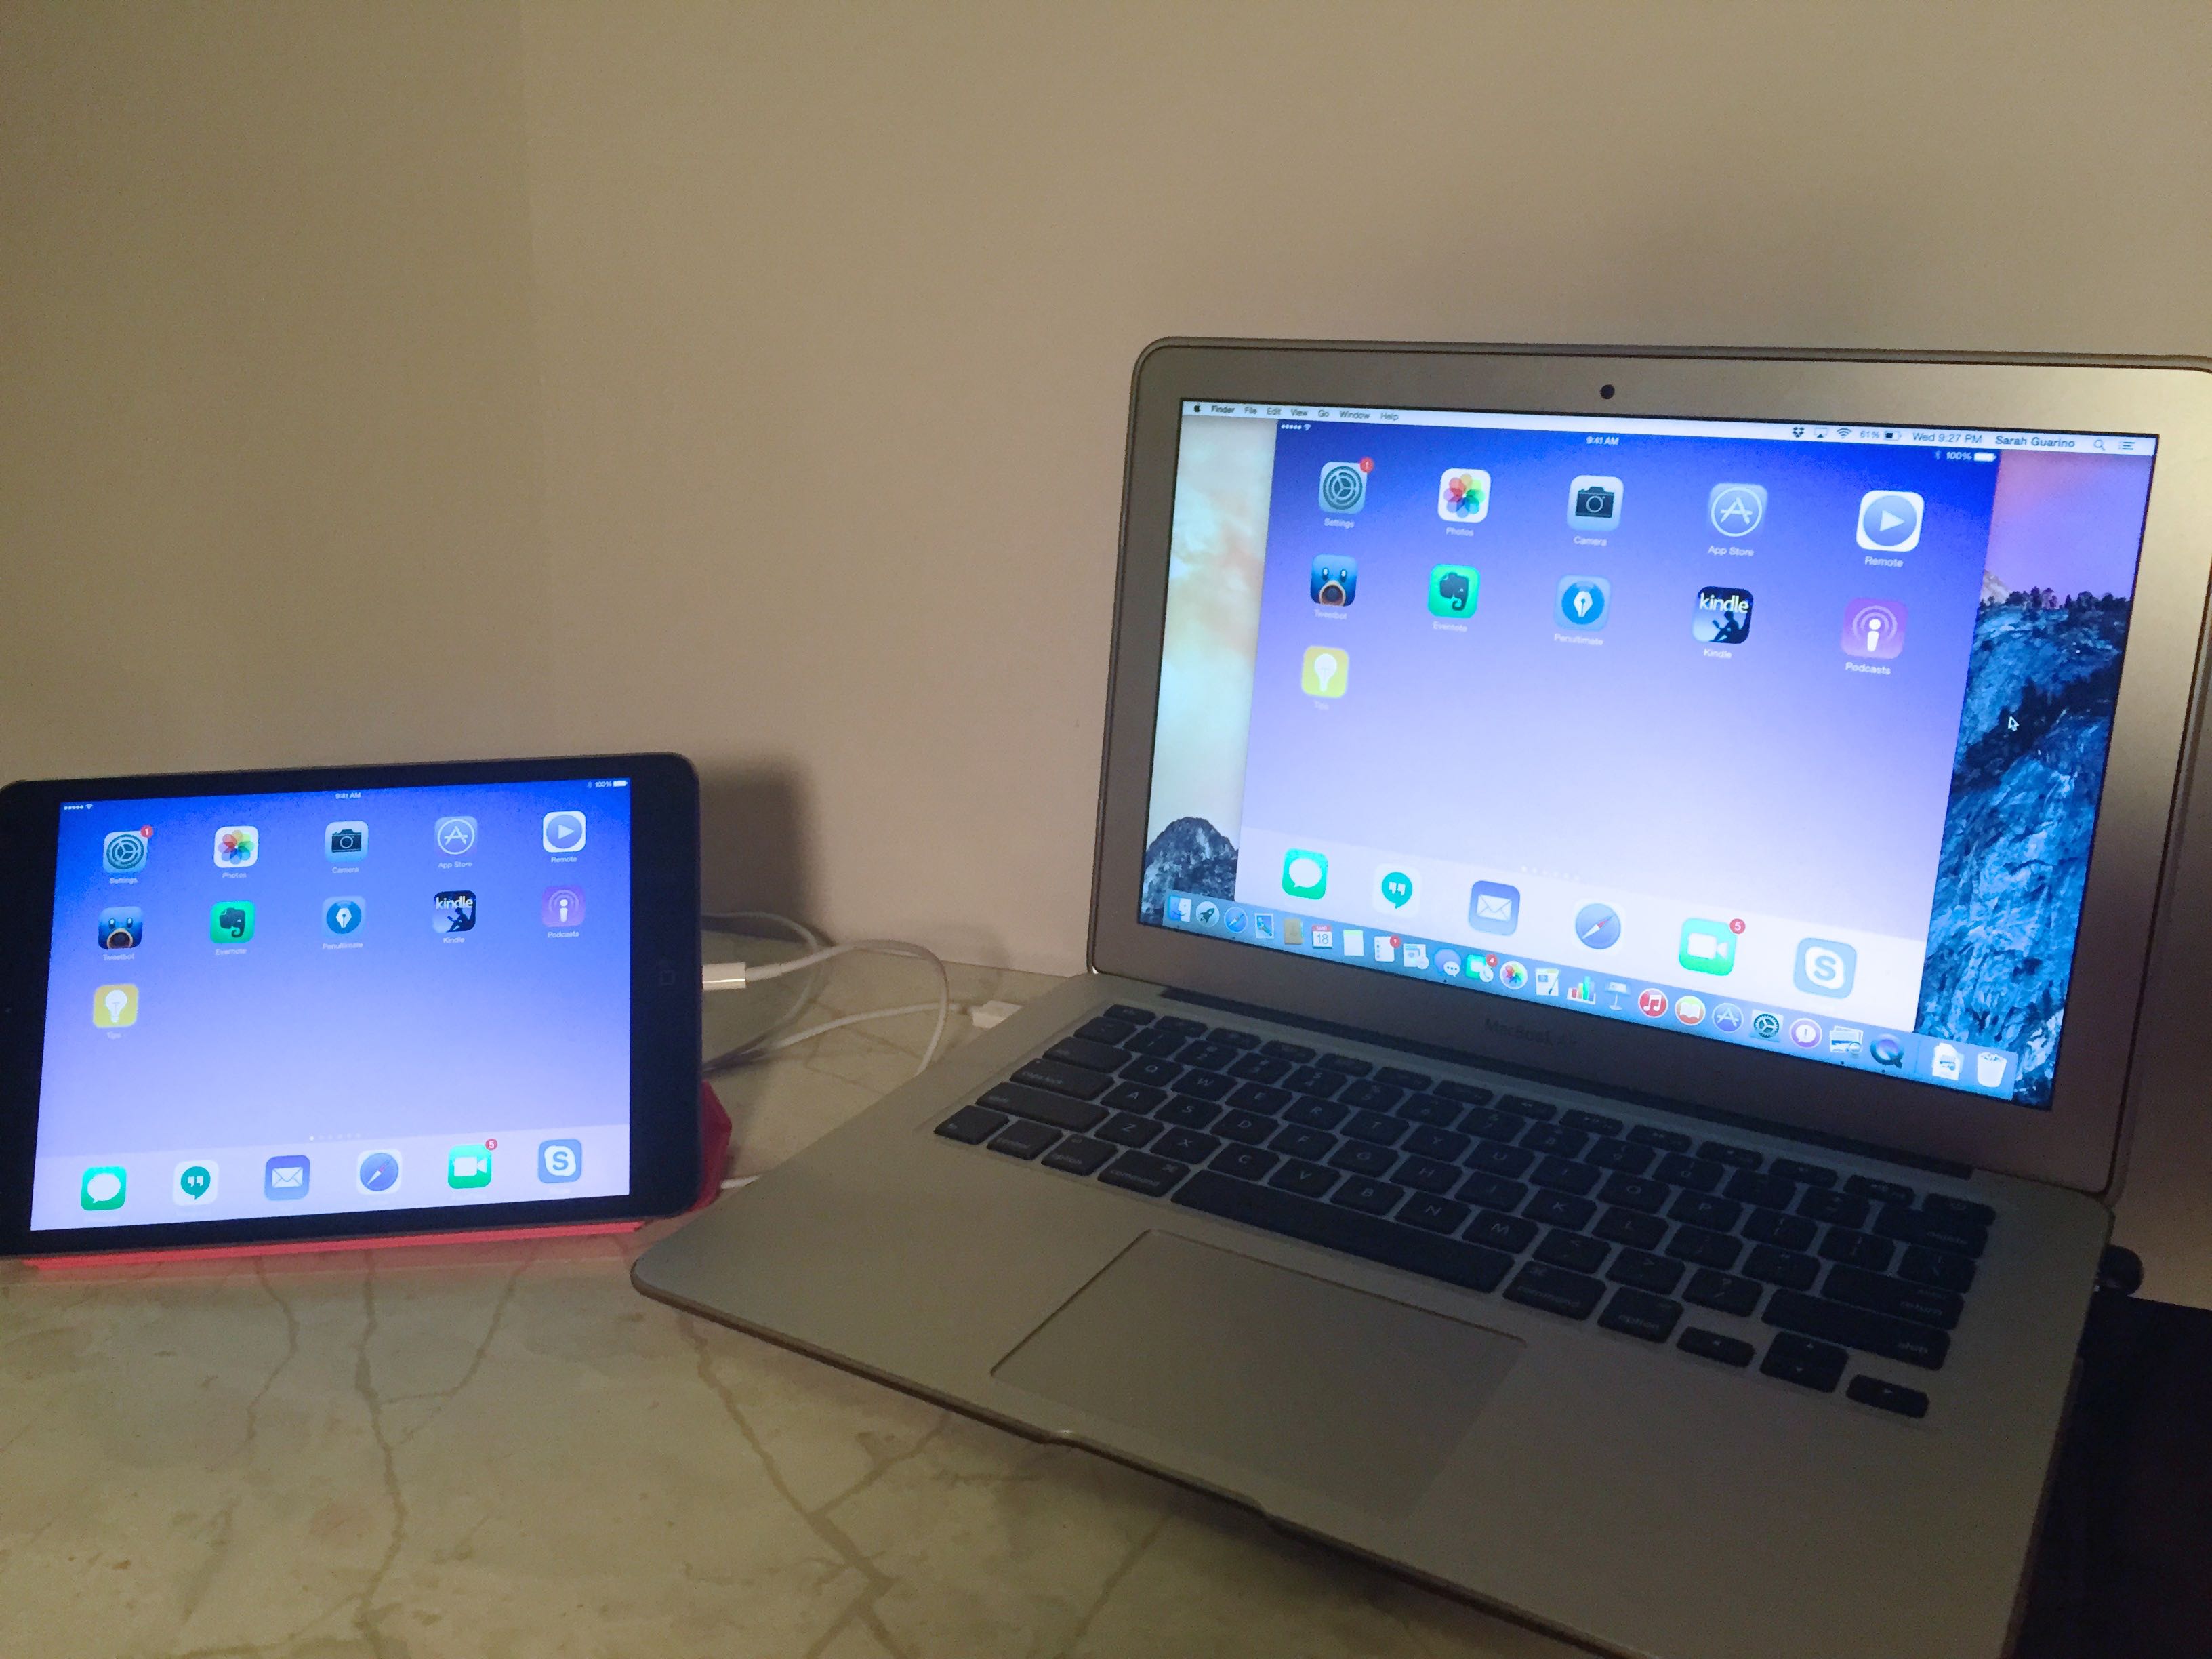
- Use iMac as monitor: How to create a Mac to Mac, PC to Mac, or iPad to Mac setup
- How to reset your MacBook or Mac desktop before selling or giving it away
- 5 tips and tricks to fix Bluetooth connection issues on Mac
iPad how-tos
- iPad not charging? Here are 6 ways to fix it
- iPad RAM list: Here’s how much memory every iPad model has
- iPad 10 vs 9 vs iPad Air: How the new affordable iPad lineup compares
- M2 iPad Pro vs iPad Air: What’s the better choice?
- M2 iPad Pro vs M1 iPad Pro: What’s changed?